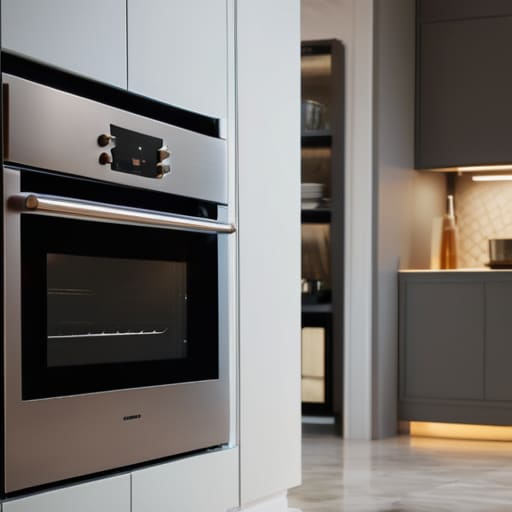
I was standing in my kitchen last Tuesday, staring at a layer of carbonized grease that looked like it had been baked on since the house was built, when I realized something frustrating. Most people think electric oven cleaning is just about aesthetics or making your kitchen look “Instagram-ready,” but they’re missing the bigger picture. When that burnt-on sludge builds up, your heating elements have to work twice as hard to penetrate the grime and reach the right temperature. It’s a silent energy killer that turns your appliance into a massive power drain every single time you want to roast something.
I’m not here to sell you on expensive, toxic chemical sprays that smell like a laboratory accident. Instead, I’m going to show you how to tackle this task using practical, data-backed methods that actually work. We’re going to walk through a step-by-step process for effective electric oven cleaning that focuses on efficiency and sustainability. You’ll learn how to strip away the buildup without breaking the bank or harming the planet, ensuring your oven runs lean, clean, and costs you significantly less in monthly utility bills.
Table of Contents
- Step-by-Step Instructions
- Natural Oven Cleaner Recipes to Save You Money
- Preventing Grease Buildup in Ovens for Better Efficiency
- 5 Pro-Tips to Keep Your Oven Running Lean and Clean
- The Bottom Line on Oven Efficiency
- Efficiency Beyond the Thermostat
- The Bottom Line on Oven Care
- Frequently Asked Questions
Guide Overview
Tools & Supplies
- Microfiber cloth for wiping surfaces
- Scraper or spatula for stubborn residue
- Soft sponge for scrubbing
- Baking soda (approx. 1 cup)
- White vinegar (approx. 1 cup in spray bottle)
- Water (as needed for paste)
Step-by-Step Instructions
- 1. First, clear everything out. Pull out the racks, the baking trays, and any thermometer or probe you might have left inside. I always check the corners for any stray crumbs or burnt-on bits first; it’s much easier to deal with the loose debris before you start applying any liquids.
- 2. If your oven has a self-cleaning cycle, you might be tempted to just hit “start” and walk away. Honestly? I’d advise against it if you want to save energy. Those cycles use a massive amount of electricity and generate intense heat that can stress your appliance. Instead, I prefer a manual deep clean using more efficient, low-energy methods.
- 3. Make a DIY cleaning paste using baking soda and a bit of water. It’s much cheaper than those harsh chemical sprays and way better for the environment. Spread the paste over the greasy surfaces, focusing on the areas where I usually see the most heat-trapping buildup. Let it sit for at least a few hours—or even overnight if you’re dealing with a real mess—to let the chemistry do the heavy lifting.
- 4. While that paste is working its magic, take your oven racks to the sink. Soak them in hot, soapy water. If they’re particularly crusty, a little bit of dish soap and some elbow grease will do the trick. Getting these clean ensures that they don’t interfere with heat distribution when you’re actually cooking.
- 5. Once the baking soda has sat long enough, grab a damp cloth and start wiping away the grime. You’ll likely see the paste turning brown as it lifts the grease. Keep wiping with fresh water until the surfaces are clean. I always finish by doing a quick scan with my infrared thermometer to make sure there isn’t any residual moisture trapped in the seals, as moisture can affect how the door closes.
- 6. Don’t forget the glass door. A greasy window doesn’t just look bad; it can actually absorb more heat, making your oven work harder. Use a non-abrasive sponge and a bit of the same baking soda mixture to get that glass crystal clear so you can actually see your food cooking without having to open the door and let all the heat escape.
- 7. Finally, give the whole interior a quick wipe with a dry microfiber cloth to remove any leftover dampness. Once everything is completely dry, slide your clean racks back in. Now, when you turn it on, the heat will circulate exactly how it was designed to, rather than being wasted on burning off old grease.
Natural Oven Cleaner Recipes to Save You Money
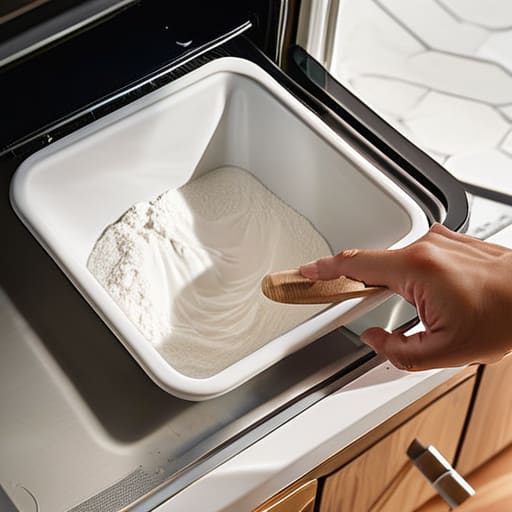
I’ve always been a bit skeptical of those heavy-duty, store-bought sprays. Most of them are packed with harsh fumes that linger in your kitchen long after you’re done, and frankly, they’re an unnecessary expense. When I’m auditing homes, I look for ways to cut down on waste, and that includes the chemicals sitting under your sink. Instead, I stick to a few natural oven cleaner recipes that actually work without costing a fortune. A simple paste of baking soda and water is my go-to; it’s abrasive enough to tackle stubborn grime but gentle enough that you aren’t breathing in toxic vapors while you work.
If you’re dealing with something more intense, like removing burnt food from oven racks, try a soak in hot water and a bit of white vinegar. It’s much more effective than scrubbing until your arms ache. I also make it a point to check the interior surfaces regularly; preventing grease buildup in ovens is way easier than trying to scrape off carbonized sludge six months later. Keeping things clean through regular, low-cost maintenance is just smarter for your wallet and the planet.
Preventing Grease Buildup in Ovens for Better Efficiency
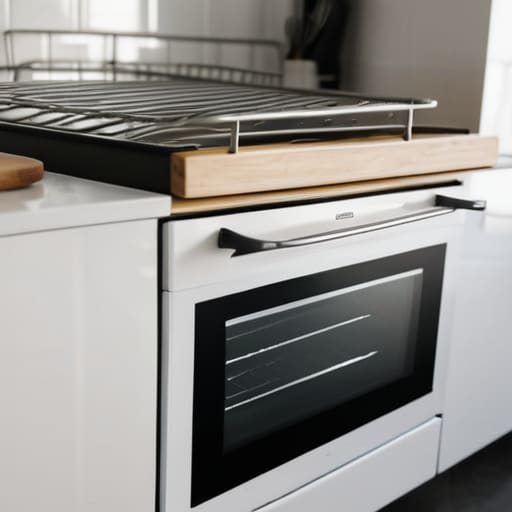
The best way to handle a massive cleaning job is to make sure it doesn’t happen in the first place. I’ve found that most people wait until their oven looks like a disaster zone, but that’s when the grease starts carbonizing and sticking to the walls. To avoid this, I always recommend a quick wipe-down after the oven has cooled. Preventing grease buildup in ovens is much easier when you catch those tiny splatters before they bake into the enamel. If you’re roasting something particularly fatty, like a chicken, try placing a baking sheet on the rack below to catch any rogue drips.
It’s also worth paying attention to the smaller details that often get ignored. For instance, if you notice crumbs or spills near the heating elements, take a moment to clear them out. Cleaning electric heating elements shouldn’t be a regular chore, but ensuring they are free from debris prevents uneven heat distribution and unnecessary power draw. When you keep the interior tidy, your oven doesn’t have to work nearly as hard to maintain a consistent temperature, which keeps your energy consumption in check.
5 Pro-Tips to Keep Your Oven Running Lean and Clean
- Check your door seals regularly; if they’re cracked or brittle, heat escapes, your oven works overtime, and you’re literally throwing money out the window.
- Don’t let a mountain of burnt-on carbon build up, as it can actually act as an insulator, making your heating elements work harder and less efficiently to reach the right temp.
- Use a scraper for those stubborn, baked-on bits instead of aggressive chemical sprays that can leave a residue and mess with the oven’s internal sensors.
- Keep the glass clear of grease splatters; a clean window lets you see exactly when your food is done, preventing you from overcooking and wasting unnecessary electricity.
- Always let the oven cool completely before you start cleaning—trying to scrub a warm oven is a recipe for a mess and can lead to uneven heat distribution if you’re messing with the components.
The Bottom Line on Oven Efficiency
A clean oven isn’t just about aesthetics; it’s about thermal efficiency. When grease and carbon buildup coat your heating elements, they act as insulators that force your appliance to work harder and pull more power just to reach the same temperature.
Skip the expensive, chemical-heavy commercial cleaners. Using natural alternatives like vinegar and baking soda is a win-win—it saves you money, keeps your kitchen air cleaner, and prevents harsh residues from interfering with your oven’s performance.
Consistency is your best tool for long-term savings. Catching spills early and doing quick, regular wipe-downs prevents the heavy, baked-on grime that eventually turns a simple cleaning task into an energy-draining nightmare.
Efficiency Beyond the Thermostat
We often focus so much on high-tech smart meters and insulation that we overlook the basic physics of our kitchen; a layer of burnt-on grease isn’t just an eyesore, it’s a thermal barrier that forces your oven to work harder and pull more power just to reach temperature.
Tobias Nkemdirim
The Bottom Line on Oven Care
At the end of the day, keeping your electric oven clean isn’t just about having a kitchen that looks good for photos; it’s about functional efficiency. We’ve looked at how a deep clean removes the carbonized grease that acts like an insulator, forcing your heating elements to work twice as hard to reach the right temperature. By using those natural, DIY cleaning recipes we discussed, you’re also avoiding the cost and chemical footprint of heavy-duty commercial sprays. It really comes down to a simple cycle: clean regularly, prevent buildup with simple habits, and use the tools you already have to stop wasting energy on an appliance that’s struggling to do its job.
I know that deep-cleaning an oven feels like a massive chore, especially when you’re already busy, but I promise it’s worth the effort. Every time you clear out that old grease, you’re making a choice to live more intentionally and spend less on your monthly utility bills. We often think that living sustainably requires massive solar arrays or expensive retrofits, but it’s actually found in these small, smart changes we make in our daily routines. Don’t let a dirty appliance drain your wallet or your impact. Take the time to do it right, and your oven—and your bank account—will definitely thank you.
Frequently Asked Questions
Is it actually worth the time to clean the heating elements, or does that just make the oven more prone to breaking?
It’s definitely worth the time. I’ve seen too many people skip this, but when grease or food debris bakes onto those elements, they have to work harder and run longer to reach the set temperature. That’s just wasted electricity. As long as you’re gentle—no harsh scrubbing or soaking the electrical connections—cleaning them actually extends their life by preventing overheating. Keep them clear to keep your energy draw efficient and your heat consistent.
How often should I actually be doing a deep clean to see a real difference in my energy usage?
Honestly, if you’re seeing carbon buildup or thick grease layers, you’re already losing energy. I’d aim for a deep clean every three months. It sounds frequent, but it’s about maintaining that thermal efficiency. If your oven has to fight through layers of old residue just to heat up, it’s working harder and pulling more power than necessary. Keep it tight and quarterly; your utility bill will thank you.
If I use a self-cleaning cycle, am I actually saving energy or am I just spiking my electricity bill for an hour?
Honestly? You’re likely spiking your bill. Those self-cleaning cycles are massive energy hogs because they crank the heat to extreme temperatures for a long stretch. I’ve seen the data—it’s a huge draw on your meter. If you’re trying to keep costs down, skip the cycle. A manual scrub with a bit of baking soda is much more efficient. It takes more elbow grease, but it’s better for your wallet and the grid.
