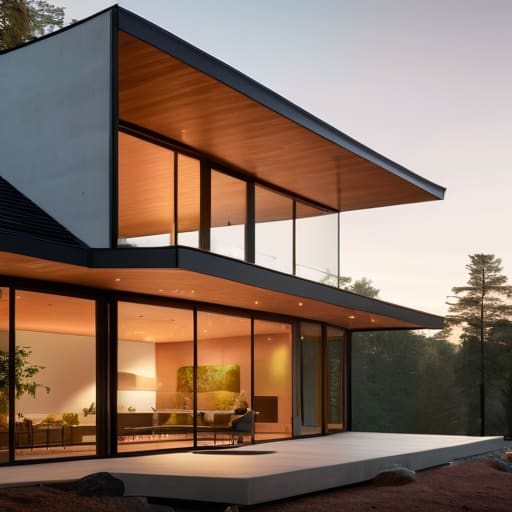
I still remember standing in my old rental apartment last February, shivering under three layers of wool while watching the thermostat climb, only to feel a freezing draft hit my ankles ten minutes later. It felt like I was literally paying to heat the street outside. Most people hear “passive house standards” and immediately think of some elite, multi-million dollar architectural flex designed only for the ultra-wealthy. They think it’s about fancy gadgets and impossible price tags, but that’s a complete misconception. To me, these standards aren’t a luxury status symbol; they are the ultimate blueprint for stopping the constant, invisible leak of money through your walls.
I’m not here to sell you on expensive, high-tech gimmicks that require a PhD to operate. Instead, I want to break down how the core principles of passive house standards can actually be applied to real, everyday living without draining your savings. I’ll show you the data-driven ways to prioritize airtightness and insulation so you can finally stop throwing money away on energy you don’t even need. Let’s get practical about making your space efficient, comfortable, and—most importantly—affordable.
Table of Contents
Mastering Energy Efficient Building Envelopes on a Budget
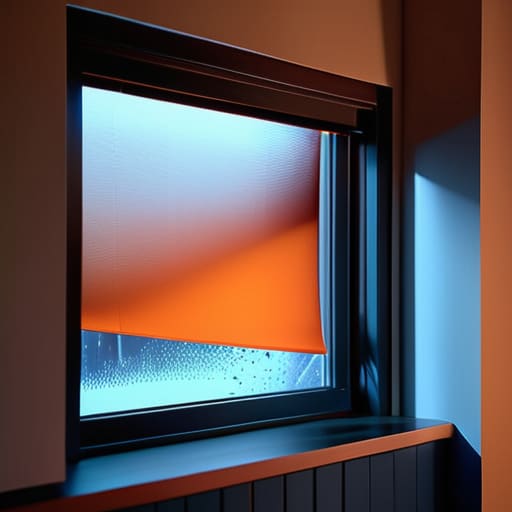
When I walk into a drafty rental, my first instinct is to grab my infrared thermometer and look for where the heat is escaping. Most people think achieving a high-performance home requires a massive construction budget, but it really comes down to the integrity of your energy efficient building envelopes. You don’t need to tear down your walls to start seeing results. If you’re renovating, focus on the “shell” of your home first. Even something as simple as upgrading to high-quality weatherstripping or adding cellular shades can act as a budget-friendly barrier against the elements.
The real game-changer, however, is addressing how your home manages temperature transitions. I always tell my clients to look for signs of a thermal bridge free design—basically, ensuring there are no direct paths for heat to bypass your insulation. If you can’t afford a full-scale overhaul, focus on sealing the gaps around windows and doors. It’s about creating a continuous layer of protection. By prioritizing these small, strategic fixes, you’re essentially building a customized shield that keeps your money inside your wallet instead of letting it leak out through the cracks.
The Magic of Thermal Bridge Free Design
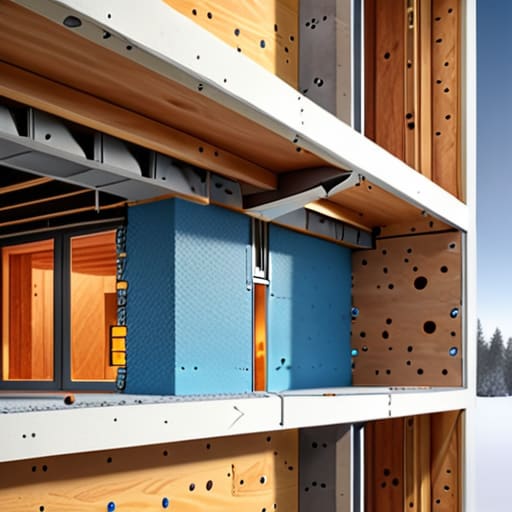
If you’ve ever walked past a wall and felt a weirdly cold draft even though the heater is cranking, you’ve likely felt the sting of a thermal bridge. In my audits, I see this all the time: heat escaping through structural “shortcuts” like steel studs or concrete balconies. This is where thermal bridge free design becomes a game changer. Instead of just slapping more insulation on the inside, you’re essentially designing the building so there are no continuous paths for heat to leak out. It’s about creating a seamless, unbroken layer of protection.
Think of it like a high-quality thermos versus a cheap plastic cup. A thermos works because there’s no way for the heat to find an exit; that’s the goal here. By implementing high-performance insulation techniques that wrap the entire structure, you eliminate those tiny temperature gaps that cause condensation and mold. It might sound technical, but it’s really just about being smart with how materials meet. When you stop the leaks at the source, you don’t just save money—you actually make the home feel consistently comfortable rather than a constant battle against cold spots.
5 Practical Ways to Bring Passive House Logic to Your Home
- Seal the leaks first. Before you go buying fancy solar panels, grab some weatherstripping and caulk. I always use my infrared thermometer to find those tiny drafts around window frames; stopping air from escaping is the cheapest way to mimic a high-performance envelope.
- Don’t underestimate window treatments. You don’t need triple-pane glass right away to see a difference. Heavy, thermal-lined curtains can act as a secondary barrier, keeping the heat in during the night and blocking the sun when it’s too intense.
- Optimize your ventilation. Passive houses rely on constant, controlled airflow, but you can do a budget version by using window fans strategically or ensuring your existing vents aren’t clogged with dust, which forces your heater to work twice as hard.
- Manage your internal heat gains. It sounds small, but being mindful of where you use high-energy appliances can help. If you’re running a dryer or a dishwasher during the peak of a heatwave, you’re essentially fighting your own cooling system.
- Think about thermal mass. If you have concrete or tile floors, let them soak up the sun during the day. It’s a basic principle of passive design—using the materials already in your house to store heat and release it slowly when the temperature drops.
The Bottom Line on Passive House Standards
You don’t need a massive construction budget to start; focus on sealing your building envelope and eliminating thermal bridges first to stop heat from leaking straight out of your wallet.
Efficiency isn’t about luxury gadgets; it’s about smart, data-driven design that prioritizes keeping the warmth you’ve already paid for inside your living space.
Small, intentional changes to how a house is built or retrofitted can drastically lower your long-term utility bills and make a sustainable lifestyle actually affordable.
## The Real Cost of Convenience
“We’ve been conditioned to think that a comfortable home requires a massive furnace running on overdrive, but passive house standards prove that if you actually build the house right the first time, you can stop paying a ‘waste tax’ to your utility company every single month.”
Tobias Nkemdirim
Cutting Costs, Not Corners
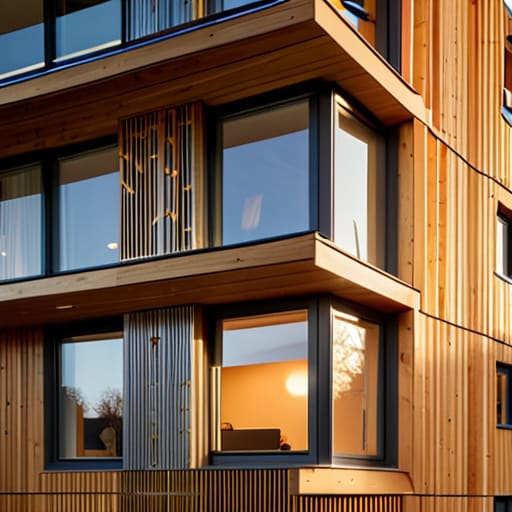
At the end of the day, achieving passive house standards isn’t about chasing some unattainable architectural trophy; it’s about the fundamentals. We’ve looked at how a tight building envelope keeps your heat where it belongs and why eliminating thermal bridges is the smartest way to stop bleeding money through your walls. Whether you are retrofitting an old rental or planning a new build, the goal remains the same: create a continuous, insulated layer that works for you, not against you. It’s about being intentional with your materials and prioritizing the physics of heat flow over expensive, flashy gadgets that don’t actually move the needle on your utility bill.
I know it can feel overwhelming when you look at the technical specs, but remember that sustainability shouldn’t be a luxury reserved for the wealthy. Every small tweak to your insulation or every gap you seal is a step toward a home that respects both your wallet and the planet. We have to stop accepting energy waste as a “cost of living” and start treating it as a design flaw we can actually fix. If you start small and focus on the data, you’ll find that living efficiently is not only possible—it’s actually much more comfortable. Let’s stop throwing money out the window and start building homes that actually hold their value.
Frequently Asked Questions
If I can't afford a full-scale passive house build, are there specific retrofitting steps I can take to my current rental or home to mimic these standards?
Look, I get it. Most of us aren’t building from scratch. If you’re in a rental or an older home, you can still mimic these standards without a total overhaul. Start with the “low-hanging fruit”: seal those drafts around windows and doors with weatherstripping, and add heavy thermal curtains. If you own the place, upgrading to triple-pane windows or adding attic insulation is a game changer. It’s about stopping the leaks first.
How much of an actual impact will these changes have on my monthly utility bills compared to just buying better appliances?
Look, I get the temptation to just swap out the fridge and hope for the best. But here’s the reality: appliances are just the end of the line. If your house is a sieve, you’re basically trying to cool the entire neighborhood. Fixing your envelope and eliminating thermal bridges tackles the massive, constant energy drain. It’s the difference between buying a more efficient lightbulb and actually fixing the hole in your roof. The envelope wins every time.
Won't sealing a house this tightly cause issues with moisture buildup or indoor air quality?
That’s the first thing everyone asks me when I pull out my infrared thermometer. It’s a valid concern—if you seal a house tight without a plan, you’re basically living in a plastic bag. But the trick isn’t just sealing; it’s controlled ventilation. You need an ERV or HRV system. These units swap stale, moist air for fresh, tempered air while keeping the heat inside. It’s about managing airflow, not just cutting it off.
