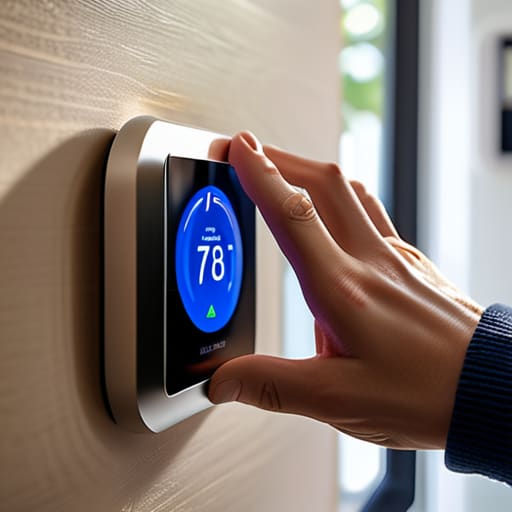
I remember standing in my old rental apartment last February, shivering under three blankets while staring at a utility bill that felt like a personal insult. I knew my heating was inefficient, but I assumed that fixing it required a massive renovation budget or a degree in electrical engineering. The truth is, most people think smart thermostat installation is some high-tech ordeal reserved for luxury smart homes, but it’s actually one of the most accessible ways to stop bleeding cash. You don’t need to be an expert to take control of your climate; you just need to stop letting your HVAC system run on autopilot when nobody is home.
In this guide, I’m cutting through the marketing fluff to show you exactly how to handle your own smart thermostat installation without calling an expensive technician. I’ll walk you through the wiring basics, the common pitfalls that trip people up, and how to actually optimize your settings once the device is on the wall. No hype, no unnecessary gadgets—just the practical steps you need to lower your bills and finally make your home work for you.
Table of Contents
- Step-by-Step Instructions
- Mastering the C Wire Compatibility Check Without Breaking the Bank
- Decoding Your Wiring Diagram for Thermostats and Low Voltage Wiring
- 5 Pro Moves to Save You a Headache During Installation
- The Bottom Line on Your Smart Upgrade
- ## The Real Cost of Convenience
- The Bottom Line on Your Upgrade
- Frequently Asked Questions
Guide Overview
Tools & Supplies
- Screwdriver (Phillips or flathead for terminal screws)
- Smartphone (for app setup and photo documentation)
- Drill (optional, for mounting anchors)
- Smart thermostat (1 unit)
- Wall anchors and screws (included with unit)
- Wire labels (included with unit)
Step-by-Step Instructions
- 1. Before you even touch a screwdriver, you need to cut the power. Go to your breaker box and flip the switch for your HVAC system. I’ve seen too many people fry their new tech—or themselves—because they thought “it’s probably fine” to work on a live wire. Once the power is off, double-check by trying to turn on your current thermostat to make sure nothing happens.
- 2. Pop the cover off your old thermostat and grab your phone to take a photo of the wiring. This is the single most important step. I don’t care how “simple” the manual says it is; you need a visual reference of which colored wire goes into which lettered terminal. If you skip this, you’re basically gambling with your heating system.
- 3. Now, disconnect the wires one by one. I recommend labeling them with a bit of masking tape as you go, just to be safe. Once the old unit is off the wall, you’ll likely see a mess of wires and some old screw holes. Use the included wall plate from your new smart thermostat to cover the old holes, making sure it’s perfectly level so your new setup doesn’t look crooked.
- 4. Thread your wires through the center of the new wall plate and screw it into place. If your new kit came with anchors, use them. A loose thermostat isn’t just an eyesore; it can lead to intermittent connection issues that drive you crazy when the heat won’t kick in.
- 5. Connect the wires to the new terminals. This is where you follow that photo you took earlier. Match the wire from the “R” terminal on the old unit to the “R” terminal on the new one, and so on. Make sure the copper ends are straight and fully inserted into the connectors. You want a solid, clean connection every single time to avoid any energy-wasting glitches.
- 6. Snap the thermostat faceplate onto the base. You should feel a satisfying click. Once it’s seated properly, head back to your breaker box and flip the power back on. Your new device should light up, signaling that it’s ready to be brought to life through its app.
- 7. Follow the manufacturer’s app instructions to connect the device to your Wi-Fi and, more importantly, set your schedule. This is where the actual energy savings happen. Don’t just leave it on “Auto”; program it to drop the temperature when you’re sleeping or at work so you aren’t heating an empty house.
Mastering the C Wire Compatibility Check Without Breaking the Bank
Before you go out and drop a hundred bucks on a fancy new device, you need to do a proper c-wire compatibility check. I’ve seen too many people get halfway through a setup only to realize their old system doesn’t have that constant power line. If you don’t have a C-wire, your smart thermostat might try to “power steal” from your heating circuit, which is a recipe for a flickering screen or a dead HVAC system. Grab your phone, snap a clear photo of your current setup, and cross-reference it with the wiring diagram for thermostats provided by the manufacturer. It’s much better to find this out now than when you’re staring at a pile of disconnected wires on a Tuesday night.
If you find yourself lacking that fifth wire, don’t panic and don’t immediately call an expensive electrician. You can often use a C-wire adapter or a power extender kit. These are relatively cheap and can bridge the gap without requiring you to tear open your walls to run new cables. It’s all about finding the most efficient workaround so you can get back to setting those energy-saving schedules without breaking your budget.
Decoding Your Wiring Diagram for Thermostats and Low Voltage Wiring
Once you’ve pulled that old faceplate off, you’re going to see a mess of colored wires that probably looks more like a bowl of spaghetti than a piece of technology. This is where most people panic and call an electrician, but you don’t need to. The trick is to grab your phone, snap a clear photo of the current setup, and then cross-reference that with the wiring diagram for thermostats provided in your new device’s manual. I always tell my clients: don’t trust the colors alone. Labels like R, W, Y, and G are your best friends here, as they tell you exactly what each wire is doing regardless of its color.
If you’re dealing with low voltage thermostat wiring, you’re likely looking at thin, 18-gauge wires. It’s a common setup in older homes, but it’s also where things get tricky if you’re trying to achieve seamless smart home HVAC integration. Pay close attention to whether your system is strictly 24V; if you see thick wires connected with wire nuts, stop immediately—that’s a high-voltage system, and trying to force a standard smart unit onto it is a recipe for a blown fuse (or worse).
5 Pro Moves to Save You a Headache During Installation
- Take a photo of your old wiring before you touch anything. It sounds obvious, but once those wires pop out of the terminals, you’ll be staring at a mess of colors wishing you had a visual reference to go back to.
- Don’t skip the labeling process. Most smart thermostats come with little sticker tags for a reason—use them. Trying to guess if a wire is ‘R’ or ‘Rc’ based solely on color is a fast way to blow a fuse in your HVAC system.
- Check your Wi-Fi signal strength at the thermostat’s mounting location before you drill any holes. There’s nothing more frustrating than finishing a perfect install only to realize your router can’t penetrate that specific patch of drywall.
- Level the mounting plate. It’s a small detail, but if the base is crooked, the device looks cheap and can actually cause issues with the sensor readings or the faceplate clicking into place properly.
- Test the system immediately after wiring. Don’t just walk away once the screen lights up. Trigger the heat and the AC manually through the interface to make sure the communication between the thermostat and your furnace is actually solid.
The Bottom Line on Your Smart Upgrade
Don’t skip the wiring check; confirming you have a C-wire (or a compatible workaround) before you buy is the difference between a smart home and a pile of expensive plastic.
Treat your wiring diagram like a map—take a photo of your old setup before you touch anything so you aren’t guessing which wire goes where mid-installation.
The goal isn’t just a fancy gadget; it’s about precision. Once it’s installed, use those scheduling features to ensure you aren’t heating an empty house.
## The Real Cost of Convenience
“A smart thermostat isn’t just some flashy gadget for your wall; it’s a tool to stop your hard-earned money from leaking through your vents every time you forget to turn the heat down.”
Tobias Nkemdirim
The Bottom Line on Your Upgrade
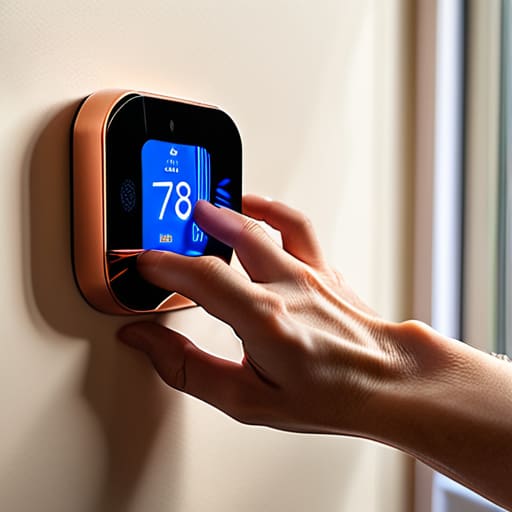
At the end of the day, installing a smart thermostat isn’t just about playing with new tech; it’s about taking control of your home’s environment and your bank account. We’ve walked through the heavy lifting—from verifying that C-wire compatibility so you don’t end up with a dead unit, to actually decoding those confusing wires behind your old wall plate. If you took the time to double-check your wiring diagram and ensure your voltage was correct, you’ve already done the hard part. These steps might feel tedious, but they are the difference between a seamless, automated home and a weekend spent frustrated with a pile of disconnected wires.
I know that sometimes these small DIY tasks feel insignificant when compared to massive global energy issues, but that’s where we get it wrong. Every degree you shave off your heating when you’re sleeping, and every bit of efficiency you gain by automating your cooling, adds up. You are proving that sustainability doesn’t require a massive budget or a complete home overhaul; it just requires being intentional. Stop letting your energy leak through the cracks of old, manual controls. Once this is set up, you can finally stop worrying about the thermostat and start enjoying a home that actually works for you.
Frequently Asked Questions
What do I do if my old thermostat doesn't have a C-wire and I don't want to call an electrician?
Look, I get it. You don’t want to drop $150 on an electrician just to swap a wall unit. If you’re missing that C-wire, your best bet is a C-wire adapter (sometimes called a Power Extender Kit). Most major smart thermostat brands sell these specifically for this headache. You just install it at the furnace end of your wiring. It’s a bit more fiddly than a standard install, but it’s a solid DIY fix that saves your wallet.
Is it actually worth the upfront cost if my house is already pretty well insulated?
Honestly, even in a well-insulated house, a smart thermostat is worth it—but for different reasons. If your insulation is solid, you aren’t fighting heat loss; you’re fighting human error. Most people over-correct, cranking the heat because they feel a draft, even when the thermal envelope is fine. A smart thermostat manages those micro-fluctuations and schedules so you aren’t heating an empty house. It’s about precision, not just retention.
Can I mess up my HVAC system if I wire the new thermostat incorrectly?
Look, I get the anxiety. I’ve been there, staring at a mess of wires wondering if I’m about to fry my furnace. The short answer is: yes, you can. If you cross the wrong wires or blow a fuse by misidentifying your power source, you could damage the control board or even the HVAC unit itself. That’s an expensive mistake. Always double-check your labels and, if you’re unsure, just turn off the breaker first.
