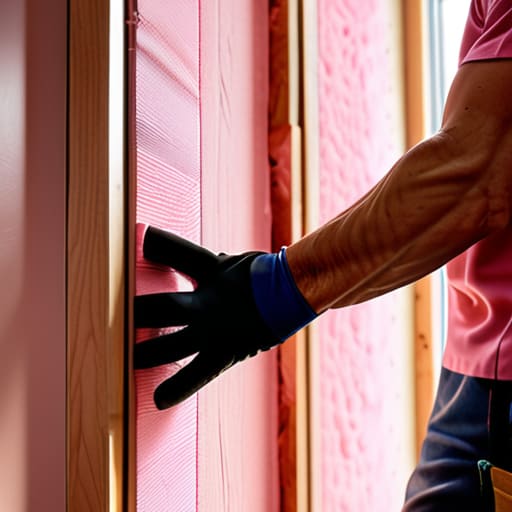
I still remember sitting in my old rental apartment three years ago, shivering under three layers of blankets while my heater groaned in a desperate, expensive attempt to fight the draft. I’d stare at the ceiling, wondering why I was paying a premium for warmth that seemed to vanish the second the furnace clicked off. Most people think you need a massive renovation budget or a contractor on speed dial to fix this, but that’s a lie. The truth is, most people are just throwing money into a void because they haven’t mastered the right home insulation methods for their specific space.
I’m not here to sell you on high-end, eco-luxury upgrades that require a second mortgage. My goal is to give you the straightforward, data-driven truth about what actually works to seal your home. I’ve spent my career auditing spaces and testing materials, and I’ve learned that efficiency is about strategy, not just spending. In this guide, I’m going to break down practical, low-cost ways to stop the leaks and slash your utility bills without the unnecessary hype.
Table of Contents
- Understanding R Value Explained Why Your Walls Matter
- A Practical Insulation Material Comparison for Small Budgets
- 5 Quick Wins to Stop the Heat Leakage
- The Bottom Line: How to Choose Your Insulation Strategy
- The Real Cost of Doing Nothing
- The Bottom Line on Keeping the Heat In
- Frequently Asked Questions
Understanding R Value Explained Why Your Walls Matter

When I’m out on an audit, I usually see people getting overwhelmed by technical specs, but everything boils down to one number: the R-value. If you want a quick R-value explained in plain English, think of it as a measure of how well a material resists heat flow. The higher the number, the better that material is at stopping heat from escaping your living space. It’s not just a math game; it’s the literal barrier between you and a massive utility bill.
I always tell my clients that choosing the right material isn’t about picking the most expensive option on the shelf; it’s about an insulation material comparison based on your specific home setup. For instance, if you’re looking at different attic insulation types, a higher R-value is your best friend because heat rises. If your attic is poorly insulated, you’re essentially running a heater in a room with no ceiling. Understanding this metric is the first step toward reducing heating costs without having to overhaul your entire house.
A Practical Insulation Material Comparison for Small Budgets
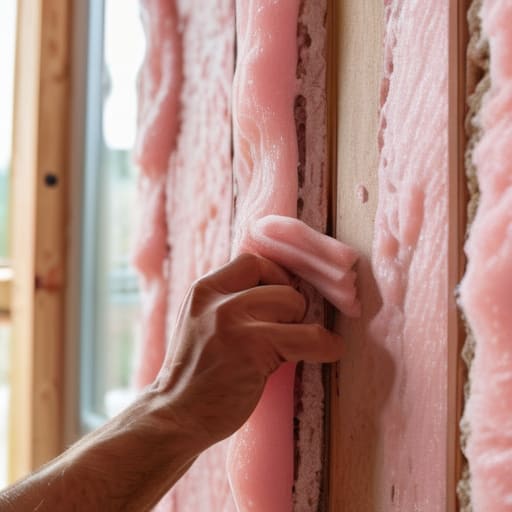
When I’m out on a site audit, I see people overspending on materials they don’t actually need. If you’re working with a tight budget, you need a realistic insulation material comparison rather than just buying whatever is most expensive. For instance, fiberglass batts are the “old reliable” of the industry. They’re affordable and easy to DIY, making them a solid choice for filling gaps in existing stud walls. However, they aren’t magic; if you leave even a tiny gap during installation, you’re essentially creating a thermal bridge that lets heat escape.
If you have a bit more to spend and want better long-term results, look into cellulose. It’s usually made from recycled paper, which fits my sustainability ethos perfectly. It’s great for reducing heating costs because it fills those awkward, hard-to-reach nooks better than rigid batts. For those looking at attic insulation types, blown-in cellulose is often the most efficient way to cover a large floor area without leaving gaps. Just remember: the goal isn’t just to add mass, but to create a continuous thermal envelope that actually works.
5 Quick Wins to Stop the Heat Leakage
- Seal the gaps around your windows and doors first. I always pull out my infrared thermometer for this; even a tiny draft you can’t feel can be a massive thermal bridge. A few rolls of weatherstripping or some simple caulk can make a bigger difference than expensive new insulation.
- Don’t overlook your attic. If your attic isn’t properly insulated, you’re basically heating the neighborhood. Adding a layer of blown-in cellulose is one of the most cost-effective ways to keep that warmth from rising straight out of your living space.
- Check your electrical outlets on exterior walls. They are notorious for letting cold air seep in. Installing inexpensive foam gaskets behind the faceplates is a tiny, five-minute job that actually works.
- Use heavy curtains as a secondary barrier. It sounds old-school, but thermal curtains act as an extra layer of insulation for your glass. Close them as soon as the sun goes down to trap the heat inside the room.
- Inspect your floorboards, especially if you’re in an older rental. If you can feel a chill coming up from the floor, consider adding a thick rug or even some underlayment. It’s a simple way to add thermal mass without a full renovation.
The Bottom Line: How to Choose Your Insulation Strategy
Don’t get paralyzed by the math; focus on your biggest heat leaks first—whether that’s an uninsulated attic or drafty floorboards—to get the fastest return on your investment.
High R-value is the goal, but it’s useless if you don’t seal the gaps; always pair your new insulation with basic weatherstripping to stop air from bypassing your hard work.
Sustainability doesn’t have to be expensive, so prioritize recycled or natural materials like cellulose whenever possible to keep both your utility bills and your carbon footprint low.
The Real Cost of Doing Nothing
“Most people think insulation is a luxury upgrade for high-end builds, but it’s actually the most basic form of financial defense. If you aren’t sealing the leaks in your envelope, you’re basically just paying your utility company to heat the neighborhood.”
Tobias Nkemdirim
The Bottom Line on Keeping the Heat In
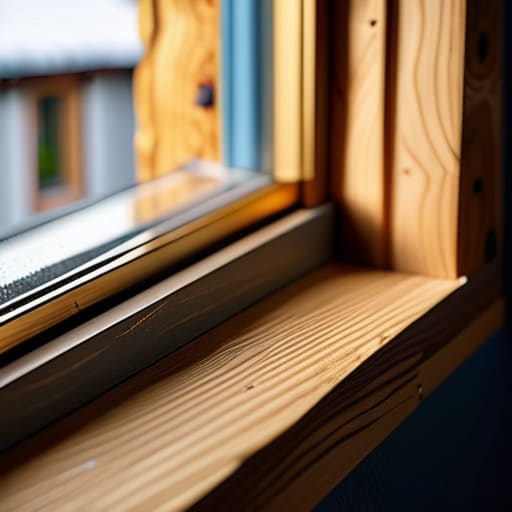
At the end of the day, improving your home’s insulation isn’t about choosing one “perfect” material; it’s about matching the right solution to your specific space and your actual budget. We’ve looked at how R-values dictate your thermal resistance and compared different materials to see what actually makes sense for a small-scale rollout. Whether you’re opting for a DIY weatherstripping fix or investing in more substantial blown-in insulation for your attic, the goal remains the same: minimizing heat transfer so you aren’t paying to heat the neighborhood. Remember, you don’t have to do everything at once. Start where the leaks are most obvious, like your windows or door frames, and build from there.
I know it can feel overwhelming, especially when you’re staring down a utility bill that seems designed to drain your bank account. But I promise you, these small, calculated shifts in how you manage your home’s envelope add up to massive wins over time. Every bit of energy you save is money back in your pocket and a smaller burden on the planet. We don’t need a total architectural overhaul to make a difference; we just need to stop the waste where it starts. Living sustainably shouldn’t be a luxury reserved for the wealthy—it’s a practical choice that anyone can make, one layer of insulation at a time.
Frequently Asked Questions
How do I know if my insulation is actually working or if it's just old and compressed?
Grab your infrared thermometer—that’s my go-to. If you see massive temperature swings between your walls and the outside air, or if you feel drafts near outlets, your insulation is likely failing. If you can access your attic, look for “clumping” or flat, thin spots in the fiberglass; once it’s compressed, it loses its ability to trap air, which is what actually does the work. If it looks like a pancake, it’s useless.
Can I add more insulation to my attic myself, or is that a job for a professional?
Honestly, it’s a bit of a toss-up. If you’re just blowing some loose-fill cellulose into a clear, accessible attic, you can definitely DIY it and save a decent chunk of cash. But if you’ve got weirdly shaped eaves, old wiring that looks sketchy, or you’re dealing with heavy fiberglass batts in tight spots, call a pro. I’ve seen too many people mess up ventilation while trying to save money, which just leads to mold.
Are there specific areas in a small rental where I can add insulation without losing my security deposit?
Since you’re renting, you can’t go ripping out drywall, but you can definitely tackle the “invisible” leaks. Focus on removable solutions: use heavy thermal curtains to block window drafts, or stick adhesive weatherstripping around door frames. I also swear by those foam window insulation kits—they’re cheap, easy to peel off, and don’t leave a trace. Just avoid anything permanent like spray foam. It’s all about sealing the gaps without leaving a mark for your landlord to find.
