I still remember sitting in my old rental apartment three years ago, wrapped in two blankets and shivering, while watching the thermostat climb higher and higher. I was literally burning money just to stay warm, and I knew it wasn’t because the heater was broken—it was because my walls were doing nothing to hold that heat in. Most people think that fixing your insulation for homes requires a massive renovation budget or a team of specialists, but that’s a total myth. You don’t need to be wealthy to stop your living room from feeling like a walk-in freezer; you just need to know where the leaks are.
I’m not here to sell you on expensive, high-tech gadgets that promise the world but barely move the needle on your utility bill. Instead, I’m going to walk you through the practical, data-driven ways to seal up your space without breaking the bank. We’re going to look at the real-world options for insulation that actually work for regular people living in regular houses. My goal is to give you a straightforward roadmap so you can finally take control of your energy costs and live in a home that actually stays comfortable.
Table of Contents
Understanding R Value Explained Without the Confusing Jargon
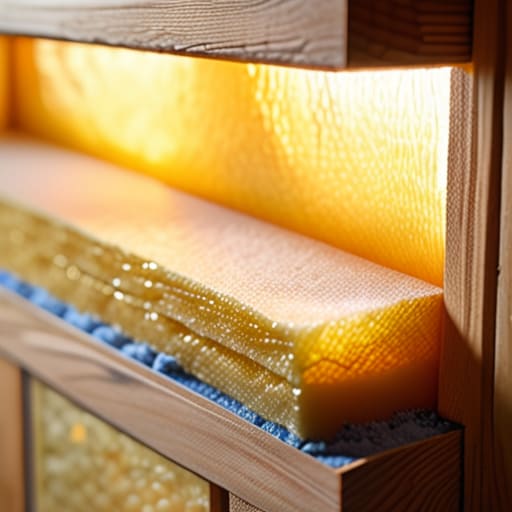
When I’m out on an audit, I usually see people staring at product labels like they’re reading ancient hieroglyphics. They see “R-value” and immediately tune out. But if you want to master reducing heating bills, you have to understand this one number. Think of the R-value as a measure of a material’s ability to resist heat flow. The higher the number, the better that material is at preventing heat loss. It’s basically a scorecard for how well a product keeps the warmth inside your living room during a freeze and keeps the summer heat out when things get stifling.
Don’t get bogged down in the physics, though. Just remember: a higher R-value means better home thermal performance. If you’re looking at different eco-friendly insulation materials, you’ll notice the numbers vary wildly. For instance, a thick layer of cellulose will naturally have a higher rating than a thin sheet of some basic foam. When you’re planning your energy efficiency upgrades, don’t just buy the cheapest option; look for the R-value that actually meets the specific needs of your walls or attic.
Smart Ways of Preventing Heat Loss on a Budget

You don’t need to gut your entire house to see a difference in your monthly statements. When I’m auditing a space, I usually start with the “low-hanging fruit”—the spots where air is actively escaping. A huge culprit is often the gaps around windows and doors. I always recommend grabbing some high-quality weatherstripping or even just using heavy, thermal curtains. It sounds basic, but it’s one of the most effective ways of preventing heat loss without spending a fortune. If you can feel a draft, you’re essentially paying to heat the neighborhood.
Another budget-friendly move is addressing your attic or crawl spaces. You don’t necessarily need a professional crew to come in and install expensive, high-tech systems right away. Sometimes, simply adding a layer of blown-in cellulose—which is one of those great eco-friendly insulation materials—can drastically improve your home thermal performance. It’s about plugging the leaks first. Once you stop the energy from escaping, you’ll notice that your heating system doesn’t have to work nearly as hard, which is the ultimate win for your wallet and the planet.
5 Low-Cost Fixes to Stop Your Heat from Escaping
- Seal the gaps around your windows and doors with weatherstripping. I’ve used my infrared thermometer more times than I can count to find those tiny, freezing drafts that most people just ignore until their heating bill arrives.
- Don’t forget your attic. If you can crawl up there and see your floor joists, you probably don’t have enough insulation. Adding a few layers of mineral wool or cellulose is one of the highest-impact moves you can make for your wallet.
- Address your outlets. It sounds weird, but cold air loves to leak through the electrical boxes in your exterior walls. You can grab some cheap foam gaskets at a hardware store and pop them behind the faceplates in about ten minutes.
- Use heavy curtains or even thermal blinds. It’s a simple way to add an extra layer of defense against the glass, which is usually the weakest link in your home’s thermal envelope.
- Check your loft hatch. Most people forget that the little door in the ceiling is often just a thin piece of wood that lets heat fly straight out. Adding a bit of insulation to the top of the hatch makes a massive difference.
The Bottom Line on Insulation
Don’t get paralyzed by the math; focus on finding the biggest heat leaks first—usually around windows, doors, and attic hatches—to get the fastest return on your investment.
High R-value doesn’t matter if the installation is sloppy; even the best materials won’t help if you leave gaps where air can just whistle right through.
Sustainability isn’t about buying the most expensive eco-gadgets; it’s about making smart, incremental upgrades that stop you from paying to heat the outdoors.
The Real Cost of Doing Nothing
“I’ve spent too many nights pointing an infrared thermometer at drafty corners to realize that poor insulation isn’t just a comfort issue; it’s a slow leak in your bank account. You aren’t just losing heat; you’re paying to heat the neighborhood.”
Tobias Nkemdirim
The Bottom Line
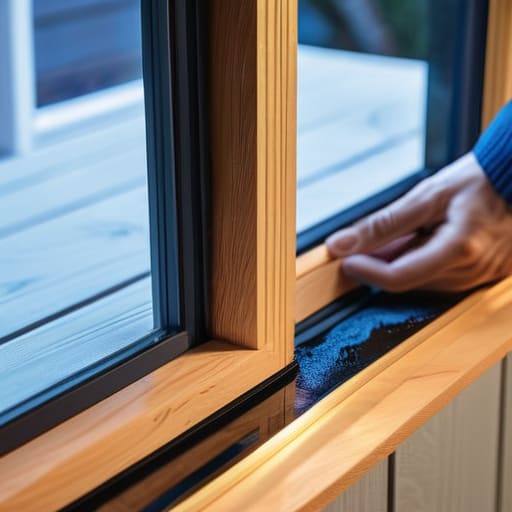
At the end of the day, fixing your home’s insulation isn’t about chasing some perfect, high-tech architectural ideal. It’s about the basics: understanding your R-values so you aren’t guessing, and finding those budget-friendly gaps where your money is literally leaking out into the atmosphere. Whether you’re sealing a drafty window frame or finally tackling that attic space, every small adjustment counts toward a more stable indoor temperature and a significantly lower utility bill. You don’t need to overhaul your entire house overnight; you just need to start where it makes sense for your wallet.
I still remember those freezing winters in my old rental, feeling like I was fighting a losing battle against the cold every single night. It’s frustrating, but it’s also fixable. Making your home more efficient shouldn’t be a luxury reserved for people with massive savings accounts. By taking these steps, you aren’t just saving money—you’re taking control of your space and your environmental footprint. Let’s stop letting our hard-earned cash vanish through the cracks and start building homes that are actually built to last. It’s time to make sustainability practical.
Frequently Asked Questions
How do I know if my insulation is actually working or if I'm just heating the outdoors?
The easiest way to tell? Grab my handheld infrared thermometer. If I point it at a wall and the temperature drops significantly compared to the center of the room, you’ve got a thermal bridge—meaning your heat is escaping. If you notice drafts near outlets or if your heater is running constantly just to maintain a baseline temp, your insulation is failing. Basically, if you’re paying to heat the street, your barrier is broken.
Is it worth spending money on attic insulation if my walls are already pretty well-insulated?
Honestly? Yes. I’ve seen plenty of homes where the walls are solid, but the attic is basically a giant chimney for heat. Heat rises—it’s basic physics. If your attic insulation is thin or non-existent, all that warmth you’re paying for is just leaking straight through the roof. Think of your home like a thermos; it doesn’t matter how thick the sides are if the lid is missing. Fix the attic first.
Can adding more insulation actually cause moisture or mold problems in an older home?
It’s a valid fear, and honestly, it’s one I see too often during my audits. In older homes, the walls need to “breathe.” If you slap heavy insulation against an old masonry wall without a proper vapor barrier or ventilation, you trap moisture. That trapped dampness is a recipe for mold. Before you go full-scale, always check your airflow. It’s better to do a targeted, breathable upgrade than to seal yourself into a damp box.
