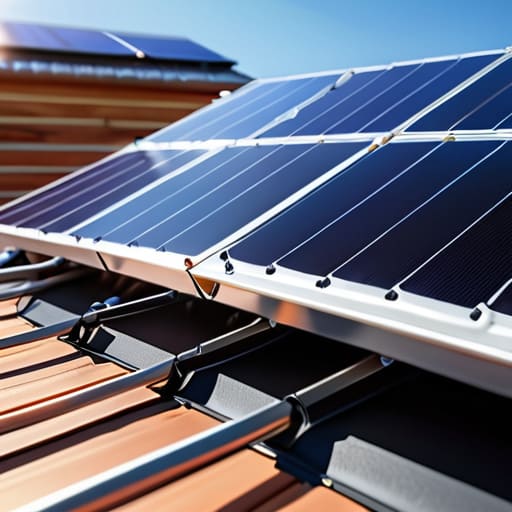
I remember sitting on my floor three years ago, surrounded by a tangled mess of copper and thick manuals, staring at a DIY solar kit that was supposed to be “plug-and-play.” Instead, I was staring at a potential fire hazard because I didn’t realize how finicky a proper solar panel electrical connection actually is. Most people think you just slap some panels on the roof and watch the meter spin backward, but that’s a dangerous myth that leads to massive energy leaks and, frankly, wasted money. If you treat your wiring like an afterthought, you aren’t just risking your hardware; you’re throwing away the very savings you worked so hard to invest in.
I’m not here to sell you on some high-end, overpriced installation package that you don’t actually need. My goal is to strip away the jargon and show you how to handle your solar panel electrical connection with precision and practicality. I’ll walk you through the actual mechanics of securing your setup so you can stop leaking power and start truly owning your energy. No hype, no fluff—just the data-driven steps you need to make sure your system is as efficient as it is sustainable.
Table of Contents
- Decoding Photovoltaic System Wiring Diagrams Without the Confusion
- Choosing Series vs Parallel Solar Connections for Maximum Savings
- 5 Ways to Nail Your Solar Wiring Without Blowing Your Budget
- The Bottom Line on Your Solar Setup
- ## The Real Cost of a Loose Connection
- Making Your Connection Count
- Frequently Asked Questions
Decoding Photovoltaic System Wiring Diagrams Without the Confusion
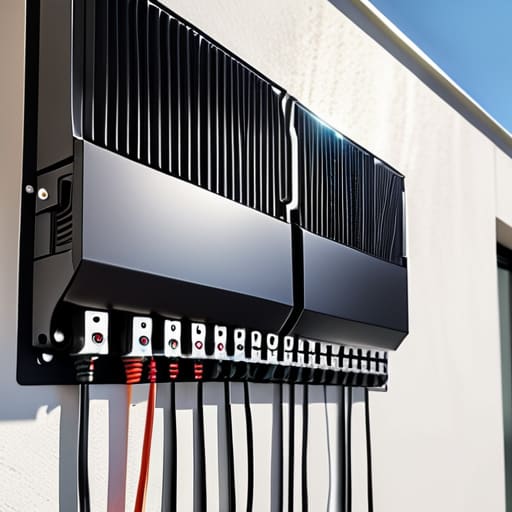
I’ve spent plenty of afternoons staring at a confusing mess of lines and symbols in a manual, feeling like I needed a PhD just to understand where the power actually flows. Most photovoltaic system wiring diagrams look like a bowl of spaghetti at first glance, but they’re actually just a roadmap for your energy. When you look at a diagram, don’t get bogged down by the tiny technical icons immediately. Instead, try to trace the path from the panels to the inverter. It’s all about understanding how the electricity moves from the roof down into your home’s system.
The most common point of confusion is usually the distinction between series vs parallel solar connections. If you see a single continuous loop in the drawing, you’re looking at a series setup, which bumps up your voltage. If the lines branch out like a tree, that’s parallel, which increases your amperage. I always tell my clients to identify these two paths first before worrying about the smaller details. Once you grasp how the layout handles the load, the rest of the components—like the breakers and the inverter—start to make a lot more sense.
Choosing Series vs Parallel Solar Connections for Maximum Savings
When you’re looking at your photovoltaic system wiring diagrams, you’ll eventually hit the fork in the road: do you wire your panels in series or parallel? It’s not just a technicality; it’s a decision that dictates how your money flows. If you wire in series, you’re stacking the voltage. This is great for keeping your current low, which means you can often use thinner, cheaper wires without losing efficiency. However, if one panel gets shaded by a stray tree branch, the whole string’s performance can tank. For me, that’s a massive headache I’d rather avoid.
On the flip side, parallel connections keep the voltage steady but increase the amperage. This is your best bet if you have partial shading issues, as it prevents one weak panel from dragging down the rest of the array. The catch? Higher amperage means you need beefier, more expensive cables to handle the load and meet your solar inverter wiring requirements. I always tell my clients to weigh the upfront cost of heavy-duty wiring against the long-term reliability of the system. It’s all about finding that sweet spot between initial investment and daily performance.
5 Ways to Nail Your Solar Wiring Without Blowing Your Budget
- Don’t skimp on the wire gauge; using undersized cables is a rookie mistake that creates resistance, turns your hard-earned energy into wasted heat, and drives up your bills.
- Keep your connections tight and clean—I’ve seen too many DIY setups fail because of loose terminals, which can cause arcing and potentially fry your expensive inverter.
- Use proper MC4 connectors rather than trying to “hack” a connection with electrical tape; a secure, waterproof seal is the only way to prevent moisture from creeping in and killing your efficiency.
- Plan your cable runs to be as short as possible to minimize voltage drop; every extra foot of wire is just another place for your electricity to leak away before it even hits your appliances.
- Always integrate a dedicated DC disconnect switch between your panels and your controller so you can safely cut the power for maintenance without having to play electrician in a live circuit.
The Bottom Line on Your Solar Setup
Don’t just wing the wiring; whether you go series or parallel depends entirely on balancing your voltage needs with your budget for thicker, more expensive cables.
Treat your connections like the foundation of your home—one loose or poorly crimped terminal can cause heat buildup and energy loss that eats your ROI for years.
Always prioritize quality connectors over the cheapest possible options to ensure your system actually delivers the power you’re paying for without constant maintenance headaches.
## The Real Cost of a Loose Connection
“I’ve seen too many people spend thousands on high-end panels only to watch their ROI vanish because of a sloppy wiring job; a solar connection isn’t just about making the lights turn on, it’s about ensuring every single watt you harvest actually makes it to your battery instead of bleeding out through heat loss.”
Tobias Nkemdirim
Making Your Connection Count
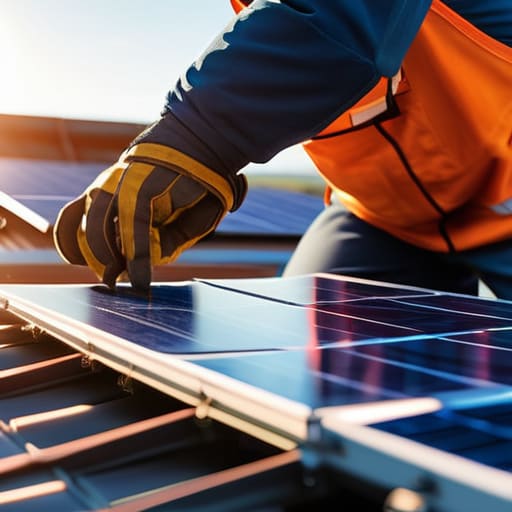
At the end of the day, getting your solar panel electrical connection right isn’t just about following a manual; it’s about protecting the investment you’ve worked hard to make. We’ve walked through the logic of reading those complex wiring diagrams and weighed the pros and cons of series versus parallel setups to find what actually fits your specific energy needs. Remember, a single loose terminal or a poorly planned circuit configuration can turn a high-performing system into a leaky bucket that drains your potential savings. Whether you are aiming for higher voltage or more flexibility with your current, the goal remains the same: maximize every single watt you harvest from the sun.
I know that staring at a pile of wires and mounting brackets can feel overwhelming, especially when you’re trying to do this on a budget. But don’t let the technical hurdles stop you from taking control of your own power. Every time you tighten a connection or optimize a circuit, you are moving one step closer to a home that works for you, rather than against your bank account. We don’t need perfect, expensive setups to make a difference; we just need smart, intentional choices that stop energy from slipping through the cracks. Get it right, keep it efficient, and start seeing the real-world impact on your monthly bills.
Frequently Asked Questions
Do I really need to hire a professional for the final connection, or can I safely DIY the wiring myself?
Look, I get the urge to DIY to save a few bucks—I’ve been there. But here’s the reality: while you can handle the mounting and basic cable runs, that final connection to your main breaker panel is where things get risky. One loose terminal or a mismatched breaker can cause a fire or fry your expensive inverter. For the sake of your home and your wallet, pay a pro for the final tie-in.
What kind of specific tools or safety gear should I have on hand to avoid blowing a fuse or damaging my panels?
Look, I’ve seen enough scorched wires to know that skipping the right gear isn’t worth the risk. At a minimum, grab a high-quality digital multimeter to verify voltage before you touch anything—guessing is how you fry a controller. You also need MC4 crimping tools for those solar connectors; don’t try to DIY them with pliers. Finally, grab some insulated gloves and safety glasses. It’s not about being paranoid; it’s about making sure your investment actually lasts.
How do I know if my current wiring and breakers can actually handle the extra load from a new solar setup?
Before you plug anything in, you need to do a quick audit of your main service panel. Grab your breaker list and check the total amperage. If your main breaker is already near its limit with your fridge, AC, and oven, adding solar might push the system into an overload. I always recommend checking if you have physical space for new breakers and if your wire gauges are thick enough to handle the new current without heating up.
