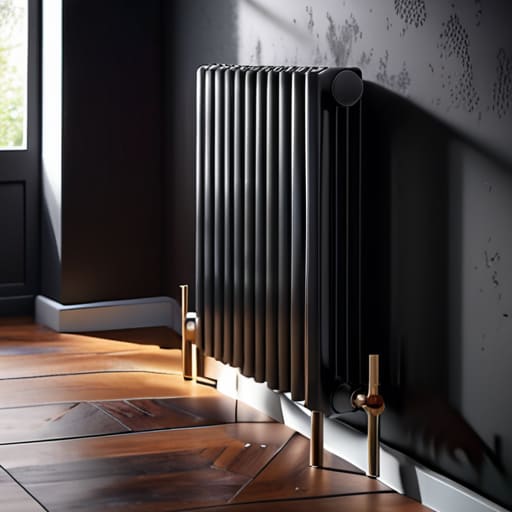
I still remember sitting in my old rental apartment three years ago, shivering under three layers of blankets while staring at a utility bill that looked more like a phone number. I’d cranked the heating to the max, but the room stayed ice-cold because the heat was just soaking straight into the brickwork behind my radiators. It felt like I was literally burning money just to keep the walls warm. Most people will tell you that you need a massive, expensive retrofit to fix your heating efficiency, but they’re wrong. Adding radiator insulation isn’t some high-tech, luxury upgrade; it’s a basic, common-sense fix for anyone tired of paying for heat that never actually reaches the center of the room.
I’m not here to sell you on some complicated engineering overhaul or overpriced gadgets that don’t work. My goal is to give you the straightforward truth about how to use radiator insulation to actually make a dent in your monthly costs. I’ll show you exactly what works, what’s a waste of your time, and how to implement these small changes without breaking the bank. Let’s stop letting your hard-earned cash leak through the walls.
Table of Contents
Using a Thermal Radiation Barrier to Stop Energy Leaks
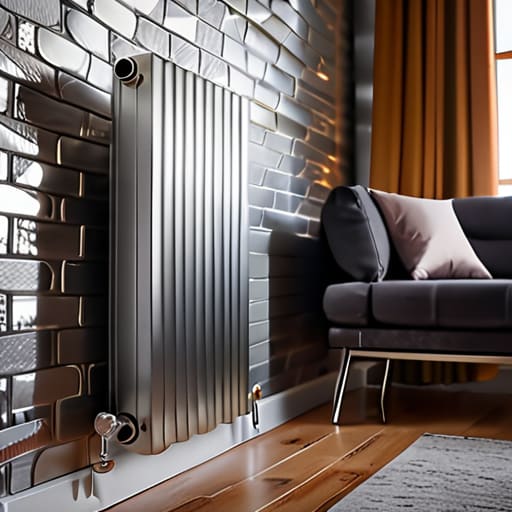
When I’m doing an audit, one of the first things I look for isn’t a broken boiler, but rather how much heat is simply being absorbed by the wall behind your radiator. If you have an external wall, that heat is essentially being dumped straight into the brickwork and lost to the outside. This is where a thermal radiation barrier becomes a game-changer. By placing a reflective layer between the unit and the wall, you’re essentially forcing that energy back into the living space instead of letting it vanish.
I usually recommend using radiator reflector panels because they are incredibly low-maintenance and cheap to install. It’s one of those energy saving home improvements that actually delivers immediate results. You aren’t just guessing if it works, either; if you use my handheld thermometer on the wall surface after installing them, you’ll see a noticeable drop in the wall’s temperature. It’s a simple, practical way of improving room temperature without having to crank up the thermostat and burn through your budget.
Simple Energy Saving Home Improvements That Actually Work
Beyond just fixing your radiators, you need to look at the bigger picture of how heat moves through your space. One of the most effective energy saving home improvements I recommend during my audits isn’t some expensive smart-home gadget, but rather addressing the drafty gaps around windows and doors. I’ve seen so many people crank up the thermostat because they feel a chill, not realizing that the heat is simply escaping through poorly sealed frames. Using simple weatherstripping or heavy curtains can make a massive difference in improving room temperature without touching your thermostat.
Another quick win is focusing on floor-level heat loss. If you have hardwood or tile floors, they act like a heat sink, pulling warmth away from your feet. Throwing down a thick rug in the room where your heater is located can actually help stabilize the air temperature. It’s about layering your defenses; when you combine these small habits with things like radiator reflector panels, you create a much more efficient environment. It’s not about a total renovation—it’s about stopping the leaks where they actually happen.
5 Low-Cost Hacks to Make Your Radiators Work Harder
- Get some reflective foil behind the units. If your radiator is against an external wall, it’s basically just heating the bricks outside instead of your living room. A cheap bit of insulation board stops that heat from escaping and pushes it back into your space.
- Check your radiator valves. If you’ve got Thermostatic Radiator Valves (TRVs), make sure they aren’t stuck. I’ve seen so many homes where one room is boiling and the other is freezing just because a valve hasn’t been turned in years.
- Watch out for “furniture blocking.” I know, it looks nice to have a sofa right in front of the heater, but you’re essentially creating a heat trap. Keep the space clear so the warm air can actually circulate through the room.
- Bleed your radiators regularly. If you notice the top of the radiator is cold while the bottom is hot, you’ve got trapped air. It makes the system run longer and harder to hit the temperature you want, which is just wasting money.
- Use dusters on the fins. It sounds minor, but a thick layer of dust on the radiator surfaces acts like a tiny, accidental insulator. Keeping them clean ensures the heat transfer stays as efficient as possible.
The Bottom Line on Radiator Efficiency
Stop treating your walls like heat sinks; installing reflective foil behind your radiators is one of the cheapest, most immediate ways to redirect heat back into your living space instead of letting it vanish into the masonry.
Efficiency isn’t about expensive smart-home gadgets; it’s about small, tactical fixes—like insulation and sealing leaks—that prevent you from paying to heat the outdoors.
Think of radiator insulation as a way to reclaim your budget; by making your existing heating system work harder, you’re lowering your monthly bills without needing to overhaul your entire home.
The Cost of a Cold Wall
“I’ve spent too many audits watching people pay to heat their exterior walls instead of their living rooms. If you aren’t insulating your radiators, you’re essentially just throwing cash at your masonry and hoping for the best.”
Tobias Nkemdirim
The Bottom Line on Radiator Insulation
At the end of the day, insulating your radiators isn’t some complex engineering feat; it’s just common sense. We’ve looked at how a simple thermal barrier can stop your heat from being swallowed by cold, external walls and how these small, tactical shifts fit into a broader strategy of home efficiency. By stopping that wasted energy from escaping into the masonry, you aren’t just making the room warmer—you’re making your heating system work less to achieve the same result. It’s about moving away from the “set it and forget it” mentality and actually taking control of where your money goes every single month.
I know that when you’re staring at rising utility bills, it can feel like you’re fighting a losing battle against a system designed to keep you consuming. But I promise you, sustainability doesn’t require a massive renovation budget. It starts with these small, intentional wins. Every bit of heat you redirect back into your living space is a win for your wallet and a win for the planet. Stop letting your hard-earned money leak through the cracks. Start small, stay observant, and remember that every degree saved is a step toward a more efficient life.
Frequently Asked Questions
Will putting insulation behind my radiators actually make the room warmer, or is it just a placebo effect?
It’s definitely not a placebo. When I’m doing audits, I often see radiators sitting against cold external walls. Without a barrier, that heat just gets absorbed by the masonry and wasted outside. By adding insulation, you’re redirecting that thermal energy back into the room instead of into the wall. You’ll feel the difference in air temperature faster, and your boiler won’t have to work nearly as hard to maintain it.
Can I use regular household materials like foil or cardboard, or do I need to buy specific radiator reflector panels?
Look, I get the temptation to grab some kitchen foil and cardboard, but please don’t do it. I’ve seen DIY setups like that, and they’re honestly a fire hazard waiting to happen. Cardboard is flammable, and thin foil can peel or trap moisture against your wall, leading to mold. If you want to do this right and actually see a difference on your bill, just invest in proper, fire-rated reflector panels. It’s a small upfront cost for actual safety and efficiency.
Is there any risk of overheating the radiator itself or causing damage to the wall if I block the airflow?
I get why you’re asking—nobody wants to turn their living room into a fire hazard. Honestly, if you use a proper reflective foil behind the radiator, you won’t overheat the unit. The goal isn’t to block the heat, but to redirect it forward into the room instead of letting it soak into the wall. Just make sure there’s still a tiny bit of breathing room so the metal can expand and contract naturally.
