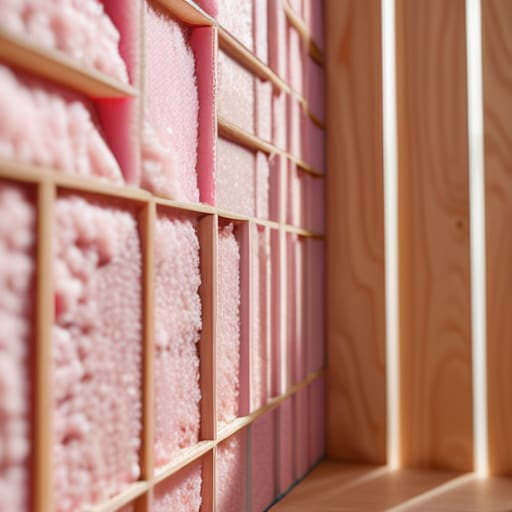
I still remember sitting in my old rental apartment, wrapped in three layers of blankets, watching the frost creep up the windowpanes while my heater struggled to do anything but eat my paycheck. I used to think that if I just cranked the thermostat, I’d finally be warm, but I was actually just heating the outdoors because my house was basically a sieve. Most people will tell you that insulating walls is some massive, expensive construction project that requires a contractor and a second mortgage, but that’s a total myth designed to keep you paying high utility bills.
I’m not here to sell you on high-end, unnecessary renovations that take years to pay off. My goal is to give you the straight truth about how you can actually tackle insulating walls without breaking the bank or turning your home into a construction zone. I’ll show you the practical, data-driven ways to identify where your heat is escaping and which methods actually move the needle on your monthly costs. We’re going to focus on smart, efficient upgrades that keep your footprint small and your wallet full.
Table of Contents
Understanding Thermal Resistance R Value Without Breaking the Bank

When you start looking into energy-efficient home upgrades, you’re going to run into the term “R-value” almost immediately. Don’t let the jargon intimidate you; it’s actually pretty simple. Think of R-value as a measurement of a material’s ability to resist heat flow. The higher the number, the better that material is at reducing heat loss through your structure. When I’m auditing a space with my infrared thermometer, I’m essentially looking for where the R-value is failing—those spots where the heat is just escaping because the barrier isn’t thick or dense enough.
Choosing between different insulation material types usually comes down to your specific budget and the layout of your house. For instance, you’ll often hear debates about spray foam vs fiberglass. Spray foam offers a much higher R-value per inch and can seal tiny cracks, but it’s definitely more expensive. Fiberglass is the budget-friendly classic, but it requires more careful installation to ensure you aren’t leaving gaps. My advice? Focus on finding the sweet spot where you get enough resistance to stabilize your indoor temperature without overextending your wallet.
Smart Energy Efficient Home Upgrades for Every Budget
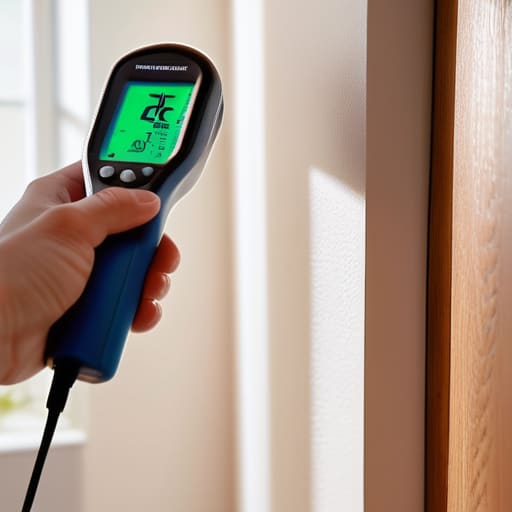
If you’re working with a tight budget, don’t feel like you need to strip your house to the studs to see a difference. Start with the low-hanging fruit: preventing drafts and cold spots around window frames and baseboards. I often find that a simple roll of weatherstripping or some high-quality caulk can stop a massive amount of air leakage for less than the cost of a takeout dinner. It’s not flashy, but when I use my infrared thermometer to scan a room after a quick seal, the temperature delta is usually night and day.
For those ready to invest a bit more into actual energy efficient home upgrades, you’ll eventually need to look at the cavity itself. This is where the debate of spray foam vs fiberglass usually comes up. Fiberglass batts are the budget-friendly, DIY-friendly standard, but if you have access to hard-to-reach gaps, spray foam offers superior air sealing. My advice? Assess your specific layout first. You don’t need the most expensive material on the market; you just need the right one to ensure you aren’t essentially paying to heat the neighborhood.
5 Low-Cost Ways to Tighten Up Your Walls
- Start with a thermal audit of your own. Before you buy a single roll of insulation, grab a handheld infrared thermometer—or even just your hand—and feel for drafts around baseboards and electrical outlets. Often, what feels like a “wall problem” is actually just a gap in the trim that you can fix with a $5 tube of caulk.
- Don’t overlook the “hidden” leaks in your electrical boxes. I’ve seen so many homes losing heat through the gaps around light switches and outlets on exterior walls. Installing inexpensive foam gaskets behind your faceplates is a tiny, almost invisible change that actually makes a measurable difference in your monthly bill.
- If you’re renting and can’t touch the actual wall structure, use thermal curtains as a secondary barrier. Hanging heavy, insulated drapes near exterior walls helps create a buffer zone, preventing the cold from radiating directly into your living space. It’s not a permanent fix, but it’s a smart way to manage heat without a construction crew.
- Focus on the “top and bottom” first. Heat tends to escape through the junctions where your walls meet the ceiling and the floor. Checking the insulation levels in your attic or crawlspace can often solve wall-related temperature swings more effectively than trying to drill into the walls themselves.
- Use the “Seal Before You Fill” rule. There is no point in pumping expensive insulation into a wall cavity if there are air gaps allowing drafts to bypass it. Always prioritize sealing cracks and crevices with expanding foam or caulk before adding any new thermal mass; otherwise, you’re just insulating moving air.
The Bottom Line on Wall Insulation
Focus on R-value where it matters most; you don’t need to strip every wall to the studs, but targeting your most problematic, drafty areas first provides the fastest return on your investment.
Stop treating insulation as a luxury expense and start seeing it as a way to reclaim your monthly budget from utility companies.
Small, strategic upgrades—like sealing gaps before adding bulk material—are often more effective than just throwing more fiberglass into a space that’s already leaking air.
## The Real Cost of Thin Walls
“I’ve spent enough time pointing an infrared thermometer at drafty walls to know that most people aren’t just losing heat; they’re literally watching their hard-earned money leak through the drywall. Insulating isn’t a luxury for the wealthy—it’s the most practical way to stop paying for the privilege of heating the street.”
Tobias Nkemdirim
Making the Move
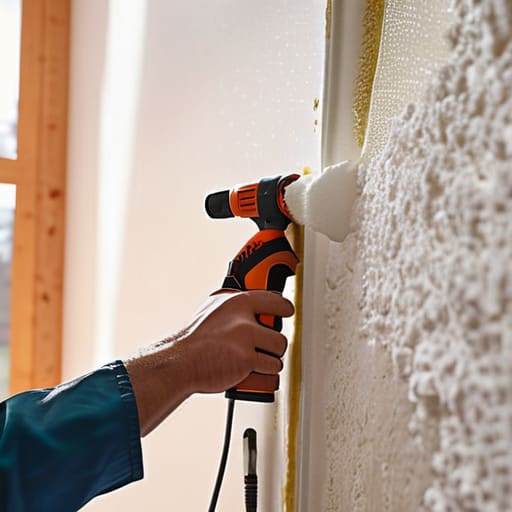
At the end of the day, insulating your walls isn’t about choosing between a massive renovation or doing nothing at all. It’s about finding that sweet spot between your current budget and the R-value your home actually needs to stay comfortable. Whether you’re opting for a DIY cavity foam injection or investing in more substantial blown-in insulation, the goal remains the same: stop the thermal leakage that’s currently draining your bank account. I’ve seen enough drafty rentals and inefficient builds to know that even the smallest upgrade to your wall assembly can lead to a noticeable drop in your monthly utility bills and a much more stable indoor temperature.
I know that looking at energy audits and material costs can feel overwhelming, especially when you’re trying to balance life and expenses. But remember, sustainability shouldn’t be a luxury reserved for people with massive savings accounts. Every time you plug a leak or add a layer of thermal resistance, you are making a deliberate choice to live more efficiently and reduce your footprint. Don’t feel like you have to fix everything by next Tuesday. Just pick one area, do it right, and start reclaiming your comfort and your cash. It’s worth the effort.
Frequently Asked Questions
Is it actually worth the cost to insulate my walls if I'm renting and can't make permanent changes?
Look, I get it. When you don’t own the place, spending big on permanent upgrades feels like throwing money into someone else’s property value. But you can still fight the draft without a hammer. Think non-permanent: heavy thermal curtains, window film, or even removable foam panels. They aren’t as “pro” as full cavity insulation, but they stop the heat bleed enough to lower your bills and keep you warm right now.
How can I tell if my heat loss is actually coming from the walls rather than just drafty windows or doors?
The easiest way to tell is to grab an infrared thermometer—it’s my go-to tool for a reason. Run it along your walls; if you see significant temperature drops or “cold spots” behind the drywall, that’s your insulation failing. If the walls feel consistently cold even when the heat is on, the issue is likely the structure itself. If the temperature is steady but you feel a breeze, you’re dealing with window or door drafts instead.
What’s the most cost-effective way to add insulation to existing walls without having to tear everything down?
If you aren’t ready to rip out your drywall, blown-in cellulose is your best bet. It’s a game-changer. A pro can drill small holes in your exterior or attic, blow the material into the wall cavities, and patch them up—minimal mess, massive thermal gain. If you’re looking for a DIY fix for a single room, heavy thermal curtains or even sealing those tiny air gaps around outlets can stop drafts immediately.
