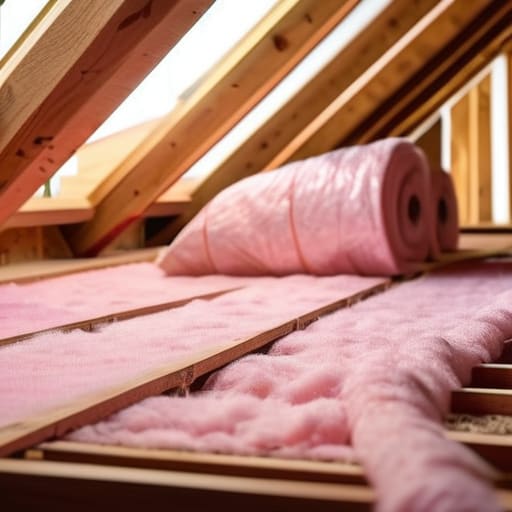
I still remember sitting in my old rental apartment, shivering under three layers of blankets while staring at a utility bill that made absolutely no sense. I’d spent a fortune on heating, yet the air felt like it was being sucked straight out of the room. I eventually grabbed my infrared thermometer and realized the culprit wasn’t a broken heater—it was the massive heat leak coming from above. People love to tell you that insulating the roof requires a massive, high-end renovation or a specialist contractor that costs more than your car, but that’s a total myth. Most of the time, you’re just leaking money through gaps you haven’t even noticed yet.
I’m not here to sell you on expensive, flashy tech or complicated architectural overhauls that only benefit big contractors. My goal is to give you the straight truth based on my audits and my own experience: how to tackle insulating the roof without breaking the bank. I’ll show you exactly where the leaks are hiding and which low-cost, high-impact fixes actually move the needle on your monthly bills. Let’s stop wasting energy just because it’s convenient and start making your home work for you.
Table of Contents
Improving Home Thermal Performance Without Breaking the Bank
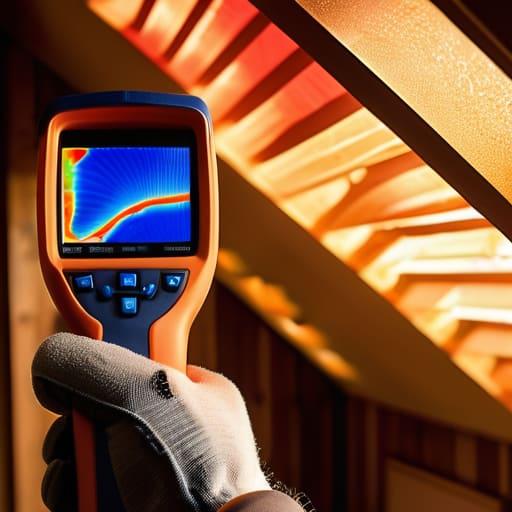
The reality is that most people assume energy efficiency requires a massive capital injection or a complete house renovation. I see this misconception all the time during my audits. In truth, improving home thermal performance doesn’t have to mean replacing your entire structure. It’s often about identifying the low-hanging fruit—the small, tactical fixes that stop your hard-earned money from literally evaporating into the atmosphere.
Instead of jumping straight to expensive solar arrays, start with the basics of reducing heat loss in attic spaces. If you can access your loft, even a DIY layer of mineral wool can make a massive difference in how your home holds onto warmth. I always tell my clients to look for the gaps first. Sometimes, a simple roll of foil-backed insulation or even just ensuring your existing loft insulation is spread evenly to the edges of the eaves is enough to stabilize your indoor temperature. It’s not about being perfect; it’s about being smart with what you have to ensure you aren’t heating the neighborhood instead of your living room.
The Secret to Reducing Heat Loss in Attic Spaces
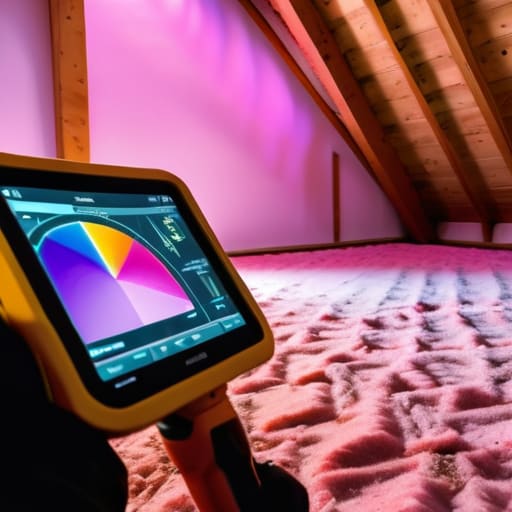
When I’m out on an audit, the first thing I do is head straight for the attic. Most people treat their attic like a graveyard for old boxes, but it’s actually the most critical zone for reducing heat loss in attic spaces. If your attic isn’t properly managed, you’re essentially running a heater while leaving the windows wide open. It’s not just about how much material you stuff up there; it’s about how that material is laid. I often see people piling up old blankets or mismatched scraps, but that’s a recipe for uneven temperature control and, worse, moisture buildup.
To get real results, you need to focus on the gaps. I always tell my clients that properly sealing air leaks around light fixtures and pipe penetrations is just as vital as the insulation itself. If you don’t address the airflow, you’re just insulating a draft. Also, keep a close eye on ventilation. If you pack everything in too tight without allowing for airflow, you risk preventing condensation in roof space, which leads to rot and structural issues. It’s a delicate balance, but getting it right is the smartest way to stabilize your indoor climate.
Quick Wins to Seal Your Roof and Save Cash
- Check your loft hatch. Most people forget it, but a poorly insulated or unsealed hatch is basically a massive hole in your thermal envelope; I always recommend adding weatherstripping or a dedicated hatch cover to stop that heat from escaping straight into the attic.
- Don’t ignore the gaps around service pipes. When electricians or plumbers run wires and pipes through your roof, they often leave small voids that act like chimneys for your warm air, so grab some expanding foam or fire-rated sealant to plug those leaks.
- Prioritize ventilation while you insulate. It sounds counterintuitive, but if you pack your roof too tight without proper airflow, you’ll trap moisture and end up with rot; you need to balance that insulation with eaves vents to keep the structure dry and healthy.
- Focus on the “rim joists” if you have a crawl space. If your roof structure meets your walls at an angle, that’s a prime spot for drafts; using spray foam or rigid foam board in these tight corners can make a massive difference in how stable your indoor temperature stays.
- Layer up, but do it smart. Instead of just dumping more cheap stuff in, try to ensure your insulation is continuous; even a small gap in your loft coverage can create a thermal bridge that lets the cold creep back in, defeating the purpose of the whole project.
The Bottom Line on Roof Insulation
You don’t need a massive renovation to see results; even small, targeted fixes in your attic can stop a huge chunk of your heat from escaping.
Think of insulation as a long-term investment rather than a cost, as the savings on your monthly utility bills will eventually pay for the materials themselves.
Always check for air leaks around light fixtures or vents while you’re at it, because even the best insulation won’t work if the heat is just whistling right past it.
The Real Cost of Doing Nothing
I’ve stood in too many drafty living rooms with my infrared thermometer, watching the heat literally vanish into the attic. People think insulation is a luxury for big renovations, but it’s actually the most basic way to stop paying for energy you aren’t even using.
Tobias Nkemdirim
Final Thoughts on Your Roof
At the end of the day, insulating your roof isn’t about some massive, expensive renovation that requires a second mortgage. It’s about identifying where your money is literally escaping into the sky and plugging those holes. Whether you’re focusing on upgrading your attic insulation, sealing those pesky air gaps around loft hatches, or ensuring your ventilation is actually working, the goal is the same: stop the bleed. I’ve seen too many people overpay for heating every single winter just because they ignored a few simple thermal leaks. By taking these steps, you aren’t just making your home more comfortable; you are making a data-backed decision to stop wasting resources that you worked hard to earn.
I know that looking at a dark, cramped attic can feel overwhelming, but don’t let that stop you from starting. Sustainability shouldn’t feel like an elite club reserved for people with massive bank accounts. It’s about the small, smart, and practical shifts that add up over time. Every bit of heat you trap inside is a win for your wallet and a win for the planet. You don’t have to be perfect, and you don’t have to do everything at once, but you do have to start. Let’s stop letting our hard-earned energy go to waste just because it’s easier to ignore the problem.
Frequently Asked Questions
Is it better to insulate the attic floor or the actual underside of the roof rafters?
Honestly, for most of the homes I audit, insulating the attic floor is the way to go. It’s much more cost-effective and keeps the heat where you actually live—in the living spaces below. Insulating between the rafters is great for controlling condensation, but it’s a bigger job and often more expensive. If you’re on a budget, focus on the floor first; it’s the fastest way to stop that heat from escaping straight up.
How do I make sure I'm not accidentally trapping moisture and causing mold issues?
This is a valid concern. If you seal a house too tight without managing airflow, you’re essentially building a petri dish for mold. The key is ensuring your insulation doesn’t block ventilation. Always maintain your soffit vents and ensure there’s a clear path for air to move through the attic. I always tell my clients: insulation stops the heat, but ventilation stops the rot. Don’t just plug holes; make sure the house can still breathe.
If I live in a rental, are there any low-cost ways to improve insulation that won't get me in trouble with my landlord?
I get this question all the time. When you don’t own the place, you can’t exactly rip out the ceiling to add rolls of mineral wool. Focus on the “non-invasive” stuff instead. Heavy, thermal-lined curtains over windows and draft stoppers at the base of doors are game-changers. You can also use removable window film to add an extra layer of insulation. These are cheap, easy to pack up when you move, and won’t cause any friction with your landlord.
