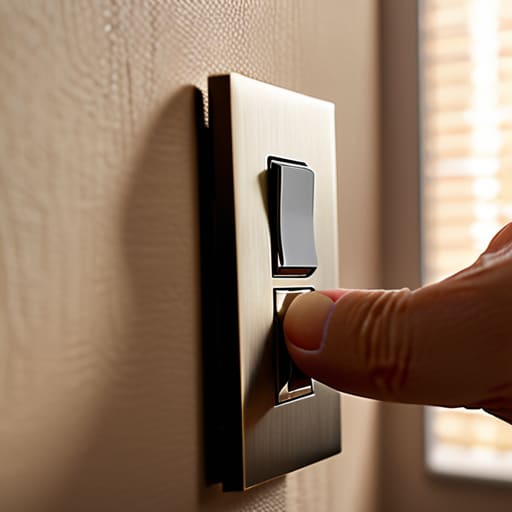
I remember sitting in my old rental apartment, staring at a single, glaringly bright overhead bulb that made it impossible to actually relax after a long day of auditing homes. I used to think that if I wanted mood lighting or better control over my electricity usage, I’d have to call an electrician and drop a few hundred bucks on a full rewiring job. But that’s a total myth. The truth is, a simple dimmer switch installation is one of those low-cost, high-impact wins that most people overlook, and it’s much easier than the pros make it sound.
In this guide, I’m stripping away the technical jargon to give you a no-nonsense blueprint for doing it yourself. I’ll walk you through exactly what tools you need, how to safely handle your wiring, and how to choose a switch that won’t make your bulbs flicker. My goal isn’t just to help you change a piece of plastic on your wall; it’s to show you how to take control of your energy consumption without breaking the bank. Let’s get to work.
Table of Contents
- Step-by-Step Instructions
- Prioritizing Electrical Safety Precautions Before You Begin
- Choosing Compatible Led Dimmer Switches for Maximum Efficiency
- Pro-Tips for a Smoother, More Efficient Install
- Quick Wins for Your Energy Audit
- ## Small Changes, Real Savings
- Making the Switch Count
- Frequently Asked Questions
Guide Overview
Tools & Supplies
- Screwdriver (Phillips and flathead for terminal screws)
- Non-contact voltage tester (to ensure power is off)
- Wire strippers (to prep wire ends if needed)
- Dimmer switch (1 unit)
- Wire nuts (1 small pack/few pieces)
- Electrical tape (1 roll)
Step-by-Step Instructions
- 1. Before you even touch a screwdriver, you need to head to your breaker box and kill the power to that specific circuit. I can’t stress this enough—don’t just rely on the wall switch being “off.” Use a non-contact voltage tester to confirm there is absolutely no juice running to the wires. I’ve seen too many people take shortcuts, and electricity doesn’t care about your confidence levels.
- 2. Once you’re sure it’s safe, unscrew the faceplate and pull the old switch out of the wall box. You’ll likely see a few wires attached to the terminals. Take a quick photo of how everything is currently wired; it’s a lifesaver if you get confused halfway through the process. Note which wire is the hot (usually black) and which is the ground (copper or green).
- 3. Disconnect the old switch by loosening the terminal screws and pulling the wires free. If the wires are old or the ends look frayed, give them a quick trim and a fresh strip of insulation. You want clean, solid contact points to ensure the new dimmer works without flickering or buzzing, which is a common headache with cheap installs.
- 4. Now, take your new dimmer switch and prepare the wires. If your dimmer uses screw terminals, wrap the stripped wire clockwise around the screw so that tightening the screw actually pulls the wire tighter instead of pushing it out. If it uses push-in connectors, just make sure the wire is stripped to the exact length specified in the manual.
- 5. Connect the ground wire first—this is your primary safety net. Attach the green or bare copper wire from your house to the green screw on the dimmer. Next, connect the hot and load wires (usually the black ones) to the corresponding terminals on the switch. I always double-check that no stray copper strands are sticking out, as exposed metal is a massive red flag for short circuits.
- 6. Gently tuck the wires back into the electrical box. This is the part where most people struggle because the box gets crowded fast. Don’t force it; instead, fold the wires in an accordion style so they sit neatly. Once everything is tucked in, screw the dimmer switch into the box and attach the faceplate.
- 7. Head back to the breaker, flip the power back on, and give it a test run. Start with the brightness at the highest setting and slowly dial it down. If you hear a weird humming or see the lights strobing, you might have a compatibility issue between the dimmer and your specific bulbs (especially if you’re using old-school LEDs). If it’s smooth, you’ve just successfully lowered your energy footprint.
Prioritizing Electrical Safety Precautions Before You Begin
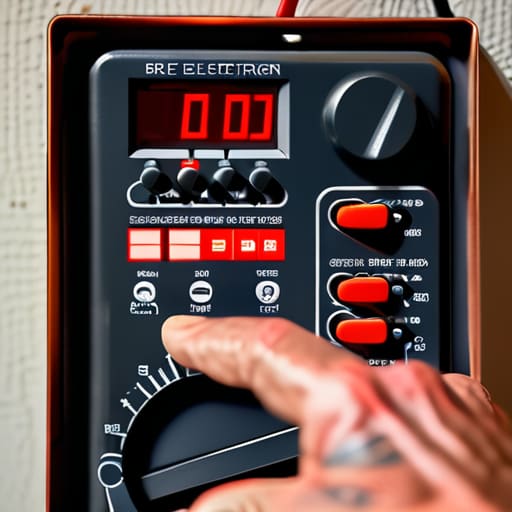
Before you even touch a screwdriver, we need to talk about the part that actually matters: not getting shocked. I’ve seen too many people rush through electrical safety precautions because they think a simple swap is foolproof, but electricity doesn’t care about your schedule. The very first thing you must do is head to your breaker box and kill the power to that specific circuit. Don’t just rely on the wall switch being “off”—that only cuts the load, not the live wire behind the plate. I always carry my multimeter when I’m auditing homes, and I suggest you do the same. Test the wires at the switch to ensure there is zero voltage before you start pulling things apart.
Once you’ve confirmed the power is dead, double-check your hardware compatibility. If you are moving from old incandescent bulbs to modern LEDs, you can’t just use any old hardware; you need compatible LED dimmer switches to avoid that annoying flickering or buzzing. Using the wrong tech can actually stress your circuit and shorten the lifespan of your bulbs. Take a quick photo of the existing setup before you disconnect anything—it makes the actual replacement steps much less stressful when you’re staring at a mess of wires later.
Choosing Compatible Led Dimmer Switches for Maximum Efficiency
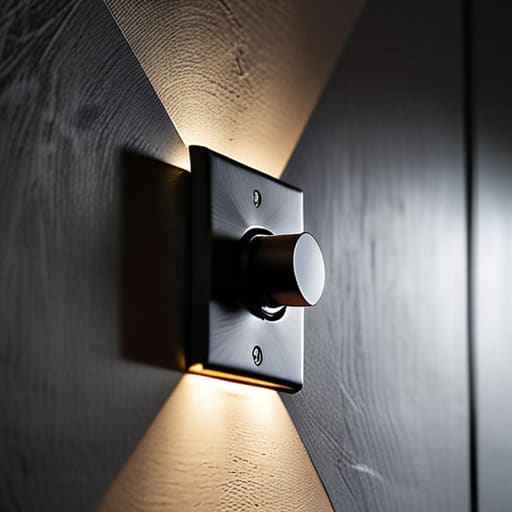
Here is the mistake I see most often during my audits: people buy a cheap dimmer, slap it on the wall, and then wonder why their lights are flickering like a horror movie. If you’ve already made the switch to LEDs to save on your power bill, you can’t just use any old hardware. You need to ensure you are using compatible LED dimmer switches specifically designed for low-wattage loads. Standard old-school dimmers were built for incandescent bulbs that pull a lot of power; when you use them with LEDs, the voltage regulation for lighting gets wonky, leading to that annoying strobe effect or even premature bulb failure.
If you want to take efficiency a step further, I usually recommend installing smart dimmer switches. These allow you to set schedules or dim the lights via your phone, which is a massive win for reducing phantom energy loads. Just make sure you check the box for “dimmable” compatibility before you head to the hardware store. It’s a small detail, but matching your tech correctly is the difference between a seamless, energy-saving setup and a frustrating, buzzing mess that wastes more energy than it saves.
Pro-Tips for a Smoother, More Efficient Install
- Double-check your bulb types before you even touch the screwdriver; if you’re installing a dimmer for LEDs, you absolutely need “dimmable” bulbs, otherwise, you’ll just deal with annoying flickering and a shortened lifespan for your lights.
- Use a voltage tester to confirm the power is truly dead—don’t just rely on the wall switch being off, because there’s nothing more frustrating (or dangerous) than finding a live wire halfway through the job.
- Don’t overstuff the electrical box; when you’re tucking those wires back in around the new dimmer module, keep things neat and avoid pinching any insulation, which can lead to heat buildup or short circuits later.
- Test the “low end” of your dimmer immediately after installation to ensure your lights don’t buzz or cut out at the lowest brightness setting, which is a common sign of incompatibility.
- Map out your lighting zones logically; instead of just replacing one switch, think about whether grouping certain lights on a single dimmer actually helps you manage your energy use better during the evening.
Quick Wins for Your Energy Audit
Don’t skip the compatibility check; if you pair an old-school dimmer with new LED bulbs, you’ll likely deal with annoying flickering and wasted energy.
Safety isn’t just a suggestion—always double-check that the circuit is dead with a tester before you touch anything, no matter how small the job seems.
Think of dimmers as a long-term investment, not just a convenience, because controlling light levels is one of the simplest ways to shave a few extra dollars off your monthly power bill.
## Small Changes, Real Savings
“Installing a dimmer switch isn’t just about setting the mood for a movie night; it’s a practical way to stop bleeding money through lights that are running at full blast when they don’t need to be. It’s one of those low-effort, high-reward upgrades that proves sustainability doesn’t have to be expensive.”
Tobias Nkemdirim
Making the Switch Count
At the end of the day, installing a dimmer switch isn’t just about changing a piece of hardware; it’s about taking control of your environment. We’ve covered the essential groundwork, from ensuring you have the right LED-compatible components to prioritizing electrical safety before you ever touch a screwdriver. By following these steps, you’ve moved past the “set it and forget it” mentality that leads to so much wasted electricity. You now have a setup that allows you to dial back the power when you don’t need it, ensuring that every watt used is actually serving a purpose rather than just vanishing into thin air.
I know that when you’re staring at a pile of wires, it can feel like a small, insignificant task. But I’ve spent enough time auditing homes to know that sustainability isn’t always about massive solar arrays or expensive heat pumps; it’s built on these small, cumulative wins. Every time you dim a light instead of leaving it at full blast, you’re making a conscious choice to stop wasting resources. You’re proving that living efficiently doesn’t require a massive bank account—it just requires a bit of intention. Let’s stop letting convenience dictate our consumption and start building homes that actually work for us and the planet.
Frequently Asked Questions
Will installing a dimmer switch cause my LED bulbs to flicker or buzz?
It’s a common headache, and honestly, it’s usually a compatibility issue rather than a broken switch. If your LEDs are flickering or buzzing, you’re likely using a standard dimmer designed for old incandescent bulbs. LEDs require a specific “trailing edge” dimmer to handle their low power draw. Before you swap anything out, check your bulb packaging for a “dimmable” label and ensure your switch is rated specifically for LED technology.
Do I need to replace my existing light bulbs with specific "dimmable" versions, or will any LED work?
Short answer: No, not every LED will work. If you try to use a standard non-dimmable LED on a dimmer switch, you’ll deal with annoying flickering, buzzing, or the bulb just dying prematurely. It’s a waste of money and energy. Always check the packaging for the “dimmable” label. Since I’m big on efficiency, I always recommend matching your bulbs specifically to your new switch to ensure you’re actually saving power without the headache.
Is it safe to install a dimmer switch on a circuit that already powers other appliances?
The short answer is: yes, but you have to be smart about it. You aren’t just adding a switch; you’re changing how that entire circuit handles load. If you put a dimmer on a shared circuit, everything on that line will dim when you turn the knob. That’s fine for lights, but it’s a disaster if a fan or a small appliance is plugged into another outlet on that same loop. Always check your circuit map first.
