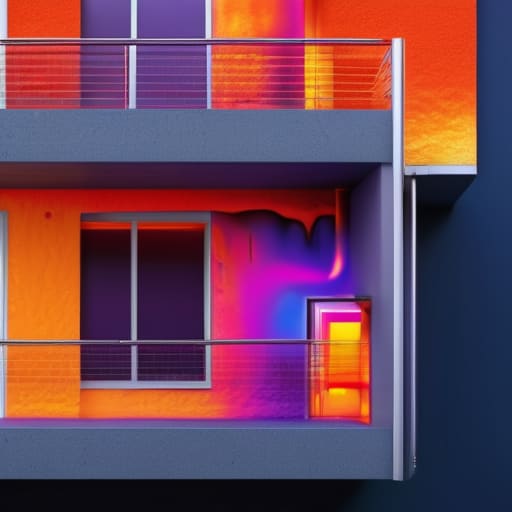
I still remember sitting in my old rental apartment three years ago, wrapped in two blankets and watching my breath mist in the living room, even though the heater was cranked to the max. I’d pull out my infrared thermometer, and the reading would tell the whole story: these massive, invisible cold spots bleeding heat straight through the wall studs. Most people think you need to gut your entire house or spend a fortune on high-end construction to fix this, but that’s a total myth. You don’t need a massive renovation budget to tackle thermal bridging solutions; you just need to understand where the heat is actually escaping.
In this guide, I’m cutting through the architectural jargon to give you the real-world tactics I use during my energy audits. I’m not here to sell you on expensive, unnecessary upgrades that only contractors love. Instead, I’ll show you how to identify these thermal leaks and apply practical, low-cost thermal bridging solutions that actually work. My goal is to help you stop paying for heat that just vanishes into thin air, ensuring your home stays efficient and affordable without breaking the bank.
Table of Contents
Smart Continuous Insulation Methods to Lower Your Monthly Bills
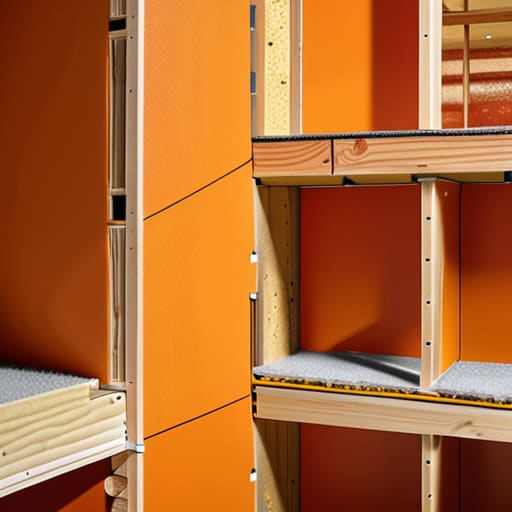
When I’m out on an audit, the biggest culprit I see isn’t usually a lack of insulation, but rather the gaps where it stops. If your insulation is just tucked into the cavities of your walls, you’re still losing heat through the studs themselves. This is where continuous insulation methods become a game-changer. By adding a layer of rigid foam or mineral wool boards directly to the exterior of your sheathing, you essentially wrap the house in a thermal blanket. This breaks the path that heat tries to take through the structural members, which is one of the most effective thermal bridge mitigation techniques available for anyone serious about their energy bills.
It’s not just about the warmth, though; it’s about the physics of moisture. When a structural element stays significantly colder than the air inside your home, you run a high risk of preventing condensation through thermal bridges by ensuring those cold spots don’t exist in the first place. If you can stabilize the temperature of your building envelope, you stop the cycle of dampness and mold that often follows a drafty winter. It’s a smarter way to approach energy efficient building design without needing to tear your house down to the studs.
Protecting Building Envelope Integrity Without Breaking the Bank
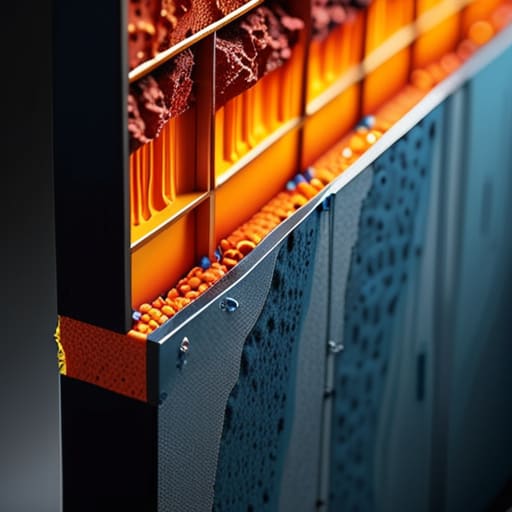
When I’m out on an audit, I often see people focus so much on thick insulation that they completely overlook the gaps where the real damage happens. Maintaining your building envelope integrity isn’t just about adding more material; it’s about ensuring there are no “weak links” in your home’s defense. If your exterior walls are solid but your window frames or floor joists are acting like heat highways, you’re essentially trying to fill a bucket with a hole in the bottom.
One of the biggest headaches I encounter is moisture. If you don’t address these temperature gaps, you’re looking at a serious risk of preventing condensation through thermal bridges becomes an uphill battle. When warm, moist indoor air hits a freezing cold spot on a structural element, you get mold. It’s a messy, expensive problem that most people don’t realize is caused by a simple lack of continuity. You can protect your home by focusing on these junctions—sealing the gaps around penetrations and ensuring your insulation layers actually meet—without needing to tear down your walls.
5 Quick Wins to Cut Down on Heat Leaks
- Seal your electrical outlets. Most people forget that the gaps around your socket plates are literal highways for cold air to travel from your walls into your living space. I always carry my thermometer to find these; a simple foam gasket behind the plate makes a massive difference.
- Don’t ignore the window frames. Even if you have double glazing, the point where the frame meets the wall is a prime spot for thermal bridging. Using a high-quality, flexible sealant around those edges can stop that annoying draft without needing to replace the whole window.
- Mind the floor-to-wall junction. This is where a lot of heat just vanishes. If you’re on a budget, adding a thick, insulated rug over areas where the floor meets the exterior wall can act as a decent temporary buffer to keep the warmth from escaping through the structure.
- Address your balcony connections. If you have a concrete balcony attached to your building, it’s basically acting like a giant radiator in reverse, pulling heat out of your room. While a full structural fix is expensive, ensuring your interior walls near the balcony are well-insulated can help mitigate the chill.
- Check your door sweeps. A door that doesn’t sit flush against the threshold is a major thermal bridge. Installing a heavy-duty sweep or even a simple weighted draft excluder is a low-cost, high-impact way to keep the conditioned air inside where it belongs.
The Bottom Line: Small Fixes, Big Savings
You don’t need a massive renovation budget to fight thermal bridging; focus on sealing the gaps in your building envelope first to see the fastest return on your investment.
Prioritize continuous insulation over just adding more bulk; it’s about creating an unbroken barrier that prevents heat from finding a shortcut through your walls.
Think of energy efficiency as a long game—addressing these small leaks now stops the slow drain on your bank account and reduces your carbon footprint every single month.
## The Hidden Leak in Your Wallet
“Thermal bridging is basically like leaving a window cracked open in the middle of winter; you can crank up the heat all you want, but you’re just paying to heat the neighborhood through those invisible gaps in your walls.”
Tobias Nkemdirim
Cutting the Leaks for Good
At the end of the day, fixing thermal bridges isn’t about performing a complete structural overhaul or buying the most expensive insulation on the market. It’s about being observant. Whether you’re focusing on continuous insulation to smooth out those temperature gaps or simply taking steps to protect your building envelope from the elements, the goal is the same: stop the bleed. By targeting those specific points where heat escapes, you aren’t just making your home more comfortable; you are actively plugging the holes in your wallet. Every small tweak to your home’s thermal integrity pays dividends in lower utility bills and a much more stable indoor climate.
I know that looking at a list of energy inefficiencies can feel overwhelming, especially when you’re working with a tight budget. But remember, sustainability shouldn’t be a luxury reserved for people with massive renovation funds. You don’t have to fix everything overnight to see a difference. Start with the low-hanging fruit, use the data to guide your next move, and keep an eye on those heat leaks. If we all take these small, intentional steps to stop wasting energy just because it’s convenient, we can collectively build homes that are both affordable and planet-friendly. Let’s get to work.
Frequently Asked Questions
I'm renting an apartment and can't tear into the walls; are there any ways to mitigate thermal bridging without making permanent structural changes?
I get it—as a renter, you’re stuck with the walls you’ve got. Since you can’t rip into the drywall, focus on “surface-level” fixes. I always suggest heavy, thermal-lined curtains to block drafts from window frames, or even temporary foam insulation boards tucked behind furniture against cold exterior walls. It’s not a permanent structural fix, but it breaks that direct heat path and stops your money from literally leaking through the masonry.
How much of an actual impact will fixing these bridges have on my monthly utility bills compared to just upgrading my thermostat?
Look, a smart thermostat is a great tool for managing when you use energy, but it can’t stop energy from escaping. If you have thermal bridges, you’re basically heating the outdoors. It’s like trying to cool a room with the window cracked open—no matter how high-tech your thermostat is, the heat is still leaking out. Fixing those bridges provides a permanent reduction in heat loss, which usually yields much bigger, more consistent savings.
If I'm looking at DIY insulation, how do I identify where the most critical thermal bridges are located in my specific home layout?
Grab your infrared thermometer—it’s the best tool for this. On a cold day, run it along your walls, especially where the ceiling meets the wall or around window frames. You’re looking for “cold spots” where the temperature drops sharply; those are your bridges. Don’t forget to check corners, floor joists, and where plumbing penetrates walls. If a spot feels significantly colder than the rest of the surface, that’s where your money is leaking out.
