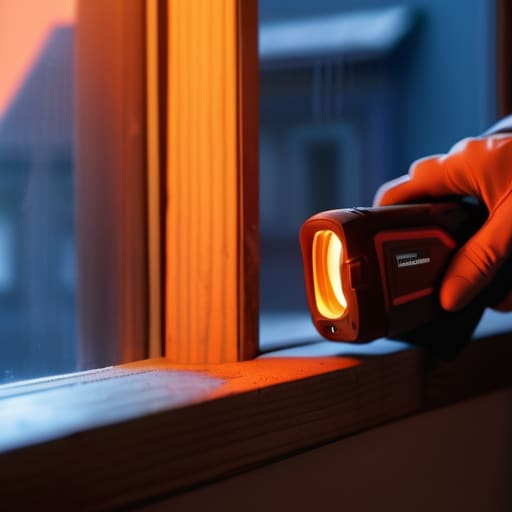
I still remember sitting in my old rental apartment three winters ago, huddled under two heavy blankets while the radiator hissed uselessly in the corner. I could literally feel the cold air whistling through the gaps in the window frames, a constant, biting reminder that I was paying to heat the entire neighborhood instead of just my living room. It wasn’t until I pulled out my infrared thermometer and saw those massive temperature drops around the baseboards that I realized how much money I was losing. Sealing air leaks shouldn’t feel like a luxury reserved for people with massive renovation budgets; it’s just basic physics that most of us are being ignored about.
I’m not here to sell you on expensive, high-tech insulation systems that require a contractor and a second mortgage. My goal is to give you the straightforward, data-driven truth about how to find and fix the drafts actually draining your bank account. I’ll show you the exact, low-cost tools I use in my audits to identify problem areas and how to tackle them yourself. We’re going to focus on practical, high-impact fixes that stop the waste without breaking your budget.
Table of Contents
Smart Draft Detection Methods That Cost You Nothing

You don’t need a professional thermal imaging camera to figure out where your money is escaping. I usually pull out my handheld infrared thermometer during audits, but you can get pretty far with just your senses. Start with the “incense test.” Light a stick of incense or even a candle and slowly move it along window frames, door jambs, and baseboards. If the smoke dances or the flame flickers wildly, you’ve found a culprit. This is one of the most reliable draft detection methods because it visualizes the invisible airflow that’s currently eating your budget.
Another low-tech trick I swear by is the “feel test” on a windy day. Walk around your perimeter with a damp hand; the moisture makes your skin hypersensitive to even the smallest movements of air. Pay close attention to electrical outlets on exterior walls and where plumbing pipes enter the floor. These are often overlooked gaps that compromise your building envelope integrity. Finding these tiny breaches now is the first step toward reducing heating and cooling costs without spending a dime on fancy equipment.
Mastering Weatherstripping Techniques on a Budget
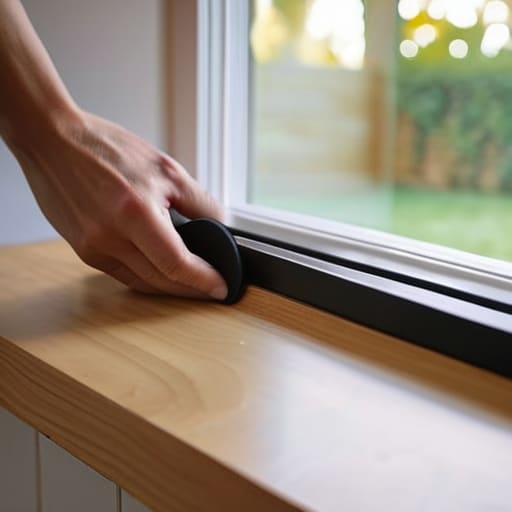
Once you’ve identified where the air is escaping, it’s time to actually stop it. You don’t need to hire a contractor to start improving home insulation at the entry points. For most of my clients, I recommend starting with door sweeps and adhesive foam tapes. They are incredibly cheap and easy to install yourself. When I’m auditing a space, I always look at the gaps around the door frame; if you can see light, you’re losing money. Applying a simple V-seal or a thick rubber gasket can make a massive difference in reducing heating and cooling costs almost immediately.
Don’t overlook your windows, either. If you have older frames, even a basic strip of silicone weatherstripping can stabilize the temperature of a room. It’s all about maintaining the building envelope integrity without spending a fortune on new glazing. I usually suggest a “test and apply” approach: apply a small section, check it with my infrared thermometer, and see if the temperature holds. It’s a small, tactical way to ensure you aren’t just throwing cash into the wind every time the seasons change.
Low-Cost Fixes That Actually Make a Difference
- Don’t ignore the outlets. If you feel a chill coming from your electrical sockets, grab some inexpensive foam gaskets to fit behind the faceplates; it stops that sneaky air exchange from inside your walls.
- Tackle the “big gap” under your doors with a simple door sweep or even a DIY draft stopper made from an old fabric tube filled with rice. It’s a five-minute fix that stops your heated air from just sliding right out into the hallway.
- Check your window frames for cracks. A quick bead of clear caulk around the edges can seal up those tiny gaps where air sneaks in, and it’s way cheaper than replacing an entire window unit.
- Look up at your ceiling fans. If you have them, make sure they are spinning counter-clockwise in the winter to push the warm air that’s trapped at the top back down to where you actually feel it.
- Seal your service penetrations. That’s just a fancy way of saying “check where pipes or wires enter your home.” Use some expandable spray foam or even just some heavy-duty sealant to plug those holes around your plumbing.
The Bottom Line on Sealing Your Space
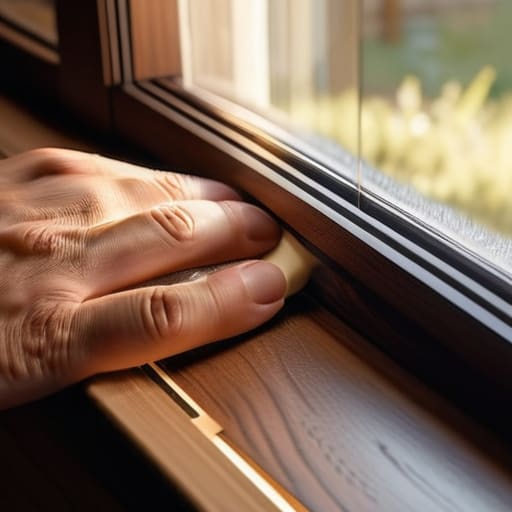
You don’t need a professional contractor to see results; most of the biggest energy drains can be fixed with a few cheap rolls of weatherstripping and some basic caulk.
Stop guessing where the heat is escaping—use a simple incense stick or my favorite handheld infrared thermometer to find the actual leaks before you spend a dime on supplies.
Efficiency isn’t an all-or-nothing game; focus on the high-traffic areas like windows and door frames first to get the fastest return on your investment.
The Real Cost of a Draft
“Every time I walk into a room and feel a sudden chill, I don’t just see a draft—I see money literally escaping through the cracks. Sealing your home isn’t about expensive renovations; it’s about stopping the bleeding so your heater actually does its job instead of fighting a losing battle against the outdoors.”
Tobias Nkemdirim
The Bottom Line on Sealing Your Space
At the end of the day, sealing your home isn’t about a massive, expensive overhaul; it’s about being intentional with the small things. We’ve looked at how to spot those invisible drafts using nothing but your senses (or my favorite infrared thermometer), and how to apply budget-friendly weatherstripping to keep the heat where it belongs. Whether you’re just plugging a gap around a window or tackling the bigger leaks around your electrical outlets, every single bit of effort translates directly into lower utility bills and a more comfortable living environment. You don’t need to be an expert to start seeing the difference; you just need to stop letting your hard-earned money leak out through the cracks.
I know it can feel overwhelming when you look at the sheer amount of energy we waste just because it’s “easier” to let the heater run on overdrive. But remember, sustainability shouldn’t be a luxury reserved for people with massive renovation budgets. Every draft you seal and every window you weatherstrip is a small victory for both your wallet and the planet. It’s about taking control of your own space and refusing to settle for inefficiency. Start small, stay consistent, and I promise you’ll feel the impact—both in your bank account and in the warmth of your home.
Frequently Asked Questions
If I seal everything up too tightly, am I going to end up with moisture or mold problems inside my house?
That’s a valid concern, and honestly, it’s one I see a lot during audits. You don’t want to turn your home into a plastic bag. If you seal every single crack without thinking about airflow, you’ll trap humidity, which is a recipe for mold. The trick is balance: seal the drafts where air escapes uncontrollably, but ensure you still have intentional ventilation—like bathroom fans or trickle vents—to let the house breathe.
Which specific spots should I check first if I don't have a professional infrared thermometer like I do?
If you don’t have my infrared thermometer, don’t sweat it. Start with the “hand test”—run your hand along window frames and door jambs; if you feel a sudden chill, you’ve found a culprit. Check around electrical outlets on exterior walls and where plumbing pipes enter the floor. Also, look at the base of your doors and the tops of windows. If you see light peeking through, air is definitely getting through too.
Is it actually worth spending money on weatherstripping for older, single-pane windows, or should I just save up for a full replacement?
Look, I get the temptation to just skip straight to new windows, but for most people, that’s a massive upfront cost that takes years to recoup. If your single-pane windows are the main culprit, spend the few bucks on high-quality weatherstripping or even some temporary window film first. It’s a low-stakes test. If you seal the drafts and still feel the chill, then start saving for the upgrade. Don’t overspend before you’ve tried the basics.
