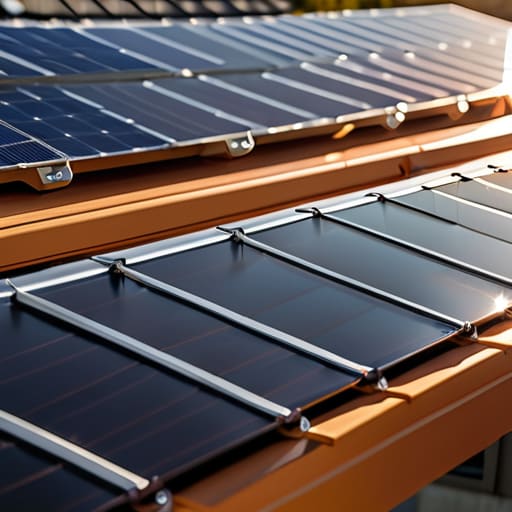
I remember standing on a client’s roof last October, clicking my infrared thermometer against a poorly installed array, and feeling that familiar surge of frustration. The panels were fine, but the solar panel mounting hardware was absolute junk—cheap, flimsy rails that were already starting to sag under the weight. It’s the same story I see everywhere: people spend thousands on high-end photovoltaic cells only to skimp on the actual skeleton holding them up. You don’t need a “premium” branded kit that costs more than the panels themselves, but you definitely shouldn’t be buying the bottom-of-the-barrel stuff that’ll fail the first time a heavy storm rolls through.
I’m not here to sell you on some overpriced, over-engineered system that eats your entire budget before you even flip the switch. My goal is to cut through the marketing fluff and show you exactly what you need to keep your setup secure and efficient without breaking the bank. We’re going to look at the real-world durability of different mounting options so you can build a system that actually lasts, keeps your bills low, and stays put when the weather gets rough.
Table of Contents
- Smart Photovoltaic Mounting Solutions for Tight Budgets
- Choosing Durable Solar Array Structural Components
- 5 Ways to Pick Hardware That Actually Lasts (Without Breaking the Bank)
- Quick Wins for Your Solar Setup
- ## Don't Let Bad Hardware Kill Your ROI
- Getting It Right for the Long Haul
- Frequently Asked Questions
Smart Photovoltaic Mounting Solutions for Tight Budgets
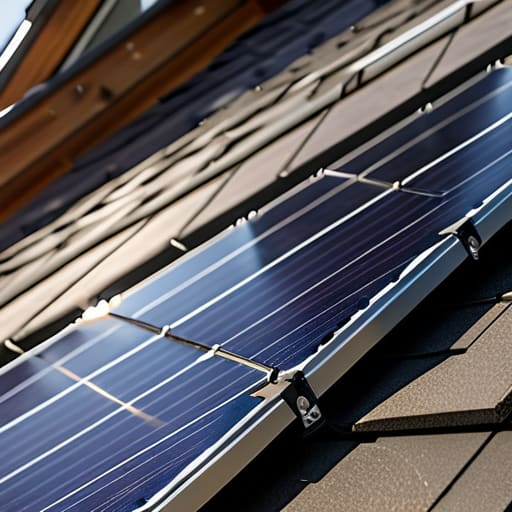
When you’re working with a tight budget, it’s easy to get tunnel vision on the panels themselves and forget that the skeleton holding them up is just as important. I’ve seen too many DIY setups fail because someone tried to save a few bucks by using whatever scrap metal they had lying around. If you want to do this right without draining your savings, look for roof-mounted solar installation kits that bundle the essentials. These kits are usually more cost-effective than buying every bracket and rail separately, and they ensure the components are actually compatible.
If you aren’t installing on a roof, you’ll likely be looking at ground mount solar hardware. My advice? Don’t skimp on the quality of your connections. Even if you’re buying a budget-friendly frame, make sure you’re using corrosion resistant solar fasteners. It’s a small upfront cost that prevents a massive headache—and a total system teardown—down the road when the elements start hitting your setup. You want your gear to last as long as the cells themselves, not just until the first big storm hits.
Choosing Durable Solar Array Structural Components
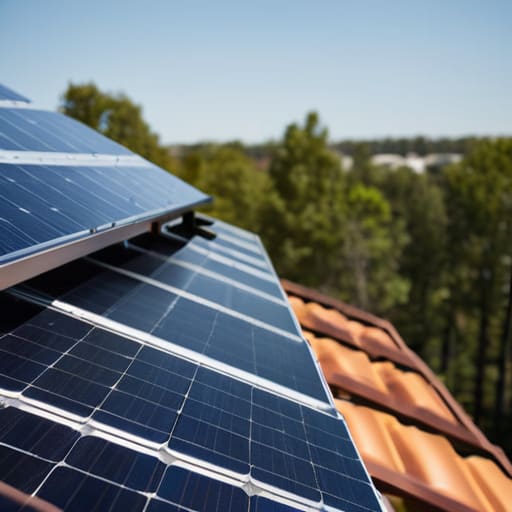
When you’re picking out your solar array structural components, don’t get blinded by the flashy marketing of high-end commercial kits. I’ve seen too many DIY setups fail because someone skimped on the actual skeleton holding the panels up. If you’re doing a roof-mounted solar installation kit, the integrity of your rails and clamps is everything. You need materials that can handle the weight of the panels plus the extra load of wind and snow without buckling.
I always tell my clients to look closely at the metal quality. If you live anywhere near the coast or even just in a high-humidity area, you absolutely need corrosion resistant solar fasteners. There is nothing more frustrating than spending thousands on panels only to have the whole system compromised by rust in five years because you used cheap, standard bolts. It’s a small upfront cost that saves you a massive headache—and a massive repair bill—down the road. Stick to stainless steel or heavily galvanized options; it’s just basic math for long-term efficiency.
5 Ways to Pick Hardware That Actually Lasts (Without Breaking the Bank)
- Don’t skimp on the material; stick to anodized aluminum or stainless steel so you aren’t replacing rusted-out brackets in three years.
- Check your roof’s load capacity before buying heavy-duty rails, because adding weight you didn’t account for is a recipe for structural headaches.
- Look for universal mounting kits that work with multiple panel brands—it gives you more flexibility if you decide to expand your setup later.
- Double-check the wind rating on your mounting hardware; a cheap mount might save you twenty bucks now, but it won’t save your panels during a storm.
- Prioritize hardware with integrated grounding features to save yourself the extra time and the cost of buying separate grounding clips.
Quick Wins for Your Solar Setup
Don’t get blinded by high-end brands; focus on finding mounting gear that balances durability with your actual budget so you can start seeing those utility savings sooner.
Always prioritize materials that can actually handle your local weather, because replacing a failed mount is way more expensive and wasteful than just buying the right hardware the first time.
Keep it simple and modular—using scalable mounting components makes it way easier to expand your system later without having to scrap everything and start from scratch.
## Don't Let Bad Hardware Kill Your ROI
“I’ve seen too many people invest heavily in high-end panels only to have their energy savings wiped out because they cheaped out on the mounting hardware. If your racking isn’t secure and properly angled, you aren’t just risking damage—you’re literally letting potential energy leak out of your budget.”
Tobias Nkemdirim
Getting It Right for the Long Haul
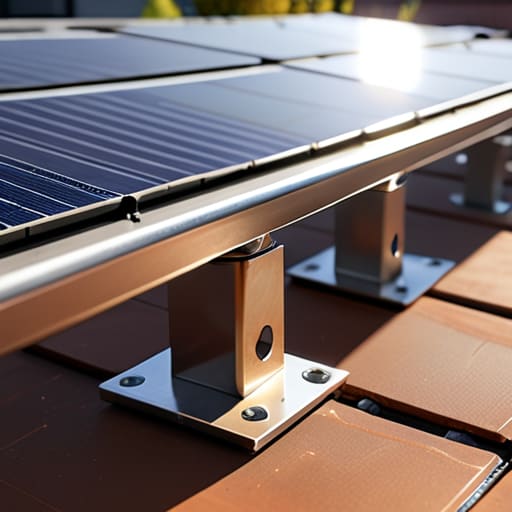
At the end of the day, picking your mounting hardware isn’t just about finding the cheapest rails or brackets on a spreadsheet. It’s about balancing your upfront costs with the reality of how long those panels need to sit on your roof. Whether you opted for budget-friendly aluminum profiles or decided to invest a bit more in heavy-duty, corrosion-resistant steel, the goal remains the same: stability and efficiency. If your mount fails or shifts, your entire energy investment is compromised. Don’t let a few dollars saved today turn into a massive repair bill—or a total system failure—next winter. Focus on durable, high-quality components that can actually withstand the elements without breaking your bank.
I know that transitioning to solar can feel like a massive, overwhelming mountain to climb, especially when you’re trying to keep your living costs low. But remember, every smart choice you make with your hardware is a step toward a home that works for you, not against you. You don’t need a massive solar farm to make a difference; you just need a system that is built to last. By prioritizing efficiency and smart spending now, you’re securing a future where your energy is clean, your bills are predictable, and your footprint is smaller. Let’s stop wasting potential and start building homes that actually make sense for the planet and our wallets.
Frequently Asked Questions
How do I know if the mounting hardware I'm buying can actually handle the wind loads in my specific area?
Don’t just guess on this—getting it wrong means your panels become expensive projectiles. First, look up your local wind speed maps or building codes; you need to know your area’s specific design wind speed. Once you have that number, check the hardware’s spec sheet for its rated wind load capacity. If the manufacturer doesn’t explicitly list those stats, skip them. I always check the load ratings against my local data before I recommend anything.
Is it worth spending more on aluminum rails, or can I get away with cheaper galvanized steel without risking rust?
Look, I get the temptation to go with galvanized steel to save a few bucks upfront, but here’s the reality from my audits: it’s a gamble. If you’re in a high-humidity area or near the coast, that “cheap” steel will start fighting you with rust way sooner than you think. I usually recommend aluminum rails. They’re more expensive, yeah, but they’re lightweight and won’t corrode, meaning you won’t be replacing your whole mounting system in five years.
What's the easiest way to mount panels on an older roof without causing leaks or damaging the shingles?
If you’re dealing with an older roof, the last thing you want to do is create a dozen new puncture points. Honestly, the safest bet is using a rail-based mounting system with high-quality flashing. Don’t skimp here—use thick, EPDM rubber gaskets under your mounting brackets. It creates a much better seal than just relying on caulk, which eventually dries out and cracks. It’s about protecting your roof’s integrity so you aren’t trading energy savings for expensive leak repairs later.
