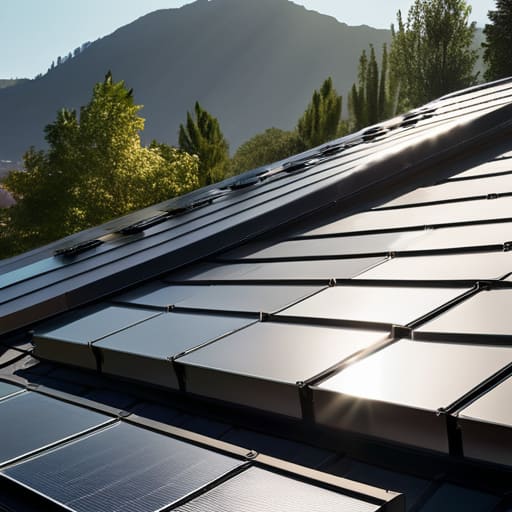
I remember standing on a client’s roof last November, clicking my infrared thermometer against a poorly installed array, and feeling that familiar surge of frustration. The homeowner had spent a fortune on a high-end system, but because they skimped on the solar panel mounting setup, the wind was literally peeling the panels away from the structure. It’s the same old story: people get so caught up in the shiny tech and the “green” hype that they completely ignore the unsexy, structural stuff that actually keeps the system running for twenty years.
I’m not here to sell you on some overpriced, proprietary mounting kit that promises the moon. My goal is to cut through the marketing noise and show you how to choose a setup that is actually durable without draining your savings. I’ll walk you through the real-world mechanics of different mounting styles, the common mistakes that lead to energy leaks, and how to ensure your investment stays put through every storm. Let’s get your setup right the first time so you can actually start seeing those lower utility bills.
Table of Contents
Mastering Roof Attachment Methods Without Breaking the Bank
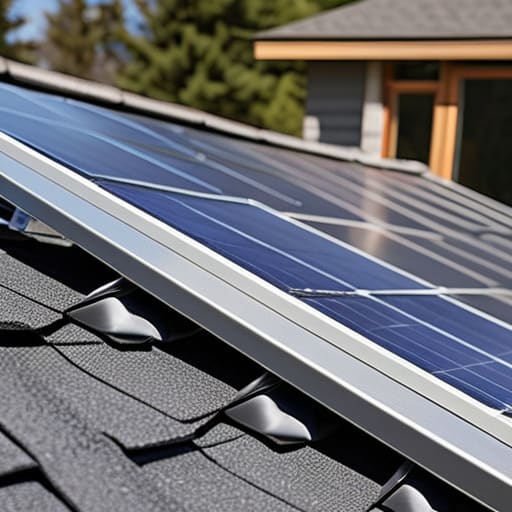
When I’m auditing a home, I often see people getting overwhelmed by the sheer variety of roof attachment methods available. They think they need a custom-engineered, high-end setup to make it work, but that’s usually where the budget goes to die. If you’re working with standard asphalt shingles, you really just need a reliable rail system that secures firmly to your rafters. The goal is to find a balance between structural integrity and cost. You want something that handles the local solar panel wind load requirements without requiring a specialized crew that charges triple for a weekend job.
I always tell my clients to prioritize the quality of the small stuff. It’s easy to get distracted by the panels themselves, but if you skimp on the hardware, you’re just asking for trouble down the line. Investing a little extra in corrosion resistant mounting hardware is a non-negotiable for me. It’s much cheaper to buy decent stainless steel bolts now than it is to replace a whole array because of rust streaks or hardware failure in five years. Keep it simple, keep it sturdy, and don’t overcomplicate the physics.
Choosing Corrosion Resistant Mounting Hardware for Longevity
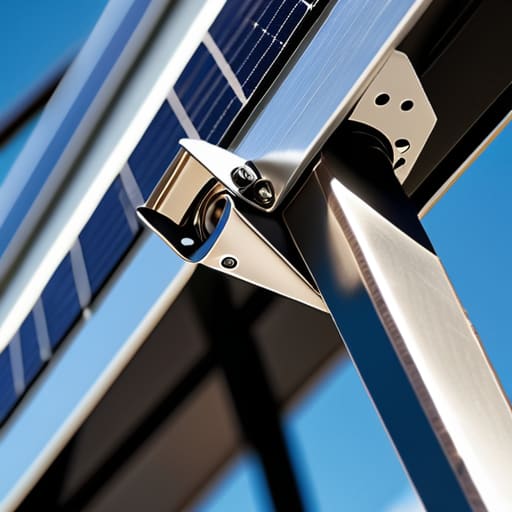
If you’re anything like me, you hate the idea of buying something once only to have it fail three years later because of poor quality. When it comes to your setup, the hardware is the unsung hero. I’ve seen too many DIY installs where the brackets start pitting and rusting within a couple of seasons, which is a massive waste of both money and effort. To avoid this, you need to prioritize corrosion resistant mounting hardware, specifically looking for Grade 304 or 316 stainless steel. Anything less is just asking for trouble, especially if you live in a coastal area or a place with high humidity.
It isn’t just about the metal itself, though; it’s about how those components interact with your specific photovoltaic mounting systems. If you’re using a ground mount, the soil chemistry can be even more aggressive toward your gear. I always tell my clients to check the spec sheets for salt spray resistance ratings. Investing a little more upfront in high-quality fasteners ensures your system stays structurally sound for decades, rather than becoming a high-maintenance headache that costs more to repair than it ever saved you in energy.
5 Practical Ways to Get Your Mounting Right the First Time
- Don’t just eyeball the angle; use a clinometer or a simple level to ensure your mounting system is pitched correctly for your specific latitude, or you’re just leaving free energy on the table.
- Check your roof’s structural integrity before you even buy a single bracket; there’s no point in a high-efficiency setup if your rafters can’t handle the extra load during a heavy storm.
- Prioritize tilt-adjustability in your mounting hardware so you can tweak the angle as the seasons change, maximizing your harvest without needing a whole new system.
- Keep an eye on the “gap”—ensure there’s enough space between your panels and the roof surface to allow for airflow, which prevents overheating and keeps your efficiency levels from dipping.
- Avoid the temptation of the cheapest generic clamps; invest in high-quality, rated mounting rails that won’t warp or loosen, because fixing a failed mount is way more expensive than buying the right one upfront.
Quick Wins for Your Solar Setup
Don’t skimp on the hardware; spending a little extra on corrosion-resistant mounts now prevents a massive, expensive repair job five years down the line.
Match your mounting method to your specific roof type to avoid structural damage and ensure your panels actually stay secure during a storm.
Focus on long-term efficiency over the cheapest upfront cost—the goal is to save money on your bills, not just spend less on the initial installation.
The Real Cost of Cutting Corners
“I’ve seen too many people treat mounting hardware like an afterthought to save a few bucks upfront, only to watch their efficiency tank when a cheap bracket fails or rusts through. If your mounting system isn’t solid, your entire investment is just sitting there waiting to leak money.”
Tobias Nkemdirim
Making It Stick
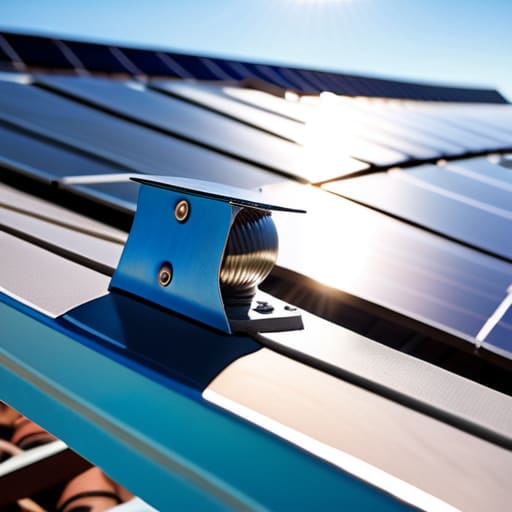
At the end of the day, getting your solar setup right comes down to the details you usually can’t see once the panels are up. We’ve looked at how the right attachment method can save you a massive headache during a storm, and why investing in high-quality, corrosion-resistant hardware is the only way to ensure you aren’t replacing parts in five years just to keep the lights on. It’s about doing the job once and doing it right. If you pick the wrong mounting system, you aren’t just risking your hardware; you’re essentially throwing money directly into the wind by compromising the efficiency of your entire energy system.
I know that looking at all these technical specs can feel overwhelming, especially when you’re trying to balance a tight budget. But remember, every smart choice you make with your mounting hardware is a step toward a home that works for you, not against you. You don’t need a professional-grade laboratory to build a sustainable life; you just need to be intentional about the small things. Stop settling for “good enough” when it comes to your energy infrastructure. By focusing on these foundational elements now, you’re building a resilient, low-cost future that stays efficient for decades to come.
Frequently Asked Questions
How do I know if my roof structure can actually handle the extra weight of the panels and the mounting hardware?
Before you go buying hardware, you need to look at your rafters. I always tell clients: don’t guess. If you aren’t comfortable climbing up there with a flashlight, hire a structural engineer for a quick assessment. You’re looking for the spacing and the wood’s condition. If your rafters are spaced too far apart or show signs of rot, that extra load could cause real damage. It’s better to spend a little on a pro now than fix a sagging roof later.
If I'm renting, are there any mounting options that won't cause permanent damage to the roof?
Look, I get it. I spent years in rentals where I couldn’t even hang a picture without losing my deposit, let alone drill into the roof. If you’re renting, you’ll want to avoid traditional roof penetrations. Look into ground-mounted racks or portable solar folding kits instead. If you must use the roof, some lightweight, non-penetrating ballasted systems exist, but they’re heavy. Stick to balcony rails or ground setups to keep your landlord happy.
Is it worth spending more on high-end mounting rails, or can I get away with cheaper alternatives and still maintain efficiency?
Look, I get the urge to cut corners to save cash, but don’t skimp on the rails. I’ve seen too many DIY setups fail because cheap aluminum warped under heavy snow or high winds. If your mounting system shifts, your panel alignment goes sideways, and that kills your efficiency. Buy mid-range, sturdy rails. You don’t need the most expensive luxury brand, but you do need hardware that won’t bend when the weather gets real.
