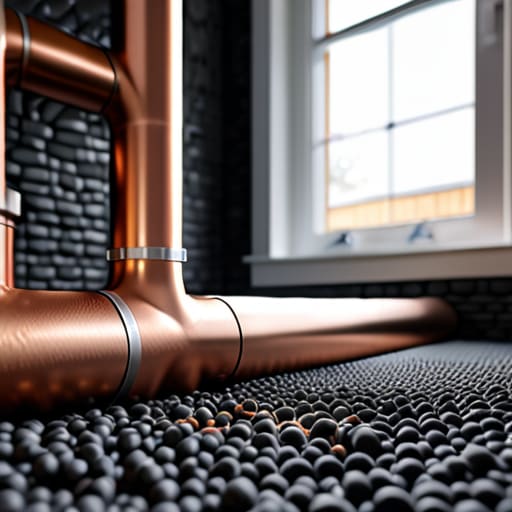
I still remember standing in my old rental apartment during a January freeze, shivering in my own living room because the radiator felt like it was barely doing anything. I pulled out my infrared thermometer, expecting to find a massive heat leak in the window, but the real culprit was hidden behind the drywall. I watched the temperature drop drastically as the heat bled straight out of the bare copper lines; we were essentially paying the utility company to heat the inside of our walls. Most people think insulating pipes is some massive, expensive renovation project that requires a contractor and a huge budget, but that’s a total myth designed to keep you spending more than you should.
I’m not here to sell you on high-end, complicated HVAC overhauls that you probably can’t afford. Instead, I’m going to show you exactly how to tackle this using cheap, accessible materials that actually work. My goal is to give you a straightforward, data-backed plan to stop that thermal energy from escaping your system. We’re going to look at the most effective ways of insulating pipes so you can finally keep that warmth where it belongs—inside your home and inside your wallet.
Table of Contents
- Choosing Affordable Thermal Insulation Materials That Actually Work
- Reducing Utility Bills With Simple Energy Efficiency Home Improvements
- 5 Quick Wins to Stop Heat Loss Through Your Pipes
- The Bottom Line: Small Fixes, Real Savings
- The Hidden Cost of Bare Pipes
- The Bottom Line on Pipe Insulation
- Frequently Asked Questions
Choosing Affordable Thermal Insulation Materials That Actually Work
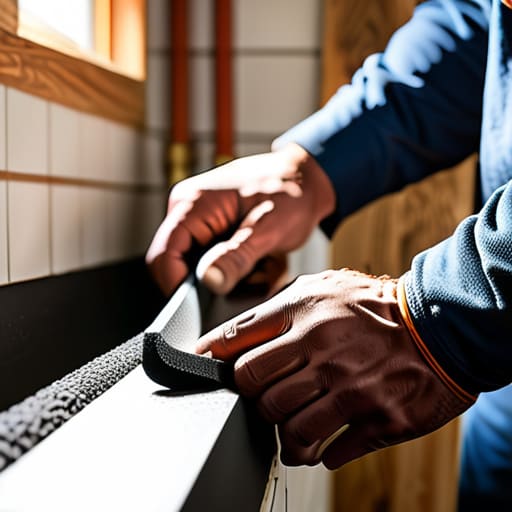
When you’re looking at different thermal insulation materials, don’t get distracted by the high-end, professional-grade stuff that costs a fortune. For most of the small homes I audit, you don’t need a massive construction budget to see a difference. I usually recommend starting with foam pipe sleeves. They are incredibly cheap, easy to cut with a utility knife, and you can pick them up at any local hardware store. They work perfectly for covering exposed runs in basements or crawlspaces where the temperature drops significantly.
If you’re dealing with more extreme conditions, you might want to look into fiberglass sleeves or even specialized bubble wrap insulation. While foam is my go-to for quick energy efficiency home improvements, the real goal is finding a material that fits your specific setup without breaking the bank. I always tell my clients: don’t overcomplicate it. You just need a reliable barrier that keeps the heat inside the water rather than letting it bleed into the surrounding air. It’s about making smart, tactical choices that actually move the needle on your monthly costs.
Reducing Utility Bills With Simple Energy Efficiency Home Improvements
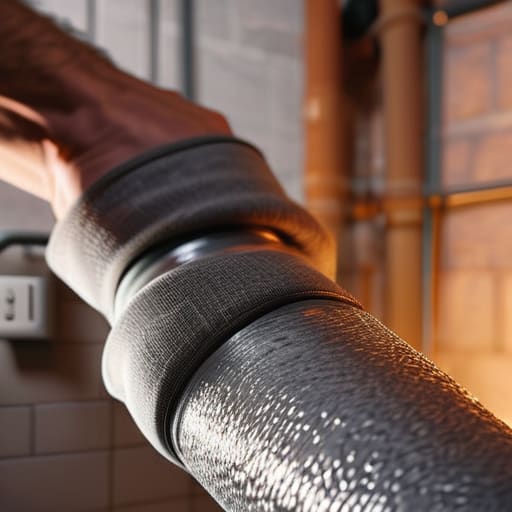
Once you’ve got your materials sorted, the real magic happens when you look at the bigger picture. It’s not just about one single pipe; it’s about how these small energy efficiency home improvements stack up over a month of heating. I’ve seen so many people focus only on the big, expensive renovations like new windows, but they ignore the low-hanging fruit. By tackling the small leaks in your plumbing and heating lines, you’re effectively plugging the holes in your wallet.
I always tell my clients that reducing utility bills starts with a mindset of observation. For example, if you notice your water heater is running constantly, it might be time for some basic hot water system maintenance rather than just turning up the thermostat. Combining better pipe protection with a quick check of your boiler or heater settings creates a compounding effect. You aren’t just saving a few cents here and there; you’re fundamentally changing how much energy your home “bleeds” every single day. It’s about being smart with what you already have.
5 Quick Wins to Stop Heat Loss Through Your Pipes
- Check your hot water pipes first. I always grab my infrared thermometer and run it along the lines coming out of the water heater; if you see a massive temperature drop before the pipe even reaches your tap, that’s money leaking into your walls.
- Don’t skip the joints and valves. Most people just wrap the long straight sections, but heat escapes like crazy at the connections, so make sure you use foam sleeves or specialized insulation tape to seal those gaps tight.
- Prioritize your basement or crawlspace runs. Since these areas are usually unheated, your pipes are fighting a constant battle against the cold, so doubling up on insulation thickness in these zones is a non-negotiable for me.
- Use pre-slit foam sleeves for a DIY fix. You don’t need a contractor for this; just buy the foam tubes that have a slit down the side so you can snap them directly onto your existing plumbing without having to disconnect anything.
- Match the insulation to the pipe diameter. It sounds basic, but using a sleeve that’s too big creates air pockets that kill the efficiency, so measure your pipe width before you head to the hardware store to ensure a snug, heat-trapping fit.
The Bottom Line: Small Fixes, Real Savings
Don’t overcomplicate it; starting with foam sleeves or fiberglass wrap on exposed pipes is the fastest way to see a difference in your heating costs.
Think of insulation as a shield for your money—every degree of heat you trap in your pipes is a cent you aren’t sending to the utility company.
Focus on the high-impact areas first, like basement pipes or those freezing spots under your sink, to get the most bang for your buck.
The Hidden Cost of Bare Pipes
Every time I walk through a basement and see uninsulated copper piping, I don’t just see metal; I see heat—and money—literally bleeding out into the air. Wrapping those pipes isn’t just a DIY project; it’s a way to stop your heating system from working twice as hard just to make up for the energy you’re losing through the walls.
Tobias Nkemdirim
The Bottom Line on Pipe Insulation
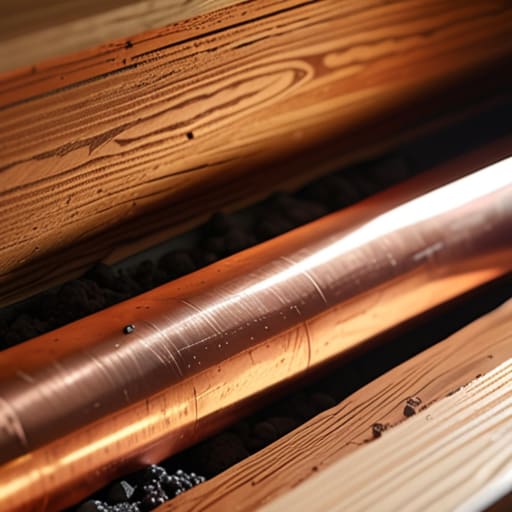
At the end of the day, insulating your pipes isn’t about some massive, expensive renovation; it’s about closing the gaps where your money is literally evaporating. We’ve looked at how picking the right materials—from basic foam sleeves to more heavy-duty options—can make a massive difference in how much heat actually reaches your taps. By focusing on these small, targeted improvements, you’re not just lowering your monthly utility bills; you’re taking direct control over your home’s efficiency. It’s a simple matter of stopping the waste before it happens. Don’t let your hard-earned cash disappear into the crawlspace or the walls just because you didn’t take twenty minutes to wrap a few copper lines.
I know it’s easy to feel like individual actions don’t matter when the climate crisis feels so massive, but I see it differently. Every time I use my infrared thermometer and see a pipe radiating heat into an empty basement, I see a missed opportunity. When you insulate your home, you are participating in a quiet revolution of efficiency. Living sustainably shouldn’t be a luxury reserved for the wealthy; it should be the standard for everyone. Start small, start today, and remember that every degree of heat you save is a win for both your wallet and the planet.
Frequently Asked Questions
Do I need to insulate every single pipe in my house, or just the ones in the basement and attic?
Look, if you’re on a tight budget, focus your energy on the “danger zones” first. The pipes in your basement, attic, or crawlspaces are the biggest culprits because they’re exposed to unconditioned air. That’s where your heat is literally escaping into the void. You don’t necessarily need to wrap every single pipe behind your drywall—that’s overkill—but if you see a pipe in an unheated area, insulate it. Stop the leak where it’s easiest.
Is it actually worth the effort to insulate hot water pipes, or should I focus only on the ones that get cold?
Look, I’ve run the numbers on this more than once. It’s definitely worth it for the hot water lines. When your hot water pipes are bare, they’re essentially acting like radiators, bleeding heat into the air before the water even reaches your tap. If you’re only insulating the cold pipes to prevent freezing, you’re missing the biggest win. Insulate the hot ones to keep the heat where it belongs: in your shower.
Can I safely insulate my own pipes, or is there a risk of causing moisture buildup or damage if I do it wrong?
Look, I get the hesitation. I’ve seen enough DIY disasters to know that “quick fixes” can backfire. For standard hot water pipes, you’re generally safe to DIY. The real risk is moisture—if you wrap pipes in a way that traps condensation (especially cold water lines), you’re asking for mold or wood rot. Just make sure the insulation is snug but breathable, and don’t cover any valves or joints that need inspecting. Keep it simple.
