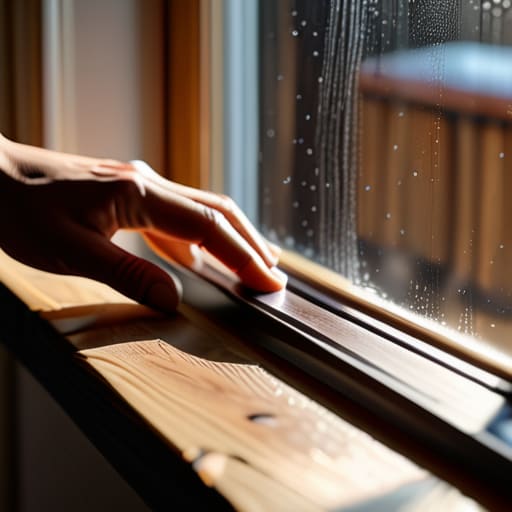
I still remember sitting in my old rental apartment, wrapped in three layers of fleece, watching my breath mist in the living room while the radiator hissed uselessly. I used to think that making a home efficient required a massive, expensive renovation or a complete overhaul of the windows, but that’s just not true. Most people get overwhelmed by high-end architectural solutions when all they really need are practical draft proofing tips that actually work. You shouldn’t have to choose between a warm home and a bank account that’s constantly bleeding money just because your building is older.
I’m not here to sell you on expensive, fancy gadgets that look good on Instagram but do nothing for your actual thermal envelope. Instead, I’m going to share the exact, data-backed methods I use during my audits to find and seal those sneaky leaks. My goal is to give you a straightforward toolkit of low-cost, high-impact fixes that stop the heat from escaping through your doors, windows, and floorboards. We’re going to focus on smart, minimal changes that keep your bills down and your carbon footprint even lower.
Table of Contents
Sealing Air Leaks Without a Professional Price Tag
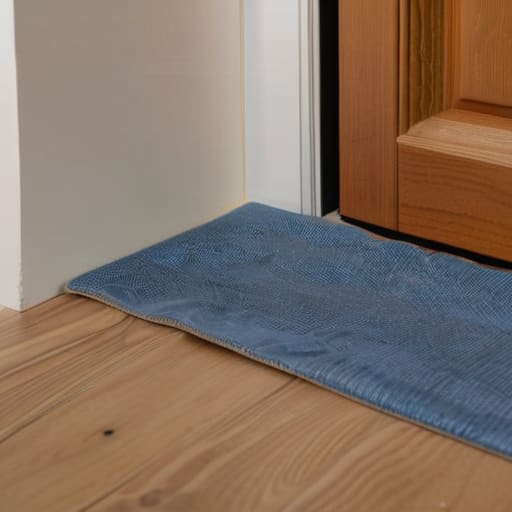
You don’t need to hire a contractor and drop thousands of dollars to see a difference in your monthly statement. Most of the air leaking out of your house is coming from places you can actually fix yourself with a trip to the hardware store. I always start with the low-hanging fruit: windows and doors. Using adhesive foam weatherstripping or even just a simple “door snake” at the base of a drafty entryway is one of the most effective home weatherization techniques I’ve seen. It’s not flashy, but it works because it directly addresses the problem of preventing cold air infiltration before it even enters your living space.
If you want to get a bit more technical, grab some caulk and look at where your baseboards meet the floor or where utility pipes enter the walls. These tiny gaps are silent killers for your budget. By sealing air leaks around these structural junctions, you’re essentially tightening the envelope of your home. I’ve used my infrared thermometer on countless rentals and found that these small, DIY fixes can drastically improve your overall insulation effectiveness without requiring a single major renovation.
Preventing Cold Air Infiltration at Your Windows
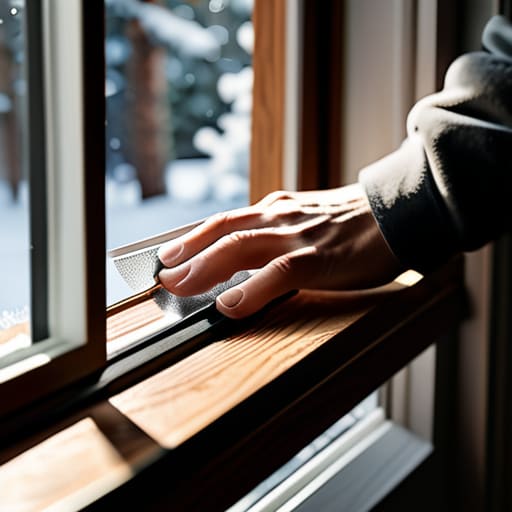
Windows are usually the biggest culprit when it comes to heat loss. I’ve spent countless hours pointing my infrared thermometer at window frames, and the temperature drops are almost always dramatic. If you can feel a breeze while sitting near a pane, you’re essentially paying to heat the outdoors. One of my favorite low-cost home weatherization techniques is using removable weatherstripping or even simple V-seal strips. It’s a quick fix that makes a massive difference in preventing cold air infiltration without needing to replace the entire unit.
For those with older, single-pane windows, window film is a total lifesaver. It’s basically a clear plastic shrink-wrap that you apply to the frame with a hairdryer. It creates an extra layer of dead air that acts as a buffer, significantly boosting your insulation effectiveness. It isn’t a permanent architectural fix, but for a renter or someone on a budget, it’s one of the most effective ways of reducing heating bills almost instantly. You don’t need a contractor; you just need a steady hand and a bit of patience.
5 Low-Cost Wins to Stop the Drafts
- Check your electrical outlets. I’ve used my infrared thermometer more times than I can count to find cold air blowing straight through the sockets on external walls. You can grab some cheap foam gaskets that sit behind the faceplate to stop that airflow dead.
- Tackle the “hidden” gap under your doors. If you can see light under a door, you’re basically paying to heat the hallway. A simple weighted draft stopper—even a DIY one made from an old pair of tights filled with rice—works wonders for keeping the warmth in your living space.
- Don’t ignore the floorboards. If you live in an older rental with gaps in the wood, you’re losing heat to the crawlspace below. Using a clear, non-toxic caulk or even just temporary gap fillers can make a massive difference in how steady your room temperature stays.
- Seal your loft hatch. Most people remember the attic insulation but forget that the hatch itself is often just a thin piece of wood. Adding a bit of weatherstripping around the edges of the hatch prevents that heavy, cold air from sinking into your home.
- Inspect your fireplace and chimney. If you have a fireplace you don’t use, it’s essentially a giant vacuum sucking heat out of your house. A chimney sheep or a dedicated fireplace balloon can seal that up without needing a permanent masonry fix.
The Bottom Line on Draft Proofing
You don’t need a massive renovation budget to see results; small, targeted fixes like weatherstripping or caulking often yield the biggest savings on your monthly bill.
Focus on the “low-hanging fruit” first—check your windows, doors, and outlets—because that’s where most of your hard-earned money is literally leaking out of the house.
Efficiency isn’t just about being “green”; it’s about practical comfort and making sure you aren’t paying to heat the neighborhood instead of your own living room.
The Real Cost of a Draft
“I’ve spent too many audits watching people pay to heat the neighborhood because they ignored a tiny gap under a door; draft proofing isn’t just about comfort, it’s about stopping your hard-earned money from literally blowing out of your windows.”
Tobias Nkemdirim
Making It Stick

At the end of the day, draft proofing isn’t about one massive, expensive overhaul; it’s about the cumulative effect of these small, targeted fixes. We’ve looked at everything from sealing those sneaky gaps around doors to making sure your windows aren’t acting like open vents for the winter chill. When I walk through a home with my infrared thermometer, I don’t see a failure of construction—I see missed opportunities to save money. By tackling the leaks in your doors, windows, and even your electrical outlets, you are effectively building a tighter, more resilient envelope around your living space. It’s about being intentional with your energy rather than just letting it bleed out through the cracks.
I know that starting these projects can feel like just another chore on an endless to-do list, but I promise you the payoff is worth the effort. Every bit of heat you trap inside is money that stays in your pocket and carbon that stays out of the atmosphere. You don’t need a massive budget or a degree in engineering to make a difference; you just need to stop the waste. Living sustainably shouldn’t be a luxury reserved for the wealthy, and by taking these steps, you’re proving that efficiency is accessible to everyone. Grab some weatherstripping, get to work, and stop paying for heat you aren’t even using.
Frequently Asked Questions
How do I know if a draft is coming from a structural gap or just poor insulation?
The easiest way to tell is by using my handheld infrared thermometer. If I point it at a wall and see a sharp, localized temperature drop—like a cold streak running down a corner—that’s a structural gap. If the whole surface feels uniformly chilly, your insulation is likely just thin or settled. Basically, a draft is moving air; poor insulation is just a lack of a thermal barrier. One needs sealant, the other needs more fluff.
Are there any DIY sealing methods that might accidentally cause moisture or mold problems?
That’s a sharp question, and honestly, it’s one I see people mess up all the time. The biggest risk is “over-sealing” without considering ventilation. If you airtight a room completely but don’t have a way for stale air to escape, you’ll trap moisture from cooking or showering inside. That’s a recipe for mold behind your furniture. Always make sure you aren’t blocking your existing vents or preventing natural airflow while you’re sealing leaks.
Can I use these same cheap fixes for my bathroom and kitchen, or are those areas different?
Short answer: Yes, but with a caveat. The basic principles of sealing drafts apply everywhere, but bathrooms and kitchens are high-moisture zones. If you use standard adhesive weatherstripping or cheap foam, the humidity from showers or boiling pasta will eventually cause them to peel or grow mold. For these rooms, I always recommend using silicone-based sealants or moisture-resistant gaskets. It’s a slightly higher upfront cost, but it keeps the fix from failing in a month.
