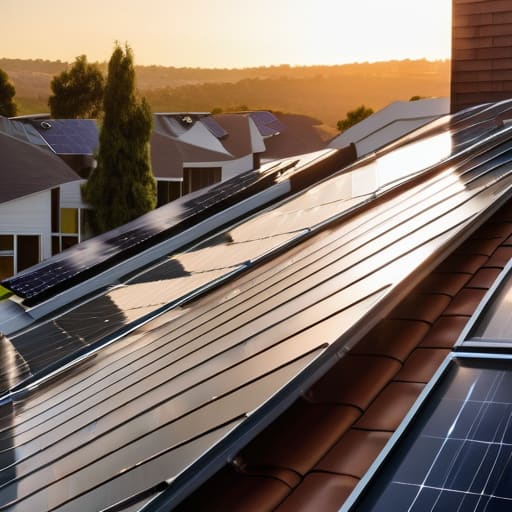
I still remember standing in my old apartment, shivering through a February freeze because my landlord had neglected the insulation, feeling like I was literally throwing money into a void. It’s that same feeling of wasted potential that hits me whenever I see a DIY solar setup where the solar panel orientation is completely botched. People will try to sell you these hyper-expensive, complex tracking systems that claim to follow the sun perfectly, but honestly? Most of that is just expensive fluff designed to pad a salesperson’s commission. You don’t need a NASA-grade computer to get decent results; you just need to stop letting your hardware sit idle when the sun is actually working.
I’m not here to give you a theoretical lecture or a sales pitch for high-end tech you can’t afford. Instead, I’m going to show you how to find that “sweet spot” for your specific roof or yard using nothing but basic logic and a bit of observation. I’ll walk you through the actual math of tilt and direction so you can squeeze every cent of value out of your investment. My goal is simple: help you set things up right the first time so your energy bills actually drop, without breaking your bank account in the process.
Table of Contents
Mastering Azimuth Angle Solar Energy Without Breaking the Bank
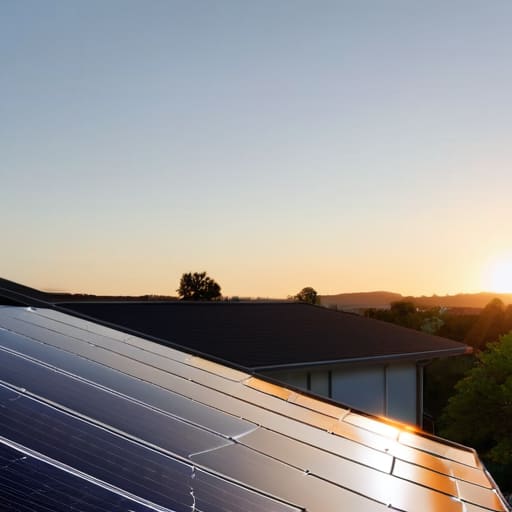
When people talk about setting up a system, they usually obsess over the tilt, but they often overlook the azimuth angle solar energy capture. Basically, this is just the compass direction your panels face. If you’re in the Northern Hemisphere, you want them pointing true south. It sounds obvious, but I’ve seen so many DIY setups where a single tree or a neighbor’s roofline forces a slight tilt or a shift in direction, and suddenly you’re losing a massive chunk of your potential harvest. You don’t need a PhD to get this right; you just need to know where north is and make sure your panels aren’t looking the wrong way.
The real trick to maximizing your ROI is accounting for seasonal sunlight variations. The sun isn’t a static lightbulb; it arcs differently in July than it does in December. While you can’t move your roof, you can adjust your mounting hardware to find that sweet spot. It’s about finding the balance between summer peaks and winter lows so you aren’t left in the dark when the days get short. Precision matters here, but don’t get paralyzed by the math—just aim for that southern sweet spot.
Finding Your Optimal Tilt Angle for Solar Panels
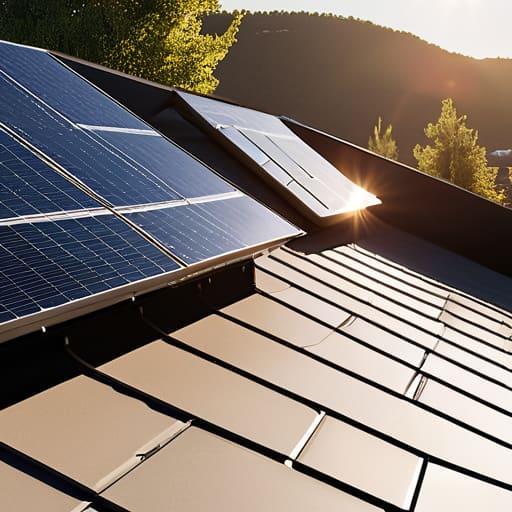
Once you’ve nailed down your direction, the next move is figuring out the tilt. I’ve spent a lot of time looking at rooflines, and it’s easy to assume a flat installation is fine, but that’s a mistake if you actually want to see a return on your investment. Finding the optimal tilt angle for solar panels is essentially a balancing act between your local latitude and the sun’s path through the sky. If you live further north, you’ll generally want a steeper angle to catch that lower winter sun; if you’re closer to the equator, you can afford to go flatter.
It’s not just about a single number, though. You have to account for seasonal sunlight variations to ensure you aren’t just crushing it in July while freezing in terms of production in January. I usually tell my clients to aim for a tilt that favors their highest energy usage months. If you’re running heavy heating loads in the winter, tilting those panels slightly steeper can help squeeze out that extra bit of juice when you need it most. It’s about solar panel placement for maximum yield throughout the entire year, not just on the brightest days.
Quick Wins to Get More Juice From Your Setup
- Don’t just point them south and forget it; I always suggest checking for “micro-shadows” from a single tree branch or a chimney that might be killing your midday peak.
- If you’re in a spot that gets heavy morning fog or afternoon clouds, you might actually want to tweak your azimuth slightly off-center to catch the clearest light windows.
- Keep those surfaces clean because even a thin layer of dust or pollen acts like a thermal blanket, blocking the sun from actually hitting the cells.
- If you’re mounting on a roof, make sure you aren’t fighting the natural slope; trying to force an angle that fights your roofline often costs more in mounting hardware than you’ll ever save in energy.
- Use a basic solar pathfinder app on your phone to track the sun’s movement across your specific yard before you bolt anything down—it’s better to spend ten minutes planning than six months regretting a bad angle.
The Bottom Line on Getting Your Setup Right
You don’t need a PhD to get this right—just point your panels toward the equator (south if you’re in the Northern Hemisphere) and adjust the tilt based on your local latitude to catch the most direct rays.
Don’t set it and forget it; your sun’s path changes with the seasons, so if you can afford a simple adjustable mount, tweaking your angle twice a year can squeeze out way more power.
Always prioritize shade management over everything else; even a small branch casting a shadow over a single cell can tank your entire system’s efficiency, making all your careful angle calculations useless.
## The Real Cost of Being Lazy with Placement
“If you just slap your panels on the roof wherever they fit, you’re basically throwing money directly into the wind. It’s not about having the most expensive setup; it’s about making sure every single photon you catch actually makes it into your battery instead of being wasted by a bad angle.”
Tobias Nkemdirim
Making Every Ray Count
At the end of the day, getting your solar orientation right isn’t about chasing some impossible, perfect mathematical peak; it’s about minimizing the gap between what you pay and what you produce. We’ve looked at how the azimuth angle determines your direction and how adjusting your tilt can make or break your seasonal efficiency. If you take nothing else away from this, remember that even a few degrees of difference can be the deciding factor between a system that barely covers your lights and one that actually slashes your monthly bills. Don’t just bolt them on and forget them—take the time to measure, check your angles, and ensure you aren’t leaving money on the table simply because of a bad installation.
I know that diving into the technical side of energy efficiency can feel overwhelming, especially when you’re trying to make a sustainable lifestyle work on a budget. But remember, you don’t need a massive engineering degree to make a difference. By taking these small, intentional steps to optimize your setup, you are proving that sustainability isn’t a luxury reserved for the wealthy. You’re taking control of your own power, quite literally. Let’s stop letting good sunlight go to waste and start making our homes work harder for us and the planet.
Frequently Asked Questions
Does it actually matter if my roof faces north, or can I still make this work?
Look, I’ll be straight with you: if you’re in the northern hemisphere, a north-facing roof is far from ideal. You’re essentially looking at the “shadow side” of your house. But don’t panic and scrap the whole idea. You can still make it work by using high-efficiency panels or mounting them on ground racks instead of the roof. It’s about maximizing what little light you get rather than settling for mediocrity.
If I live in a place with a lot of clouds, should I prioritize tilt angle over everything else?
Look, if you’re living under constant cloud cover, the math shifts a bit. You shouldn’t ignore tilt, but you shouldn’t obsess over it either. In cloudy climates, the light is more “diffuse”—it’s coming from everywhere, not just a direct point in the sky. While a precise tilt still helps, your priority should actually be maximizing surface area and keeping those panels spotless. If they’re covered in grime or shade, the angle won’t save you.
Is it worth spending extra money on a tracking system to follow the sun, or is a fixed setup enough for most people?
Look, I get the temptation. Tracking systems look amazing on paper because they squeeze every drop of juice out of the day, but for most people, they’re overkill. Between the extra upfront cost and the mechanical parts that eventually break, the math rarely adds up for a standard home. Unless you have a massive roof or a specific high-energy need, stick to a solid fixed setup. It’s reliable, low-maintenance, and keeps your ROI actually realistic.
