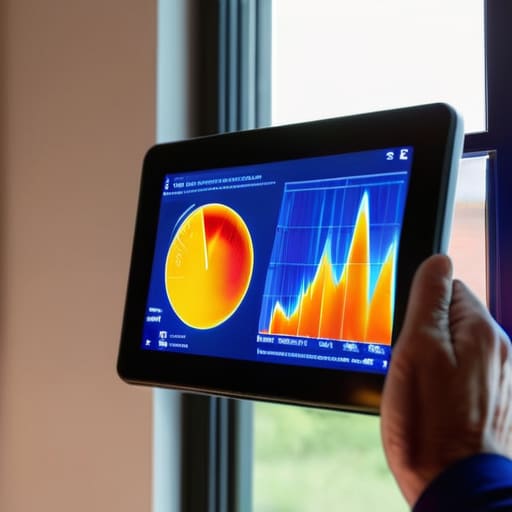
I still remember standing in my childhood living room, shivering under three layers of wool blankets while the heater rattled uselessly in the corner. I’d watch my parents stress over the monthly utility bill, wondering why we were paying so much just to stay barely warm. Most people think you need a massive renovation budget or a team of engineers to fix this, but that’s a total myth. The truth is, understanding the energy audit process isn’t about high-tech gadgets or expensive contractors; it’s about identifying the invisible ways your home is literally bleeding cash through drafts and poor insulation.
I’m not here to sell you on overpriced, “smart” home gadgets that won’t actually move the needle on your bills. Instead, I’m going to walk you through the actual energy audit process from a practical, boots-on-the-ground perspective. I’ll show you exactly what to look for—and what to ignore—so you can stop guessing and start making smart, low-cost changes that actually work. My goal is simple: to help you take control of your energy spend without breaking the bank.
Table of Contents
The Blower Door Test Explained Finding Your Hidden Leaks
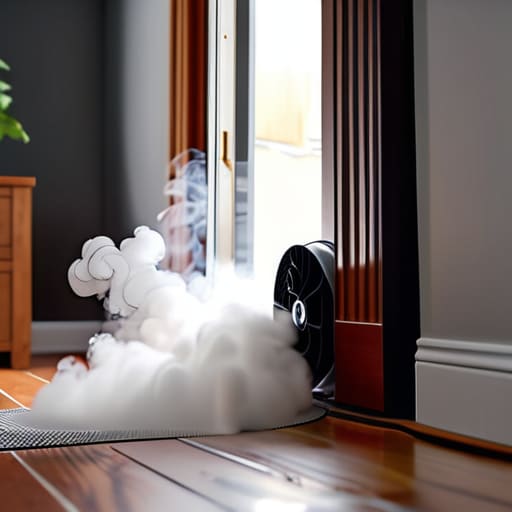
If you’ve ever felt a random draft cutting through your living room even with the windows shut, you’ve felt the symptoms of a leaky building envelope. This is where the blower door test comes in. Think of it as a high-pressure stress test for your house. An auditor installs a powerful fan into your front door frame, effectively turning your home into a giant wind tunnel. By depressurizing the house, we force all that “hidden” air to rush in through the cracks you can’t see—like gaps behind baseboards, electrical outlets, or even where the attic meets the walls.
It’s a bit intense to watch, but seeing the raw data is a massive reality check. Once the fan is running, I usually pull out my infrared thermometer to see exactly where the temperature drops. This often leads directly into a thermal imaging inspection, which lets us visualize the cold air plumes moving through your walls. It’s not just about being “green”; it’s about pinpointing exactly where you need to invest in home energy efficiency improvements so you aren’t just guessing.
Using Thermal Imaging Inspection to See Where Money Escapes
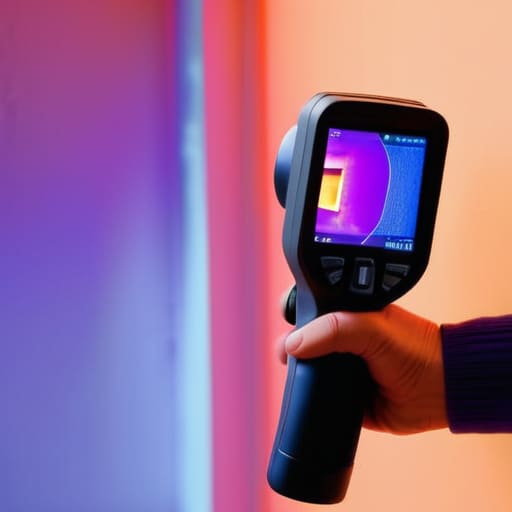
If the blower door test is about feeling the air pressure, then a thermal imaging inspection is about actually seeing the invisible. This is my favorite part of a site visit. I pull out my infrared camera, and suddenly, the walls aren’t just drywall anymore—they’re a map of heat movement. You might see a bright purple streak running down a corner, which is just a fancy way of saying your expensive heated air is escaping through a gap in the insulation.
It’s one thing to tell a client they have poor insulation, but it’s another thing entirely to show them a high-contrast image of their money literally bleeding through the ceiling. This visual proof is essential for a proper building envelope assessment. It removes the guesswork. Instead of just guessing where to add more fiberglass or spray foam, we can target the exact spots where the temperature drops. It turns a vague idea of “fixing the house” into a precise, data-driven plan for reducing utility bills without wasting a cent on unnecessary upgrades.
5 Ways to Prep for an Audit (And Not Waste Your Time)
- Clear the perimeter. If you’ve got stuff piled up against exterior walls or tucked into corners, move it. I can’t check for drafts or thermal bridges if I’m fighting through a mountain of cardboard boxes and old furniture.
- Keep the house “normal.” Don’t try to cheat the system by turning off every light or closing every door before I arrive. To get an accurate reading, I need to see how your home actually behaves during a standard, lived-in day.
- Check your thermostat settings. Make sure your heating or cooling is running at a consistent, typical temperature. If the house is an icebox or a sauna when I walk in, the data I get from the blower door test won’t reflect your actual energy reality.
- Locate your utility bills. Having your recent usage data handy is huge. It helps me connect the physical leaks I find with the actual spikes in your spending, making the results way more practical for your budget.
- Walk your own perimeter first. Grab your own thermometer if you have one, or just feel around your windows and outlets. If you point out a specific spot that feels suspiciously drafty, it helps me focus my inspection on the areas that are actually bothering you.
The Bottom Line: Why This Audit Matters
An energy audit isn’t just about being “green”—it’s a practical way to stop the constant drain on your bank account caused by invisible drafts and inefficient systems.
You don’t need a massive renovation budget to see results; the data from these tests usually points toward small, high-impact fixes that pay for themselves quickly.
Think of the audit as a roadmap rather than a chore; once you know exactly where the heat is escaping, you can stop guessing and start fixing with confidence.
## The Reality Check
An energy audit isn’t just a technical checklist; it’s a reality check for your wallet. It’s about peeling back the layers of your home to see exactly where you’re paying for warmth that’s actually just drifting out into the street.
Tobias Nkemdirim
The Bottom Line on Your Energy Audit
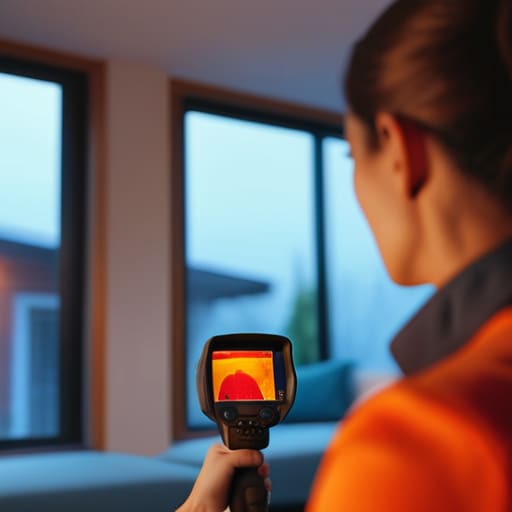
At the end of the day, an energy audit isn’t just a checklist of technical jargon; it’s your roadmap to a more efficient life. We’ve looked at how the blower door test pinpoints those invisible drafts and how thermal imaging acts like a pair of X-ray specs for your walls, revealing exactly where your hard-earned money is escaping. Whether it’s sealing a gap in the window frame or upgrading your insulation, these aren’t just “green” projects—they are strategic investments in your monthly budget. Once you know where the leaks are, you stop guessing and start fixing.
I know it can feel overwhelming, especially when you’re looking at a long list of potential upgrades. But remember, you don’t have to overhaul your entire house overnight to make a difference. Sustainability shouldn’t be a luxury reserved for people with massive bank accounts; it’s about making smart, incremental shifts that work for your specific space. Start with the data, tackle the biggest leaks first, and watch how your comfort levels rise while your bills drop. You have the power to take control of your home’s footprint, one small fix at a time.
Frequently Asked Questions
How much is an actual energy audit going to cost me upfront versus how much I'll save on my bills?
Here’s the reality: an upfront audit might cost you anywhere from $300 to $600 depending on your home’s size and how deep you want to go. It feels like a hit to the wallet initially, but I look at it as an investment. Most homeowners see those costs recouped within a year through lower utility bills. If you fix the leaks we find, the savings aren’t just theoretical—they’re actual cash staying in your pocket.
Do I need to be home during the entire inspection, or can I just leave the keys and let the auditor work?
You don’t have to be there, but I’d highly recommend it. While an auditor can definitely work with just a key, you’ll miss the most valuable part: the walkthrough. It’s much better to be present when they point out a drafty window or a poorly insulated attic. Being there allows you to ask questions in real-time and see exactly where your money is leaking, rather than just reading about it in a report later.
Once the audit is done, how do I know which repairs are actually worth the money and which ones are just fluff?
Don’t let a long list of recommendations overwhelm you. I always tell my clients to look at the “Payback Period.” If a $50 roll of weatherstripping saves you $100 a year, that’s a no-brainer. If a high-end HVAC upgrade takes fifteen years to pay for itself, it might be fluff for now. Focus on the low-cost, high-impact fixes first—sealing air leaks and insulating attic hatches—before you start chasing the expensive, shiny upgrades.
