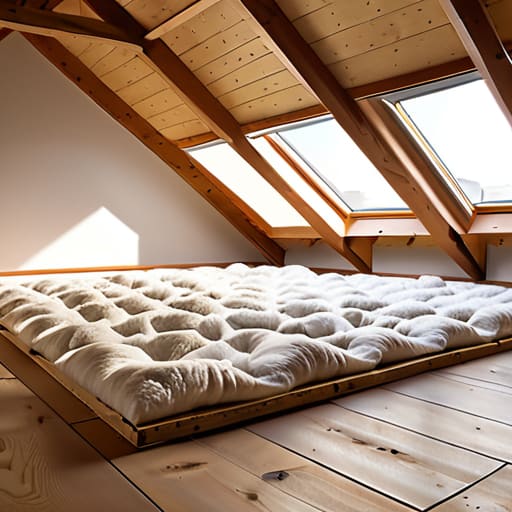
I still remember sitting in my childhood bedroom, wrapped in three layers of wool, watching my breath mist in the air while the radiator hissed uselessly against the draft. I used to think I just needed a bigger heater, but the truth was much simpler: we were literally bleeding money through the ceiling. Most people looking for a loft insulation guide end up buried under a mountain of technical jargon or, worse, sales pitches for expensive, high-tech systems that your bank account definitely doesn’t need. You don’t need a massive renovation budget to fix a drafty house; you just need to understand where the heat is actually escaping.
I’m not here to sell you on some “revolutionary” new material that costs a fortune. Instead, I’m going to give you a straightforward, data-driven breakdown of what actually works for real homes. This guide is about finding the most efficient ways to seal your space without breaking the bank. I’ll show you how to identify the gaps, choose the right materials for your budget, and ensure you’re getting the maximum thermal return for every pound you spend.
Table of Contents
- Choosing the Right Types of Loft Insulation Materials
- Understanding R Value for Loft Insulation Without the Confusion
- 5 Pro Tips to Avoid Wasting Money (and Heat) During Installation
- The Bottom Line on Your Loft Insulation
- ## The Real Cost of Doing Nothing
- Stop Letting Your Money Leak Out the Roof
- Frequently Asked Questions
Choosing the Right Types of Loft Insulation Materials
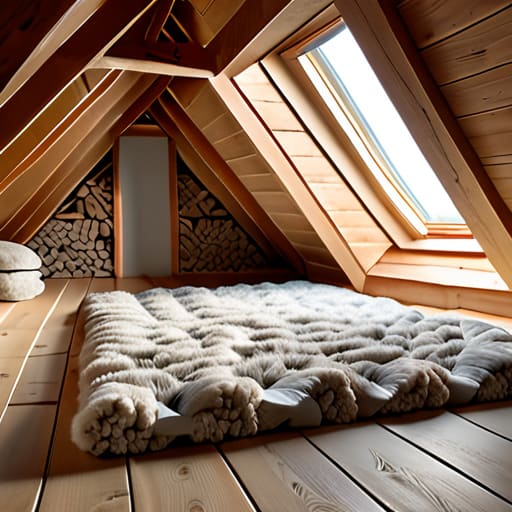
When you start looking into the different types of loft insulation materials, it’s easy to get overwhelmed by the sheer variety of options. Most people I audit end up choosing between traditional mineral wool rolls or more modern sheep’s wool. Mineral wool is the industry standard for a reason—it’s affordable and does a solid job of reducing heating bills with insulation without breaking the bank. However, if you’re dealing with an older property, you might want to look into sheep’s wool; it has a natural ability to help with preventing condensation in the attic by managing moisture levels more effectively than synthetics.
If you’re looking for something more high-tech, there are rigid foam boards that offer a much higher R-value for loft insulation in a thinner profile. This is a game-changer if you have limited space or need to insulate around awkward rafters. While the initial loft insulation installation costs might be slightly higher for these premium materials, the long-term energy savings usually justify the upfront hit. I always tell my clients: don’t just buy the cheapest stuff you find; buy what actually fits your home’s specific thermal needs.
Understanding R Value for Loft Insulation Without the Confusion
When you start looking into different types of loft insulation materials, you’re going to see the term “R-value” thrown around constantly. It sounds like some complex engineering metric, but it’s actually pretty straightforward. Think of the R-value as a measure of how well a material resists heat flow. The higher the number, the better the material is at stopping heat from escaping your living space. If you’re serious about reducing heating bills with insulation, you need to stop looking at just the thickness of the material and start looking at that number.
I usually tell my clients not to get bogged down in the math, but there is a practical way to use this data. A higher R-value means you can achieve better thermal performance without necessarily needing a massive amount of space in your attic. However, keep in mind that loft insulation installation costs can fluctuate depending on how much material you need to hit your target R-value. It’s a balancing act: you want enough resistance to keep the heat in, but you also need to ensure you aren’t creating issues like preventing condensation in the attic by trapping too much moisture.
5 Pro Tips to Avoid Wasting Money (and Heat) During Installation
- Don’t forget your eaves. When you lay down new insulation, make sure you don’t block the airflow from your soffit vents. I’ve seen too many people accidentally suffocate their attic, which leads to dampness and rot—the last thing you want in a “sustainable” home.
- Check your recessed lighting. If you have old-school downlights, you can’t just bury them under mineral wool. You’ll need to install protective covers or loft caps to prevent a fire hazard. It’s a small detail that’s non-negotiable for safety.
- Seal the gaps before you layer. Before you start spreading insulation, grab some expanding foam or caulk and seal the tiny cracks around pipes and cables passing through the ceiling. If you don’t stop the drafts first, you’re just putting a bandage on a leaky wound.
- Mind the depth. If you’re adding new insulation on top of the old stuff, don’t just guess the thickness. Aim for a total depth that hits your target R-value. More isn’t always better if it’s uneven, so try to keep it consistent across the whole floor.
- Protect your gear and yourself. This isn’t just about the house; it’s about you. Wear a decent mask and gloves. Fiberglass or sheep’s wool might look harmless, but breathing in those particles is a nightmare, and I’ve learned that the hard way during my first few audits.
The Bottom Line on Your Loft Insulation
Don’t get bogged down in the technical jargon; just focus on finding a material that offers a high R-value for your specific budget and space.
Choosing the right insulation is a one-time investment that pays for itself by stopping the constant drain on your monthly utility bills.
Whether you go with mineral wool or sheep’s wool, the goal is simple: create a solid thermal barrier that keeps the heat where it belongs—inside your home.
## The Real Cost of Doing Nothing
“I’ve spent too many afternoons pointing my infrared thermometer at ceilings and watching the heat bleed straight into the night sky; it’s frustrating because it’s preventable, and every cent you spend on insulation is a cent you aren’t handing over to your utility company.”
Tobias Nkemdirim
Stop Letting Your Money Leak Out the Roof
At the end of the day, insulating your loft isn’t about chasing some perfect, high-tech engineering standard; it’s about making a practical decision that works for your specific space and budget. We’ve looked at how to pick the right materials, whether you’re going with mineral wool or sheep’s wool, and we’ve demystified those R-values so you can actually understand what you’re paying for. Remember, the goal is to create a thermal barrier that keeps the heat where it belongs—inside your living space—rather than letting it vanish into the rafters. Don’t get paralyzed by choice; just pick a reliable, high-performing option and get it installed correctly.
I know that starting a home improvement project can feel overwhelming, especially when you’re trying to balance costs with sustainability. But I promise you, the moment you feel that first draft-free evening in a room that actually stays warm, you’ll realize it was worth it. You don’t need to overhaul your entire life to make a difference; you just need to stop wasting energy simply because it’s the easier path. Every bit of insulation you lay down is a win for your bank account and a small, necessary step toward a more efficient future. Let’s get to work.
Frequently Asked Questions
How do I know if my current insulation is actually working or if it's just old and settled?
I usually grab my infrared thermometer for this. If I scan your ceiling and see massive temperature drops near the eaves or patches where the heat is escaping rapidly, your insulation has likely failed. Also, go up there and physically check it. If the material looks compressed, thin, or lumpy, it’s “settled.” Once it loses that loft, it loses its ability to trap air, which means it’s basically just expensive, useless fluff.
Is it safe for me to install this myself, or am I going to mess up my ventilation and cause dampness?
Look, I get the hesitation. I’ve seen too many DIY jobs turn into a nightmare of mold and damp because someone blocked the airflow. You can definitely do this yourself, but you can’t just stuff everything in like a pillow. You have to respect your eaves and maintain that ventilation gap. If you block the airflow, you’re essentially trapping moisture, which is a recipe for rot. Keep it breathable, and you’ll be fine.
How much is this actually going to save me on my monthly bills in the long run?
Look, I’m not going to give you a vague “it depends” answer. If you’ve got a poorly insulated loft, you’re basically heating the sky. Depending on your home’s setup, upgrading can shave 15% to 25% off your heating bills. It’s not just a one-time fix; it’s a long-term hedge against rising energy prices. You’ll see the difference in your meter readings almost immediately once the temperature stabilizes. It’s one of the highest-return moves you can make.
