
I still remember sitting in my old rental apartment during a January freeze, shivering under three layers of blankets while watching my bank account drain from a heating bill that made no sense. I’d point my infrared thermometer at the window frames, watching the temperature drop like a stone where the air was whistling through the cracks. It’s infuriating how most “green” advice tells you that minimizing energy loss requires a massive solar array or a complete home renovation you can’t afford. The truth is, most of that heat isn’t being lost because your house is “bad”—it’s being lost because of tiny, preventable leaks that are essentially throwing cash directly into the wind.
I’m not here to sell you on expensive, high-tech gadgets that promise the world but deliver nothing. Instead, I’m going to show you the practical, data-backed ways to plug those leaks without breaking the bank. We’re going to focus on small, smart adjustments that actually move the needle on your utility bills. My goal is to give you a no-nonsense roadmap to a more efficient home, focusing on high-impact fixes that keep you warm and your carbon footprint actually small.
Table of Contents
Strengthening Your Building Envelope Integrity on a Budget
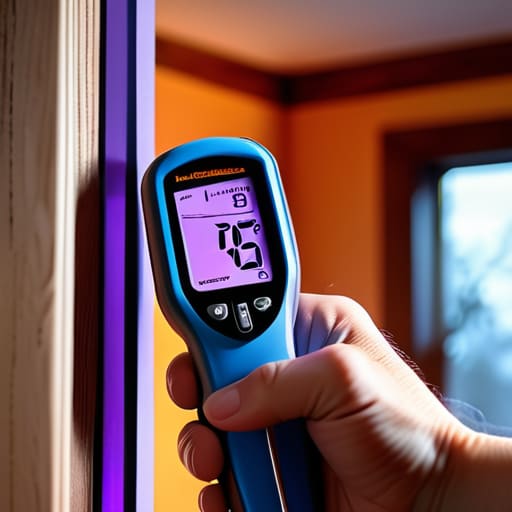
When I’m doing an audit, the first thing I do is pull out my infrared thermometer. I’m usually looking for those telltale cold spots around window sills or baseboards that scream “air leak.” Improving your building envelope integrity doesn’t always require a massive renovation budget; often, it’s just about stopping the drafts you can actually feel. I always tell my clients that if you can feel a breeze indoors, you’re essentially paying to heat the neighborhood.
Start with the low-hanging fruit: sealing window and door frames. A few rolls of weatherstripping or some high-quality caulk from the hardware store can make a massive difference in how much heat stays trapped inside. It’s all about managing conduction and convection in homes to ensure the air you’ve paid to warm stays exactly where it belongs. You don’t need to strip your walls to the studs to see results; you just need to be methodical about plugging the holes where your money is escaping.
Smart Air Leakage Prevention for Every Room
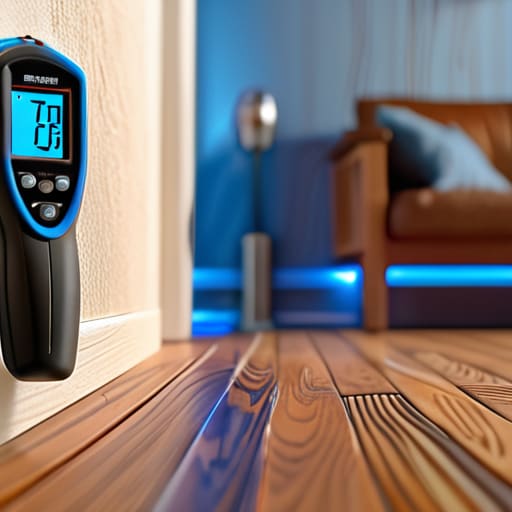
I’ve spent more hours than I’d like to admit walking through drafty rentals with my infrared thermometer, and I can tell you: the leaks aren’t always where you think they are. While everyone focuses on the big stuff, it’s often the tiny gaps around baseboards or electrical outlets that do the most damage. Effective air leakage prevention isn’t just about plugging a hole you can see; it’s about addressing the invisible drafts that disrupt the airflow in your living space.
When I’m auditing a room, I look specifically at the transition points where different surfaces meet. Sealing window and door frames with high-quality weatherstripping is a great start, but don’t overlook the “hidden” culprits like recessed lighting or gaps behind heavy furniture. It’s a battle against conduction and convection in homes, where heat escapes through cracks and cold air settles in low spots. By tackling these small, localized leaks room by room, you’re essentially creating a much more stable thermal environment without needing a massive renovation budget.
5 Low-Cost Wins to Stop Your Heat from Escaping
- Master your thermostat settings; it’s not just about the temperature, but the timing. Setting it back just 2 or 3 degrees while you’re sleeping or out of the house can shave a noticeable chunk off your monthly bill without making you miserable.
- Use heavy curtains as thermal barriers. I always check the window frames with my infrared thermometer, but even if the seals are okay, thick, floor-to-ceiling drapes can act like a second layer of insulation against the glass.
- Don’t forget your radiator efficiency. If you have radiators sitting against cold exterior walls, you’re losing heat directly into the brickwork. Slapping a simple piece of reflective foil behind them can bounce that warmth back into the room instead.
- Manage your internal airflow. It sounds counterintuitive, but closing the doors to unused rooms prevents your heating system from trying to warm up space you aren’t even occupying. Keep the heat where you actually live.
- Check your water heater temperature. Most people have their tanks set way higher than necessary. Dialing it down to around 120°F (49°C) is usually plenty for a hot shower and stops you from paying to heat water you’ll never use.
The Bottom Line: Stop the Leaks, Save the Cash
You don’t need a massive renovation budget to see results; focusing on air sealing and insulation gaps is the fastest way to stop paying for heat you aren’t actually using.
Prioritize your “problem zones” by using an infrared thermometer or even just your hands to find where the cold is actually getting in before you spend a dime.
Small, consistent fixes—like weatherstripping or caulking—are more effective for your wallet in the long run than waiting for a major, expensive system upgrade.
The Real Cost of Convenience
“Every time I point my thermometer at a drafty window or a poorly sealed door, I don’t just see a temperature drop; I see money literally escaping into the street. We’ve been conditioned to think that massive, expensive renovations are the only way to be sustainable, but the truth is, efficiency is found in the gaps we usually ignore.”
Tobias Nkemdirim
The Bottom Line
At the end of the day, minimizing energy loss isn’t about installing a million-dollar smart home system or ripping out your walls for new insulation. It’s about the basics: tightening up your building envelope, sealing those sneaky air leaks around windows, and actually paying attention to where your heat is escaping. I’ve spent enough time with my infrared thermometer to know that most of your money is literally leaking through the cracks you haven’t noticed yet. By focusing on these low-cost, high-impact fixes, you aren’t just saving a few bucks on your monthly utility bill; you’re fundamentally changing how your home breathes. It’s about being intentional with the space you inhabit rather than just letting energy vanish into thin air.
I know it can feel overwhelming to think about sustainability when everything feels so expensive right now. But remember, you don’t need a massive bank account to make a difference. Every draft you seal and every thermal leak you plug is a win for both your wallet and the planet. We have to stop accepting inefficiency just because it’s the status quo. Start small, stay observant, and realize that small, smart changes are exactly what lead to lasting impact. You’ve got this, and your future self—the one with the lower bills and a much smaller carbon footprint—will definitely thank you.
Frequently Asked Questions
I’ve noticed drafts around my windows, but how do I know if the leak is in the glass itself or just the frame?
Grab your infrared thermometer—that’s my go-to for this. Aim it at the glass, then the frame. If the glass temperature is significantly lower than the surrounding wall, you’ve likely got failed seals in a double-pane window. But if the frame is the cold spot, it’s an air leak. You can also do the “incense test”: pass a lit stick near the edges. If the smoke dances, the air is escaping through the frame.
Are there specific materials you recommend for sealing gaps that won't permanently damage old window frames or rental property?
If you’re in a rental or dealing with old wood frames, avoid anything permanent like spray foam or heavy caulking. I usually recommend removable weatherstripping or V-seal strips; they stick well but peel off without ruining the finish. For window gaps, tension rods with heavy thermal curtains are a lifesaver. If you need something more direct, even a bit of removable “draft stopper” fabric at the sill works wonders without leaving a trace.
Since I'm on a tight budget, which of these fixes actually provides the biggest "bang for my buck" in terms of immediate bill reduction?
If you’re looking for the biggest immediate impact without breaking the bank, focus on your windows and doors. Grab some weatherstripping or even just heavy thermal curtains. I’ve used my infrared thermometer on countless audits, and the heat loss around poorly sealed door frames is usually massive. It’s cheap, you can do it yourself in an afternoon, and you’ll actually feel the difference in your utility bill almost immediately.
