
I still remember sitting in my old rental apartment three years ago, wrapped in two blankets and shivering, watching my heating bill climb higher every single month. I’d crank the thermostat up, only to feel that sharp, biting chill cutting right through the floorboards. It wasn’t a broken heater; it was a house that was essentially a sieve. I spent hours tracking those invisible currents with my infrared thermometer, realizing that most people think you need a massive renovation budget to fix a cold home. That’s a lie. The truth is, most of your warmth is simply escaping through tiny gaps, and neglecting basic draft proofing is basically like trying to fill a bucket with a hole in the bottom.
I’m not here to sell you on expensive, high-tech window replacements or complicated architectural overhauls that most of us can’t afford. Instead, I’m going to show you how to tackle this with practical, low-cost solutions that actually work. We’re going to look at the specific spots where your money is leaking out and how to seal them up for good. My goal is to give you a straightforward roadmap for effective draft proofing so you can finally stop overpaying for heat and start feeling comfortable in your own space.
Table of Contents
Preventing Cold Air Infiltration Without a Massive Budget
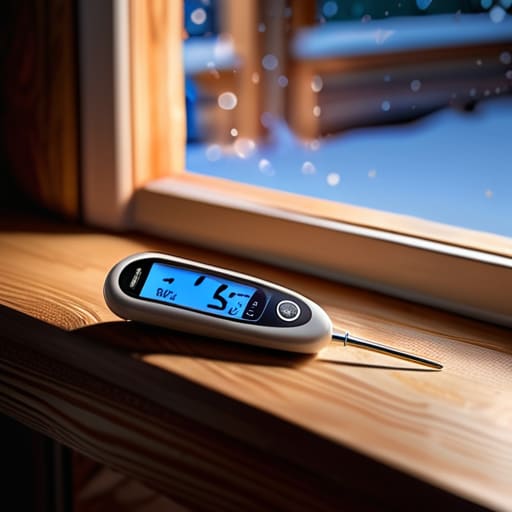
You don’t need a contractor or a massive renovation budget to start preventing cold air infiltration. Most of the heat loss I see during my audits isn’t coming from missing wall insulation; it’s coming from the gaps you can actually feel. I usually start by grabbing my infrared thermometer and scanning the perimeter of your doors and windows. If you see those sudden temperature drops, you’ve found your problem. A simple roll of adhesive foam or a basic set of weatherstripping techniques can seal those gaps for a few dollars, stopping the breeze before it even enters the room.
For those on a tight budget, even “low-tech” fixes are incredibly effective for reducing heating bills. If you have old, single-pane windows, try using thermal film kits—they’re cheap, easy to apply, and create an extra layer of air that acts as a buffer. It’s not a permanent architectural fix, but it’s a smart way to achieve home comfort optimization without needing to replace your entire window unit. Small, incremental changes are always better than doing nothing at all.
Simple Weatherstripping Techniques to Keep the Warmth in
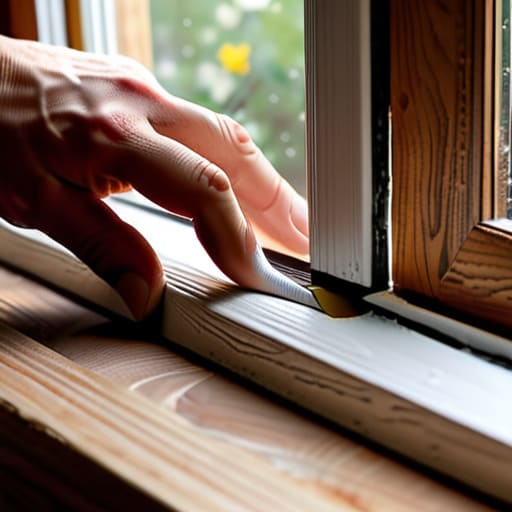
If you aren’t ready to replace your entire window frame, don’t sweat it. Most of the heat loss I see during my audits happens in those tiny, invisible gaps around door frames and sashes. One of my favorite low-cost weatherstripping techniques involves using adhesive foam tape. It’s cheap, easy to apply, and you can pick it up at any hardware store. Just make sure you clean the surface thoroughly first; if there’s dust on the frame, that tape isn’t going to stick, and you’ll be right back to shivering in a few weeks.
For the bottom of your doors, skip the expensive custom sweeps and grab a weighted fabric draft stopper. I call them “door snakes.” They’re incredibly effective at preventing cold air infiltration from the hallway or the porch. If you’re feeling crafty, you can even sew one yourself using scrap fabric. It’s a small, practical tweak, but when you combine it with some basic insulation for windows and doors, you’ll notice a massive difference in how your space actually holds onto the warmth you’re paying for.
My Go-To Checklist for Finding and Fixing the Invisible Leaks
- Grab your infrared thermometer and scan your baseboards and window frames; if you see a sudden temperature drop on the screen, you’ve found a direct path for cold air to enter.
- Don’t ignore the door sweep—if you can feel a breeze hitting your ankles when you walk through the front door, a simple adhesive foam strip or a weighted draft stopper will pay for itself in a single winter.
- Check your electrical outlets on exterior walls, as these are notorious for letting air seep through the wall cavity; installing inexpensive foam gaskets behind the faceplates is a quick, low-effort win.
- Inspect the gaps where your window sashes meet; if they feel loose, a bit of clear weatherstripping can seal the deal without ruining the look of your frames.
- Take a look at your ceiling—if you have recessed lighting, make sure they are airtight, otherwise, you’re basically paying to heat the space inside your attic instead of your living room.
The Bottom Line on Sealing Your Space
You don’t need a massive renovation budget to see results; start with cheap, tactile fixes like weatherstripping and door snakes to stop the immediate energy bleed.
Use a handheld thermometer or even just your hands to find the specific “hot spots” where air is moving, so you aren’t wasting money on fixes that don’t actually matter.
Think of draft proofing as a long-term investment in your bank account—every crack you seal is money you stop handing over to your utility provider every single month.
The Real Cost of a Draft
I’ve spent enough time pointing my infrared thermometer at window frames to know that a draft isn’t just a bit of cold air—it’s a literal hole in your bank account. You aren’t just losing heat; you’re paying to heat the entire neighborhood through those tiny cracks.
Tobias Nkemdirim
Stop the Leak, Save Your Cash

At the end of the day, draft proofing isn’t about a massive, expensive renovation; it’s about being smart with what you already have. We’ve covered how a few rolls of weatherstripping, some basic sealant, and a bit of strategic heavy curtain usage can transform a drafty room into a cozy sanctuary. I’ve seen firsthand with my infrared thermometer how a single unsealed window frame can act like a constant drain on your bank account. By tackling these small, manageable leaks, you aren’t just fixing a house—you are systematically reclaiming your monthly budget from the cold air that’s trying to steal it.
I know it can feel overwhelming when you look at the rising cost of everything, but don’t let that stop you from making a move. You don’t need a massive solar array or a smart home system to make a difference. Every crack you seal and every window you weatherstrip is a win for your wallet and a win for the planet. Sustainability shouldn’t be a luxury reserved for the wealthy; it’s about making intentional, practical choices in the spaces we live. Start small, stay consistent, and watch how much more control you have over your home and your footprint.
Frequently Asked Questions
How do I know if a draft is coming from a window seal or just poor insulation in the wall?
The easiest way to tell is to grab your infrared thermometer. I always do this during audits. Point it at the window frame; if you see a sharp temperature drop right along the seal, it’s a draft issue you can fix with weatherstripping. But if the entire wall feels cold and uniform, that’s a lack of insulation. One is a leak you can plug; the other is a structural gap that needs more serious attention.
Are there any draft-proofing methods that won't permanently damage older, vintage window frames?
I get this question a lot, especially from people restoring old houses. You don’t want to ruin beautiful, vintage woodwork with aggressive adhesives. Skip the heavy-duty tapes. Instead, use removable silicone weatherstripping or even temporary “draft snakes” for the sills. If you need something more secure, look into V-seal strips; they’re low-profile and much gentler on old wood. It’s all about finding that balance between keeping the heat in and respecting the original architecture.
Is it actually worth the cost of materials to seal up a door that I only use once or twice a day?
Honestly? Yes. I’ve seen too many people overlook those “low-traffic” doors, but that’s exactly where the heat escapes. If that door leads to a hallway or an unheated porch, you’re basically leaving a window open 24/7. A simple door sweep or some adhesive foam costs maybe ten bucks and takes five minutes to install. It pays for itself in energy savings within a single season. Don’t let a tiny gap drain your wallet.
