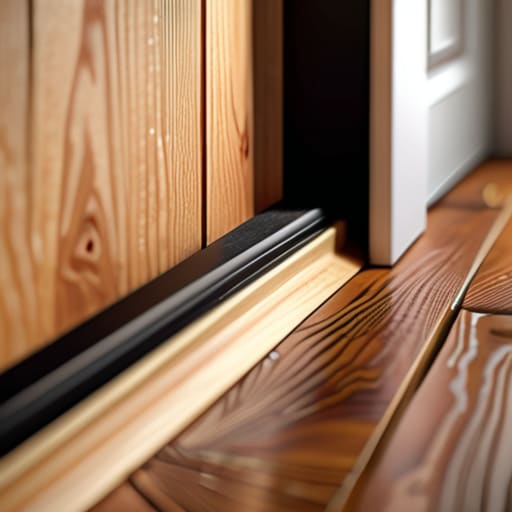
I remember sitting in my old rental apartment three years ago, shivering under three layers of blankets while watching the heater struggle to keep up. I kept thinking I needed a massive, expensive HVAC upgrade to stay warm, but the truth was much simpler: I was literally paying to heat the neighborhood. I pulled out my infrared thermometer, scanned the base of my front door, and saw a massive heat signature bleeding out into the hallway. That’s when I realized that most people don’t have an insulation problem; they have a gap problem. This weather stripping guide isn’t about buying fancy, high-tech gadgets; it’s about identifying exactly where your money is escaping through the cracks.
I’m not here to sell you on expensive contractor services or complicated home renovations that take months to complete. Instead, I’m going to walk you through the no-nonsense steps to seal your windows and doors using affordable, DIY materials. We’ll cover how to pick the right material for your specific gaps, the right way to clean surfaces so the adhesive actually sticks, and how to spot those invisible leaks before they wreck your utility bill. Let’s stop wasting energy just because it’s easier than fixing a door.
Table of Contents
Guide Overview
Tools & Supplies
- Measuring tape for sizing strips
- Utility knife or scissors for cutting
- Screwdriver for adjusting hardware
- Damp cloth for cleaning surfaces
- Weather stripping material (foam, rubber, or V-strip)
- Adhesive remover or rubbing alcohol for cleaning
- Small amount of lubricant (if using sliding door tracks)
Step-by-Step Instructions
- 1. Before you even touch a roll of tape, you need to find exactly where the air is escaping. I always pull out my infrared thermometer for this; I run it along the edges of window frames and door jambs to look for those sudden temperature drops. If you don’t have one, a simple lit incense stick works too—just hold it near the cracks and watch for the smoke to flicker or dance. That’s where your money is escaping.
- 2. Once you’ve identified the problem areas, you have to clean the surfaces. This is the part most people skip, but if you apply new stripping over dust or old residue, it’s going to peel off in a week. Use a damp cloth with a bit of isopropyl alcohol to wipe down the door frames and window tracks. Make sure the area is completely dry before moving to the next step, or nothing will stick.
- 3. Now, pick your weapon. Not all weather stripping is created equal, and using the wrong type is a waste of cash. For large gaps in door frames, I usually go with adhesive-backed foam or V-seal strips. If you have a gap at the very bottom of a door, skip the tape and grab a door sweep. Match the material to the size of the gap you found in step one.
- 4. Start applying the strip from one end of the frame and work your way across. If you’re using foam tape, don’t stretch it as you press it down; if you pull it too tight, it’ll lose its shape and fail to seal properly once the temperature shifts. Apply firm, constant pressure along the entire length to ensure the adhesive bond is solid.
- 5. For windows, focus on the sliding parts and the corners. These are notorious for “ghost drafts” that make a room feel chilly even when the heat is on. I like to use silicone caulk for permanent cracks in the frame, but for the moving parts, stick to the flexible stripping so you can still actually open and close your windows without a fight.
- 6. Do a final “stress test” once everything is installed. Close the door or window firmly and feel around the edges with your hand. If you still feel a breeze, you might need a thicker foam or a second layer in that specific spot. I always double-check my work with the thermometer one last time to make sure there are no more thermal leaks hiding in the corners.
Foam vs Rubber Weather Stripping Making Smart Material Choices
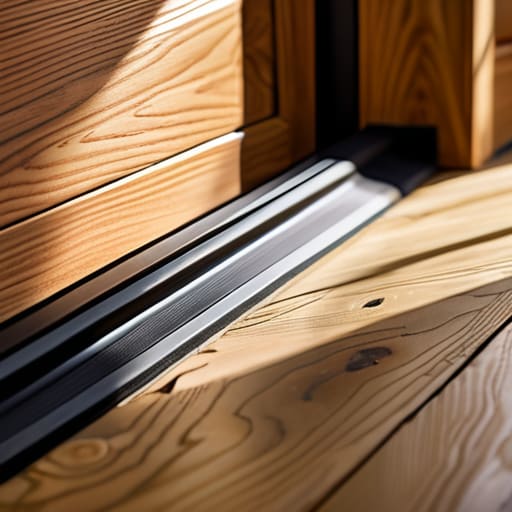
When you’re standing in the hardware aisle, it’s easy to grab the first roll of foam you see because it’s cheap and easy. But if you want to do this right, you need to look at the application. Foam is great for filling small, irregular gaps or for areas where the door doesn’t close with much force. However, foam tends to degrade faster under heavy use. If you’re dealing with a high-traffic front door, I always suggest opting for rubber. It’s more resilient and provides a much tighter seal, which is essential for energy efficient home sealing.
The real trick is knowing where to use what. I usually recommend using thicker, more durable rubber strips for the main door frame to ensure a consistent barrier against the wind. For those tiny, annoying gaps around window sashes, a thinner foam might actually be more forgiving. If you find that even after choosing the right material, you still feel a chill, you might need to look into a door sweep replacement to block the gap at the very bottom. It’s all about matching the material to the specific leak.
Preventing Heat Loss Through Windows Without Breaking the Bank
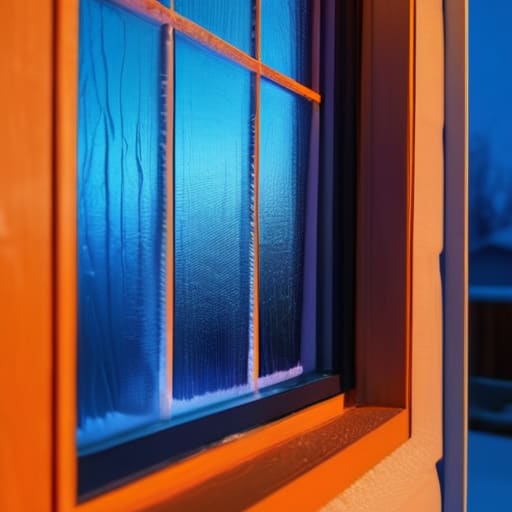
Even if you’ve already gone through the motions of applying weather stripping to your doors, your windows are likely still acting like giant radiators in reverse, pumping your heat straight into the street. I’ve spent too many audits pointing my infrared thermometer at window frames only to see massive temperature drops. If you can’t afford to swap out old single-pane glass for expensive double glazing, you need to focus on preventing heat loss through windows using much cheaper methods.
One of the most effective moves is using window film kits. They’re essentially clear plastic sheets that you shrink-wrap over the frame with a hairdryer; it creates an extra layer of still air that acts as insulation. For a more permanent fix, look into caulking and sealing techniques around the window trim. If you see cracks where the frame meets the wall, that’s a direct highway for cold air. It’s a small, low-cost task, but sealing those gaps is a cornerstone of energy efficient home sealing that pays for itself in a single heating season.
Pro-Tips for a Tight, Efficient Seal
- Grab your infrared thermometer before you start; I always scan door frames and window sills first so I know exactly where the cold air is actually forcing its way in.
- Don’t just eyeball the fit—if you can see light through a crack, you’re definitely losing money, so make sure your new stripping creates a complete, light-tight seal.
- Clean your surfaces with rubbing alcohol first; if there’s any dust or old adhesive left on the frame, your new weather stripping will peel off within a week.
- Pay extra attention to the bottom of your doors; most people forget that the gap between the door and the floor is usually the biggest energy thief in the room.
- Check your seals every time the seasons shift, because materials like foam can compress or crack over time, turning your “fix” into a useless piece of rubber.
The Bottom Line on Sealing Your Space
Don’t just buy the cheapest foam you find; invest in rubber or silicone for high-traffic doors if you want them to actually last more than one season.
Treat every draft like a literal leak in your bank account—if you can feel air moving, you’re essentially paying to heat the outdoors.
You don’t need a massive renovation to see a difference; starting with simple, targeted seals around windows and door frames is the fastest way to drop your utility bills.
The Real Cost of a Draft
“Every time I walk into a room and feel a draft, I don’t just see cold air; I see money literally drifting out of your house. Weather stripping isn’t just a DIY task—it’s about plugging the holes in your budget so you can actually afford to keep the heat on.”
Tobias Nkemdirim
Closing the Gaps
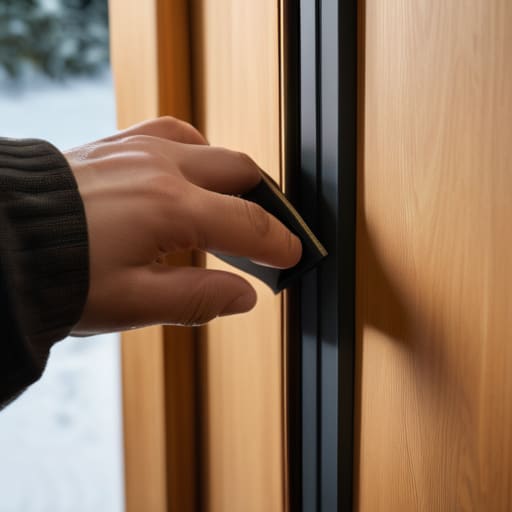
At the end of the day, sealing your home doesn’t require a massive renovation budget or a degree in engineering. It really comes down to the basics: choosing the right material for the job—whether that’s durable rubber for high-traffic doors or simple foam for smaller gaps—and being meticulous about where you apply it. By tackling those drafts around your windows and doors, you aren’t just making your living space more comfortable; you are actively stopping the invisible drain on your bank account. I’ve seen firsthand how a few rolls of weather stripping can transform a drafty, expensive room into a stable, efficient space that actually holds its temperature.
I know it can feel like these small DIY tasks are insignificant in the grand scheme of the climate crisis, but that’s where we get it wrong. Every bit of heat you save is energy that doesn’t need to be generated, and every dollar you keep in your pocket is a win for your household. We have to move away from the idea that sustainability is a luxury reserved for the wealthy. If we all commit to these small, smart changes, we can collectively build a future that is both affordable and much kinder to the planet. Let’s stop letting our hard-earned energy leak out into the void.
Frequently Asked Questions
How often do I actually need to replace my weather stripping before it stops working?
Honestly, there’s no set schedule, but I usually tell my clients to check their seals every time the seasons shift. If you notice a draft, or if the material feels brittle, cracked, or flattened out, it’s done. For foam, expect a replacement every year or two since it compresses easily. Rubber lasts longer, but if it’s losing its “bounce,” it’s not sealing anymore. Don’t wait until your heating bill spikes to notice.
Is it worth spending more on high-end silicone strips if I'm on a tight budget?
Look, I get it—when you’re watching every cent, the price jump for silicone feels steep. But honestly? If you can swing it, go for the silicone. I’ve audited enough drafty rentals to know that cheap foam tends to compress and crack after one season, meaning you’ll be back at the hardware store redoing the work in six months. Silicone lasts much longer. It’s an upfront cost, but it’s better for your wallet long-term.
Can I use weather stripping on older, uneven door frames, or will it just fail?
Honestly, I’ve seen plenty of uneven, older frames, and yeah, standard strips can struggle there. If the frame is warped, a rigid strip will just create gaps. Instead of forcing something that won’t seal, go with a heavy-duty silicone bulb or a thick foam tape. They’re much more forgiving and can compress to fill those irregular gaps. It’s better to use a flexible material that adapts to the chaos than to waste money on something that won’t actually stop the drafts.
