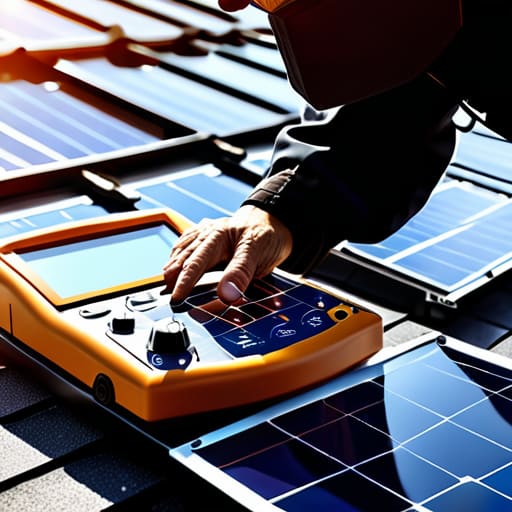
I remember standing on a client’s roof last summer, squinting against the glare, only to realize they were about to pay a technician hundreds of dollars just to wipe some bird droppings off a glass surface. It’s frustrating because the industry loves to make solar panel troubleshooting sound like some high-level engineering mystery that requires a specialized degree to solve. Most of the time, your system isn’t “broken” in the way you think; it’s just being choked by something simple that you could probably fix yourself with a garden hose and a bit of common sense.
I’m not here to sell you a premium maintenance contract or bury you in technical jargon that doesn’t pay the bills. My goal is to give you the straightforward, data-backed steps to identify why your output is dropping so you can stop bleeding money. We’re going to walk through the actual, hands-on ways to handle solar panel troubleshooting without the corporate fluff, focusing on practical fixes that keep your energy costs low and your system running exactly how it should.
Table of Contents
- Solving a Solar Panel Efficiency Drop Without Breaking the Bank
- Deciphering Solar Inverter Error Codes to Protect Your Investment
- 5 Quick Wins to Get Your Solar Output Back Where It Belongs
- The Bottom Line for Your Solar Setup
- ## Stop Guessing, Start Measuring
- Keeping Your System Running Smoothly
- Frequently Asked Questions
Solving a Solar Panel Efficiency Drop Without Breaking the Bank

When I’m out on an audit and a client tells me their output has tanked, my first instinct isn’t to suggest a massive hardware overhaul. Most of the time, a solar panel efficiency drop isn’t caused by a broken system, but by simple neglect. I usually start with the basics: cleaning solar panels for performance. It sounds almost too simple, but a thick layer of dust, pollen, or even bird droppings can create micro-shadows that significantly choke your energy production. Grab a soft brush and some water; it’s the cheapest way to reclaim your lost wattage.
If the panels look clean, I move on to the “brain” of the setup. I always tell people to keep a close eye on their monitoring app for any solar inverter error codes. These codes are basically the system trying to talk to you, telling you exactly where the hiccup is. Before you call an expensive technician, do a quick visual scan for any obvious signs of wear or loose cables. Checking solar wiring connections for any fraying or corrosion can save you a massive headache—and a much larger bill—down the road.
Deciphering Solar Inverter Error Codes to Protect Your Investment
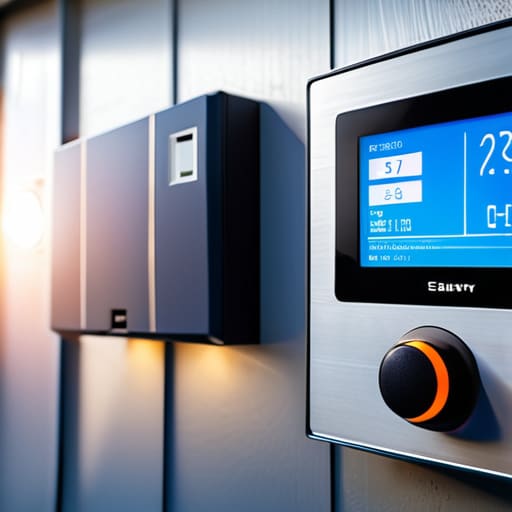
When your system goes dark, the first place I look isn’t the roof—it’s the inverter screen. Most people see a flashing red light or a cryptic string of numbers and immediately panic about the cost of a technician. But before you reach for your wallet, take a second to actually read those solar inverter error codes. They aren’t just random glitches; they are the brain of your setup trying to tell you exactly what’s wrong. Whether it’s a grid synchronization issue or a communication error, decoding these signals is the fastest way to perform effective photovoltaic system diagnostics without paying for an unnecessary service call.
I’ve seen plenty of homeowners mistake a simple software hiccup for a total hardware failure. Sometimes, a code might point toward solar battery storage problems or even a minor surge, rather than a broken panel. My advice? Keep a small notebook or a digital log of every code you encounter. If you notice a pattern, it’s a sign of a deeper issue that needs addressing. Don’t let a simple error message turn into a massive, expensive headache just because you didn’t stop to decipher the data first.
5 Quick Wins to Get Your Solar Output Back Where It Belongs
- Grab a soft cloth and check for grime; it sounds basic, but a thick layer of dust or even bird droppings can create “hot spots” that tank your efficiency. Just a quick rinse can make a massive difference in how much power you actually pull from the sun.
- Keep an eye on your shading situation. I’ve seen so many people plant a beautiful hedge or install a new trellis only to realize they’ve accidentally cast a shadow over a single cell, which can drag down the performance of the entire string.
- Check your wiring for any visible wear or loose connections. If you see any fraying or if a connector looks a bit dodgy, you’re likely losing energy to resistance before it even hits your inverter—and that’s just money leaking out of your pocket.
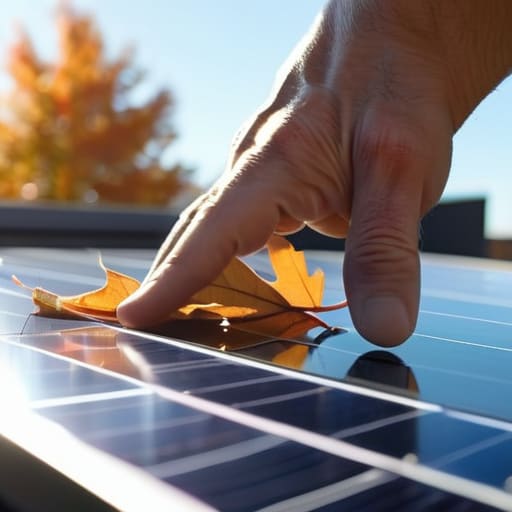
- Watch your weather patterns and local debris. After a heavy storm or a windy day, check for fallen branches or even leaves that might be partially obscuring your panels; even a little bit of debris can disrupt the flow.
- Monitor your monitoring app like a hawk. If you notice a sudden, unexplained dip in production that doesn’t align with the weather, don’t ignore it; that’s your first real clue that something mechanical or electrical is starting to fail.
The Bottom Line for Your Solar Setup
Don’t ignore a sudden dip in production; a simple cleaning or a quick check for shading can often fix efficiency drops without calling an expensive technician.
Treat your inverter like the brain of your system—learn those error codes so you can catch small electrical glitches before they turn into costly hardware failures.
Efficiency isn’t just about the tech; it’s about regular, low-cost maintenance that ensures you’re actually getting the ROI you were promised.
## Stop Guessing, Start Measuring
“Most people think a drop in solar production means they need a massive, expensive overhaul, but usually, it’s just a loose connection or a layer of grime that’s quietly bleeding your savings dry. Don’t let a simple fix slip through the cracks just because the tech feels intimidating.”
Tobias Nkemdirim
Keeping Your System Running Smoothly
Look, troubleshooting your solar setup doesn’t have to be this intimidating or expensive. We’ve covered the essentials: from clearing away debris and dust that choke your efficiency to actually understanding what those cryptic inverter error codes are trying to tell you. Most of the time, the fix isn’t a massive, costly overhaul; it’s just about staying on top of regular maintenance and catching small issues before they turn into hardware failures. If you can spot a drop in production early and tackle the simple stuff—like checking connections or cleaning your panels—you’re already ahead of most homeowners. Don’t let a minor glitch turn into a massive drain on your wallet.
At the end of the day, solar power is one of the best tools we have for taking control of our own energy independence. It’s about more than just the tech; it’s about making sure that investment actually works for you and your budget. Every time you fix a leak or optimize a panel, you’re reclaiming your power and making a sustainable lifestyle a lot more accessible. It might feel like a chore sometimes, but the payoff—lower bills and a smaller footprint—is worth every bit of effort. Keep that thermometer handy, stay observant, and don’t let your energy go to waste.
Frequently Asked Questions
Is it worth calling a professional if my energy output is still lower than expected after a deep clean?
Look, I get the hesitation—calling a pro feels like another unexpected expense. But if you’ve scrubbed the panels and checked the obvious stuff, yet the numbers still aren’t adding up, stop guessing. You might be looking at a faulty cell or a failing component that a handheld thermometer or a simple cleaning won’t fix. At a certain point, chasing ghosts wastes more time and money than just calling an expert to find the real leak.
How can I tell if a drop in production is just due to bad weather or if a specific panel is actually failing?
Check your monitoring app first. If your entire system’s output is down proportionally, it’s likely just a cloudy day or heavy rain. But if you see one specific string or panel lagging significantly behind the others while the rest are performing well, that’s a red flag. I usually grab my multimeter to check the voltage; if one panel is pulling way less than its neighbors, you’ve likely got a hardware failure rather than a weather problem.
Are there any cheap DIY tools I can use to monitor my system's performance more accurately?
You don’t need a massive budget to get real data. Honestly, a decent clamp meter is your best friend; it lets you check current and voltage without tearing everything apart. If you’re feeling techy, grab an ESP32 or an Arduino and some cheap sensors to build a basic monitoring node. It’s a fun weekend project that gives you much more granular data than most standard apps, helping you spot leaks before they cost you.
