
I still remember sitting in my old rental apartment three years ago, wrapped in two blankets and shivering, while my heating bill climbed higher every single month. I’d check the thermostat, but it felt like I was trying to heat the entire neighborhood instead of just my living room. I even pulled out my infrared thermometer—a habit I can’t seem to break—and watched in frustration as the temperature readings plummeted near the window frames. It’s incredibly annoying how people try to sell you massive, expensive renovations when the real culprits are just tiny, invisible gaps. You don’t need a contractor to fix this; most effective draft proofing techniques are actually about finding those small leaks and sealing them before your money literally flies out the window.
I’m not here to sell you on high-tech gadgets that don’t work or expensive “green” lifestyle hacks that require a massive upfront investment. My goal is to give you the straightforward, data-backed truth about which methods actually keep the heat in. I’ll walk you through the most practical, low-cost ways to seal your space so you can stop overpaying for warmth. We’re going to focus on smart, budget-friendly fixes that make a measurable difference in your comfort and your wallet.
Table of Contents
- Smart Caulking Window Frames to End Unnecessary Energy Waste
- Simple Weatherstripping Installation Tips That Actually Work
- 5 Low-Cost Fixes to Stop the Drafts You’re Currently Ignoring
- The Bottom Line on Sealing Your Space
- ## The Real Cost of a Draft
- Small Changes, Big Impact
- Frequently Asked Questions
Smart Caulking Window Frames to End Unnecessary Energy Waste
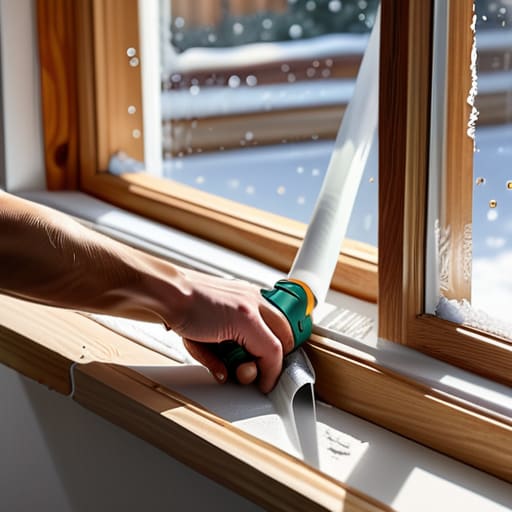
If you’ve ever sat near a window in January and felt that sudden, sharp chill, you’re likely looking at a failed seal. I usually pull out my infrared thermometer for this; seeing those cold spots around the perimeter of a frame is a wake-up call. Caulking window frames is one of the most effective, low-cost ways to stop that air from migrating into your living space. Unlike more complex energy efficiency home improvements that require a contractor, a few tubes of high-quality sealant can make a massive difference in how your room holds temperature.
The trick is to be methodical. Before you start, make sure the surface is bone-dry and free of old, crumbling debris. I always recommend a slow, steady bead of caulk to ensure there are no gaps. It’s not just about aesthetics; it’s about preventing air leaks that force your heater to work twice as hard. If you do this right, you aren’t just sealing a gap—you’re effectively reducing heating bills by creating a much tighter thermal envelope around your home.
Simple Weatherstripping Installation Tips That Actually Work
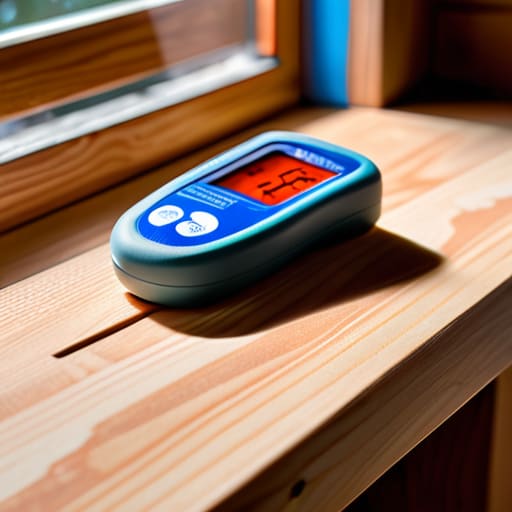
If caulking handles the gaps you can’t see, weatherstripping is for the ones you can. I usually grab my infrared thermometer before starting this; it’s a game-changer for finding exactly where the cold air is slicing through your door or window seals. For most people, the easiest entry point is using adhesive-backed foam or V-seal strips. The trick isn’t just sticking them on; it’s about cleaning the surface with rubbing alcohol first. If there’s any dust or old residue, that expensive strip is going to peel off in a week, and you’ll be right back to square one.
When you’re looking at preventing air leaks around doors, don’t overlook the bottom gap. A heavy-duty door sweep is one of those small, low-cost energy efficiency home improvements that pays for itself almost immediately. I always tell my clients to check the alignment too—if the door doesn’t sit flush against the frame, even the best weatherstripping won’t do much. It’s all about creating a continuous airtight barrier so your heater isn’t fighting a losing battle against the outdoors.
5 Low-Cost Fixes to Stop the Drafts You’re Currently Ignoring
- Check your door sweeps. If you can see light coming through the gap at the bottom of your front or back door, you’re basically throwing money out onto the sidewalk. Replacing a worn-out rubber sweep is a ten-minute job that makes a massive difference in how a room actually feels.
- Don’t forget the electrical outlets. It sounds weird, but if your home is older, cold air can actually seep through the gaps around your wall sockets. Installing those cheap foam gaskets behind the faceplates is a tiny, almost invisible way to cut down on those sneaky micro-drafts.
- Tackle the “chimney effect.” If you have a fireplace you aren’t using, it acts like a giant vacuum sucking warm air out of your living room. Get a chimney balloon or a heavy-duty cover to seal it off when it’s not in use.
- Inspect your ceiling fixtures. In many older rentals, the holes cut for light fixtures aren’t airtight, allowing warm air to escape into the attic or crawlspace. Using a bit of fire-rated caulk or specialized gaskets around the base of the fixture can keep that heat where it belongs—down in your living space.
- Use heavy curtains as a thermal barrier. This isn’t just about aesthetics; thick, insulated curtains act as an extra layer of insulation for your windows. Close them as soon as the sun goes down to create a pocket of dead air that helps buffer the cold coming off the glass.
The Bottom Line on Sealing Your Space
You don’t need a professional contractor to see results; most energy leaks are hiding in plain sight around windows and doors, and you can fix them yourself for a few bucks.
Think of draft proofing as an investment rather than a chore—the money you spend on caulk or weatherstripping today is money you won’t be handing over to your utility company next month.
Consistency is everything; even the best weatherstripping won’t matter if you ignore the small gaps under doors or around aging window frames that let your expensive heated air escape.
## The Real Cost of a Draft
“Most people think they need a massive solar array or a full-scale retrofit to be sustainable, but the truth is much simpler: you can’t heat a house that’s essentially acting like a sieve. Before you spend a dime on high-tech gadgets, find where the air is escaping; sealing a single drafty window frame is often more effective for your wallet than any expensive smart thermostat.”
Tobias Nkemdirim
Small Changes, Big Impact
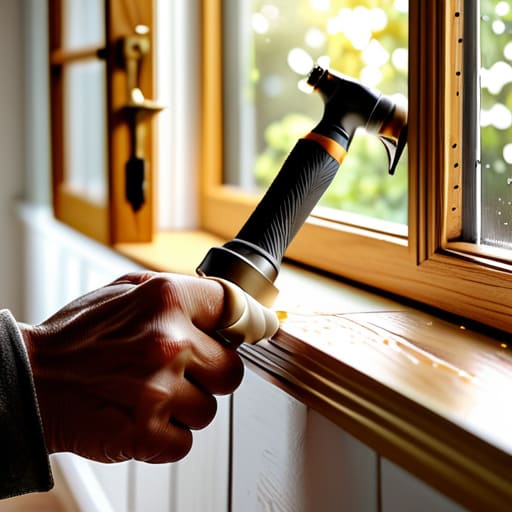
At the end of the day, draft proofing isn’t about some massive, expensive overhaul of your entire house. It’s about the details—the gaps in your window frames you fixed with a bit of caulk or the door sweeps you installed to stop that annoying breeze under the hallway door. By tackling these small leaks, you’re essentially plugging the holes in your wallet. We’ve covered how to identify the culprits and how to apply the fixes, from weatherstripping to sealing those stubborn cracks. It’s all about being intentional with your home’s envelope so you aren’t just paying to heat the street outside.
I still remember sitting in my old rental, shivering under three blankets because the heat just couldn’t stay put. It felt like a losing battle against my utility bills. But I’ve learned through my audits that you don’t need a massive budget to take control of your environment. Every seal you make and every draft you stop is a win for your bank account and a win for the planet. Sustainability shouldn’t be a luxury reserved for people with huge renovation budgets; it should be accessible to everyone. Start small, stay observant, and stop letting your hard-earned money leak out through the cracks.
Frequently Asked Questions
How do I know if the draft is coming from a window frame or if it's actually a gap in the wall itself?
I always keep my infrared thermometer handy for exactly this reason. If you want to be precise, aim it at the window frame first. If the temperature drops sharply right at the edge where the frame meets the wall, it’s a caulking issue. But if you see a temperature dip spreading across the drywall itself, you’re looking at a structural gap or poor insulation behind the surface. Don’t guess—follow the cold.
Is it worth spending money on professional-grade sealant, or will the cheap stuff from the hardware store do the job?
Look, I’ve used both, and here’s the reality: don’t go overboard on the “professional-grade” stuff if you’re just doing a quick fix on a single window. The standard stuff from the hardware store is fine for most gaps. However, if you’re sealing a major exterior crack that’s exposed to constant rain or extreme temperature swings, spend the extra few bucks on the high-quality sealant. It lasts longer, meaning you won’t be re-doing the job in six months.
Can draft proofing actually cause moisture or mold issues if I seal the house up too tightly?
It’s a valid concern, and honestly, it’s one I see a lot during my audits. If you seal every single microscopic crack without thinking about airflow, you risk trapping moisture inside. That’s how you end up with mold behind furniture or in corners. The trick isn’t to make your house airtight like a submarine; it’s about targeted sealing. Just ensure you maintain some ventilation—like using exhaust fans or slightly cracking a window—to let the house breathe.
