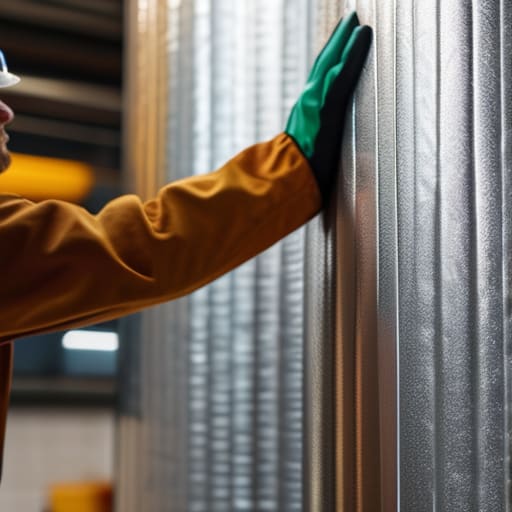
I still remember the winter I spent in that drafty rental apartment, shivering every time I stepped into the shower because the water temperature felt like it was dropping by the second. I used to think I just needed a bigger heater or a more expensive boiler, but the truth was much simpler and, frankly, a bit embarrassing. I was literally watching my money vanish into thin air because I hadn’t looked at the basics. Most people think that insulating water tanks requires some high-end, professional retrofit that costs a fortune, but that’s a total myth. You don’t need a massive capital investment to stop your hot water from losing its edge; you just need to stop the heat from escaping through the sides of the tank like it’s looking for an exit.
I’m not here to sell you on expensive, complicated HVAC systems or “smart” gadgets that do nothing but drain your wallet. My goal is to give you the straightforward, data-backed reality of how to do this yourself. I’ll show you exactly how to tackle the job using low-cost materials that actually work, so you can keep your water hot and your utility bills down to earth.
Table of Contents
Lowering Utility Bills With Insulation and Smart Heat Retention
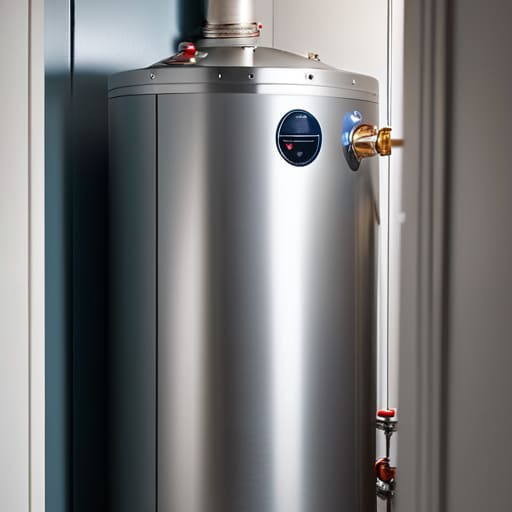
When I’m auditing a home, the water heater is often the biggest “silent” thief of electricity or gas. Most people assume that once the water is hot, the job is done. But if your tank isn’t wrapped, it’s constantly fighting a losing battle against the ambient air in your utility closet or basement. This is where reducing standby heat loss becomes a game-changer for your wallet. Instead of your heater cycling on and off all night just to maintain temperature, a proper layer of thermal protection keeps that heat locked inside where it belongs.
I always recommend looking into specific water heater jacket benefits because they are one of the most cost-effective upgrades you can make. You don’t need a massive renovation; you just need high-quality thermal insulation materials for tanks to create a barrier. By installing a simple jacket, you aren’t just being “green”—you are directly lowering utility bills with insulation that pays for itself within a few months. It’s a small, pragmatic step that turns a massive energy drain into a much more controlled, efficient system.
Reducing Standby Heat Loss Without Breaking the Bank
Most people don’t realize that their water heater is essentially a giant, expensive radiator that stays on all day, even when nobody is using it. This constant leakage is what we call standby heat loss, and it’s a massive silent killer for your monthly budget. I’ve seen so many homes where the tank sits in a utility closet, radiating heat into the surrounding air instead of keeping the water hot for your shower. It’s incredibly frustrating to see that much energy just vanish.
The good news is that reducing standby heat loss doesn’t require a massive renovation or a high-end plumber. If you’re looking for a high-impact, low-cost fix, I always suggest looking into a water heater jacket. These are essentially thermal blankets designed specifically for your unit. By using high-quality thermal insulation materials for tanks, you create a barrier that traps the heat exactly where it belongs. It’s one of those small, pragmatic wins that pays for itself within a few months of seeing your utility statement.
5 Quick Wins to Stop Your Hot Water from Escaping
- Grab a high-quality thermal jacket specifically designed for your tank size; it’s a much tighter, more effective fit than trying to DIY something with old blankets.
- Check your temperature settings—if your thermostat is cranked up way past 60°C (140°F), you’re just fighting a losing battle against heat loss and wasting electricity.
- Don’t forget the pipes; wrapping the first meter of pipe coming out of the tank in foam lagging can stop a massive amount of heat from bleeding out before it even reaches your tap.
- Use my favorite tool—an infrared thermometer—to scan your tank and pipes; if you see a sudden temperature drop, you’ve found a leak or a spot that needs more insulation.
- If you’re dealing with an older, uninsulated tank, even a basic reflective wrap can act as a decent barrier to keep that stored energy where it belongs.
The Bottom Line on Tank Insulation
Stop letting heat bleed out of your water tank; a simple, inexpensive insulation jacket is one of the fastest ways to see a drop in your monthly energy spend.
Focus on the “low-hanging fruit” first—insulating your pipes and tank provides immediate thermal retention without needing a massive upfront investment.
Efficiency isn’t about buying expensive tech; it’s about plugging the leaks in your current system so you aren’t paying to heat air that’s just escaping into the room.
The Invisible Leak
“Most people focus on drafty windows, but they completely ignore the massive heat sink sitting in their utility closet. An uninsulated water tank is basically just a slow leak for your bank account; wrapping it isn’t just about being ‘green,’ it’s about stopping your money from evaporating into thin air.”
Tobias Nkemdirim
The Bottom Line on Heat Retention
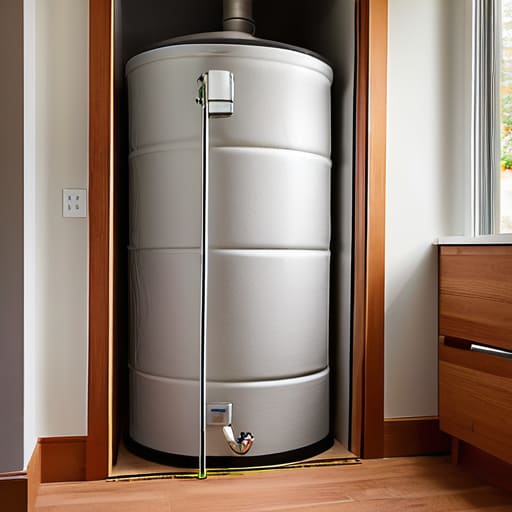
At the end of the day, insulating your water tank isn’t some complex engineering project; it’s just common sense. We’ve looked at how a simple thermal jacket can stop heat from bleeding into the air and how managing standby loss can keep your utility bills from spiking for no reason. I’ve seen too many people pay for energy they never actually use, simply because they ignored the hardware sitting in their utility closet. By focusing on these small, high-impact adjustments, you aren’t just saving a few cents on your monthly statement—you are actively plugging the leaks in your home’s thermal envelope.
I know that when you’re staring at a rising energy bill, it feels like the system is rigged against you. But sustainability shouldn’t be a luxury reserved for people with massive budgets and solar arrays. It starts with these practical, low-cost wins that anyone can implement. Every bit of heat you trap is a win for your wallet and a win for the planet. Don’t let your hard-earned money evaporate through a preventable mistake; take a moment to check your setup, grab some insulation, and start taking control of your energy footprint today.
Frequently Asked Questions
Do I need to worry about the insulation affecting the temperature settings on my water heater?
Short answer: No, you don’t need to worry about the thermostat itself. The insulation sits on the outside of the tank, so it won’t mess with the internal sensors or your temperature settings. Think of it like wearing a puffer jacket; your body heat stays the same, you’re just not losing it to the air. Just make sure you don’t wrap the actual heating elements or any pressure relief valves. Keep the sensors clear, and you’re good.
Is it worth buying a pre-made jacket, or can I just use leftover materials I have around the house?
Look, if you’re trying to save money, DIY is tempting, but it’s a gamble. Using leftover scraps for a makeshift jacket wrap or insulation can work for small, specific gaps, but it’s rarely as effective as a purpose-built solution. If you’re repurposing materials, focus on high-density stuff. Otherwise, invest in a decent, pre-made thermal jacket for your tank. It’s a small upfront cost that pays for itself much faster than a patchwork job.
How often should I check the insulation to make sure it hasn't degraded or become damp?
I’d recommend a quick visual check every six months—ideally when you switch from heating to cooling or vice versa. Grab your thermometer and run it along the tank; if you see sudden temperature drops, the insulation is failing. Most importantly, feel for dampness. If the jacket feels soggy or looks discolored, moisture has likely seeped in, which actually destroys its effectiveness. Don’t wait for a massive bill to realize your insulation is compromised.
