I remember sitting in my old rental apartment three years ago, shivering in a room that felt like a walk-in freezer, while my heating bill climbed higher than my actual rent. I’d spent a fortune on the thermostat, thinking that was the fix, only to realize later that I was basically paying to heat the air inside my walls. I pulled out my infrared thermometer and saw the truth: heat was bleeding out of every exposed joint. Most people think you need a massive, expensive HVAC overhaul to see real savings, but they’re ignoring the low-hanging fruit. Insulating hot water pipes isn’t some high-tech engineering feat reserved for luxury eco-homes; it’s a basic, common-sense move that most people completely overlook.
I’m not here to sell you on some complicated, overpriced “green” gadget that promises the moon but delivers nothing. My goal is to give you the straightforward reality of how to stop that thermal leakage without breaking your bank account. I’ll show you exactly which sections matter most, how to do it yourself in twenty minutes, and why this tiny adjustment is one of the smartest investments you can make for your monthly budget.
Table of Contents
Fighting Convection Heat Loss Without Breaking the Bank
When I’m running an audit, I often see people focusing entirely on their windows while ignoring the literal veins of their home. Convection heat loss happens when the air around your exposed plumbing circulates, picking up heat from the pipes and carrying it away into the rest of the house. It sounds subtle, but it’s a constant, invisible drain on your comfort. If your pipes are bare, you’re essentially paying to heat the air in your utility closet rather than the water in your shower.
The good news is that tackling this doesn’t require a massive renovation budget. I always recommend picking up some foam pipe sleeves from a local hardware store; they are incredibly cheap and take minutes to install. These are some of the most effective energy saving home improvements because they create a physical barrier that traps the heat exactly where it belongs. By using these basic thermal insulation materials, you aren’t just stopping heat from escaping—you’re also adding a vital layer of protection for preventing frozen pipes during those sudden winter cold snaps. It’s a small, pragmatic win for your wallet and your home’s efficiency.
Smart Energy Saving Home Improvements for Every Budget
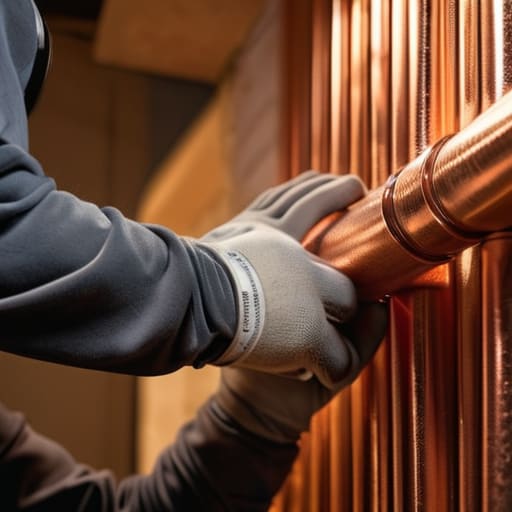
When I’m out on an audit, I don’t just look for the big, expensive fixes like solar panels or new windows. Most people think energy saving home improvements have to cost thousands, but that’s a myth. I always tell my clients to start with the “low-hanging fruit”—the small, tactical upgrades that yield immediate results. If you’re working with a tight budget, focus on sealing the gaps. It’s about plugging the leaks in your thermal envelope before you even think about upgrading your furnace.
If you have a bit more to spend, you can look into better thermal insulation materials for your attic or crawl spaces. However, if you’re just trying to see a difference in your monthly statement right now, grab some foam pipe sleeves. They are incredibly cheap and easy to install yourself. It’s one of those rare wins where a ten-dollar trip to the hardware store actually translates into reducing heating bills over the long term. You aren’t just saving energy; you’re basically stopping a slow leak in your bank account.
My Quick-Fire Checklist for Pipe Insulation
- Grab a roll of foam pipe sleeves (lagging) from a hardware store; they’re dirt cheap and much more effective than trying to wrap pipes in old towels or blankets.
- Don’t skip the joints; make sure you use foam tape or even just some heavy-duty foil tape to seal the gaps where two sleeves meet, otherwise, you’re just creating tiny heat leaks.
- Focus on the “hot zones” first, specifically the stretches of pipe running from your water heater to the nearest taps, as that’s where your money is literally evaporating into the air.
- Use my infrared thermometer trick—scan your pipes while the hot water is running to find the exact spots where the temperature drops sharply; that’s where your insulation is failing or missing.
- Keep it tight and snug; if the insulation is loose or sagging, it won’t do its job properly, so make sure it’s pressed firmly against the pipe surface to minimize air gaps.
The Bottom Line on Pipe Insulation
Think of pipe insulation as a cheap shield; wrapping your hot water lines prevents heat from escaping before it even reaches your tap, saving you money on every single shower.
You don’t need a massive renovation budget to see results—grab some foam sleeves from a hardware store and tackle the exposed pipes in your basement or utility closet this weekend.
Prioritize the “low-hanging fruit” by insulating pipes that run through unheated areas, as these are the primary spots where your energy is literally evaporating into thin air.
The Invisible Leak
“I’ve spent way too many audits pointing my infrared thermometer at bare pipes and watching the heat bleed out into thin air; insulating those lines isn’t just a DIY project, it’s about stopping your monthly budget from evaporating before it even reaches your tap.”
Tobias Nkemdirim
The Bottom Line
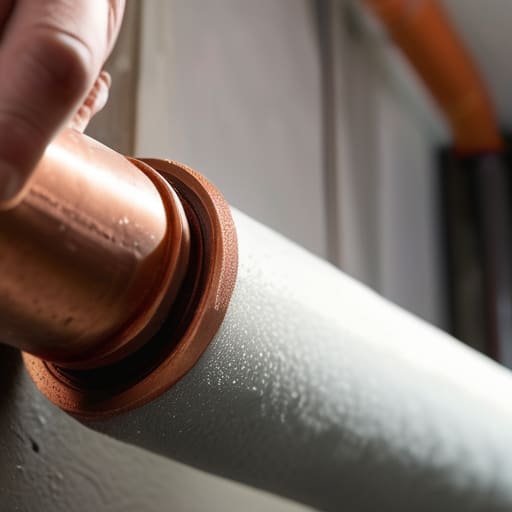
At the end of the day, insulating your hot water pipes isn’t some complex engineering project; it’s just common sense. We’ve looked at how tackling convection loss and choosing the right materials can stop your expensive heated water from losing its temperature before it even reaches your tap. Whether you’re spending a few dollars on foam sleeves or investing in more robust lagging, the math is simple: less heat lost means less energy wasted and a direct reduction in your monthly utility bill. It’s one of those rare home wins where the upfront cost is minimal compared to the long-term savings you’ll see on your statement.
I know it’s easy to feel like individual actions don’t matter when we’re facing massive global energy crises, but I disagree. Every time you stop a heat leak or optimize a small corner of your home, you’re proving that sustainability doesn’t require a massive bank account or a solar farm in your backyard. It’s about reclaiming control over your space and your finances. Start small, grab some insulation, and stop letting your hard-earned money evaporate into thin air. Making your home efficient is a practical act of rebellion against waste, and it starts with the very pipes running through your walls.
Frequently Asked Questions
Do I need to insulate the pipes under the sink, or just the ones running through the walls and basement?
Honestly, if those pipes under the sink are in an unheated cabinet or near an exterior wall, insulate them. I’ve seen too many people ignore the “easy” spots, only to find their water temperature dropping before it even hits the tap. While the basement pipes are the big offenders, those under-sink lines are prime territory for heat loss. It’s a tiny, cheap fix that keeps your water hotter for longer.
How do I know if I've missed a spot, or if the insulation I just bought is actually thick enough to make a difference?
Grab your infrared thermometer—it’s the best way to see what your eyes can’t. Run it along the pipes; if you see a sudden temperature spike, you’ve found a gap or a thin spot. As for thickness, don’t go overboard with expensive heavy-duty stuff for standard domestic lines. Most foam sleeves are fine, but if the pipe feels hot to the touch through the insulation, it’s too thin. Aim for a consistent, snug fit.
Is it safe to wrap pipes that are already carrying very hot water, or is there a risk of overheating something?
It’s completely safe. In fact, that’s exactly what the insulation is designed for. You aren’t adding heat to the water; you’re just creating a thermal barrier that keeps the heat inside the pipe where it belongs. Just make sure you aren’t wrapping anything that needs to breathe, like a gas line or a vent. As long as you’re sticking to standard copper or PEX water pipes, you’re good to go. No overheating risk here.
